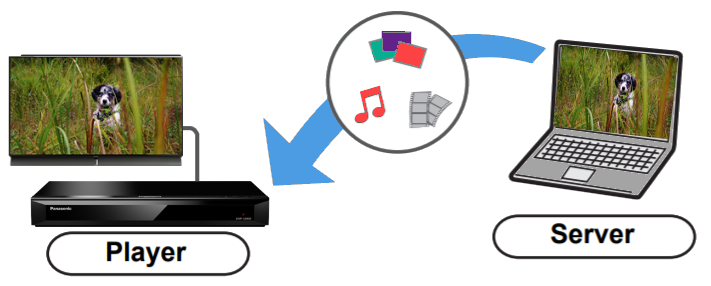
How to play PC media on the TV using DLNA on a Blu-ray player.
You can share photos, videos and music stored in the DLNA Certified media server (PC with compatible Windows installed, smartphone, etc.) connected to your home network, and enjoy the contents with this player.
- Before using the DLNA feature, be sure to configure the DLNA server on your Home Network.
- For information on the file formats supported for DLNA by your unit, Refer to your models Operating Manual

The following DLNA set up is an example of the common operation of a Blu-ray player and DLNA compatible device. Refer to your Blu-ray player and DLNA compatible devices manuals for specific instructions.
On the DLNA Compatible Device
- Make sure the DLNA device you want to stream from is connected to the same Network as the Blu-ray player.
- Go to the DLNA device's "Control Panel".
- In the "Network and Internet" settings, select Choose homegroup and sharing options".
- Under the "Share media and
devices", enable "Stream my pictures, music and videos to
all devices on my home network".
- Your media must be stored in the computers "Libraries to be shared.
On the Blu-ray player
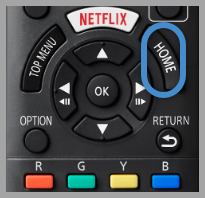
- Press [HOME].

- Select “Network” then press [OK].
- Select “Home Network” then press [OK].
- Select “DLNA Client”
then press [OK].
- The list can be updated by pressing the red button on the remote control.
- Select the equipment (i.e. computer, smart device) then press [OK].
- Select the item to play then press [OK].
- You may be able to use convenient functions depending on the content by pressing [OPTION].
- Control Panel is displayed once the playback starts. Press [OK] if the Control Panel is not displayed, then press [RETURN] to hide the Control Panel.
- To exit from Home Network press [HOME].
Example Video
DLNA information starts at 3:45 in video.
