


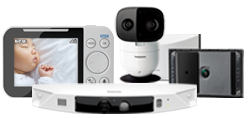

How to wall mount the camera. - Baby Monitor
Installation notes:
- Attach the wall mounting adaptor to the camera unit after making the AC connections.
- Only use the supplied screw that is attached to the camera base when attaching the wall mounting adaptor to the camera unit. Do not use user supplied screws. This may cause the camera unit to become loose from the wall mounting adaptor.
- Mount the camera unit on the stable location where the unit can be adequately supported when installing.
- Use a string or wire to prevent the camera unit from falling and causing injury if the camera unit comes off from the wall.
- Do not mount the wall mounting adaptor to a ceiling.
- Do not mount the camera unit on a soft material. It may fall down, break or cause injury.
- Do not mount the camera unit on the following places: plaster board, ALC (autoclaved lightweight cellular concrete), concrete block, plywood less than 25 mm (1 inch) thick, etc.
- Using a screw driver remove the screw at the base of the camera and then remove the camera base from the camera unit.
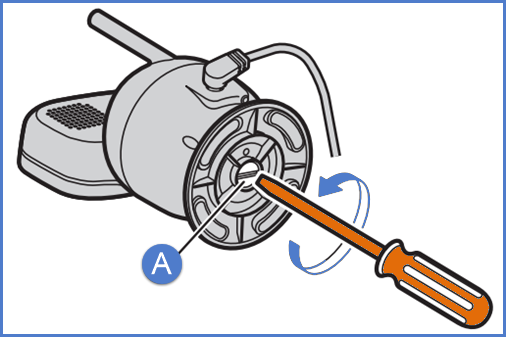
- Attach the wall mounting adaptor to the camera unit and then fasten with the supplied screw.

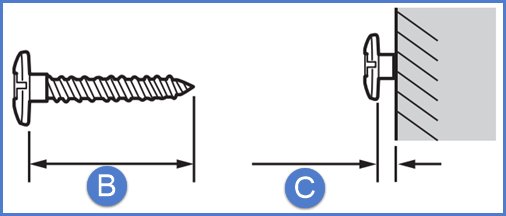
- Using the mounting template supplied in the operating manual determine the best location for the camera. Screw mounting screws into the wall. These screws are not supplied with the camera. Make sure (as shown in the image below) that the screws are longer that 20 mm (25/32"). (As shown in the image below) leave a space of 1.3 mm (1/32")
- Mount the camera unit to the wall.
- Adjust the angle of the camera unit by using the navigator key on the monitor unit.
This answer applies to KX-HN1032W, KX-HN3001, KX-HN3051, KX-HN4001W, KX-HN4101W, KX-HN4102W, KX-HNC301