Setting up direct streaming - HC-X1500 / HC-X2000 / AG-CX10
Step 1: Connecting to the access point (via Wi-Fi or LAN)
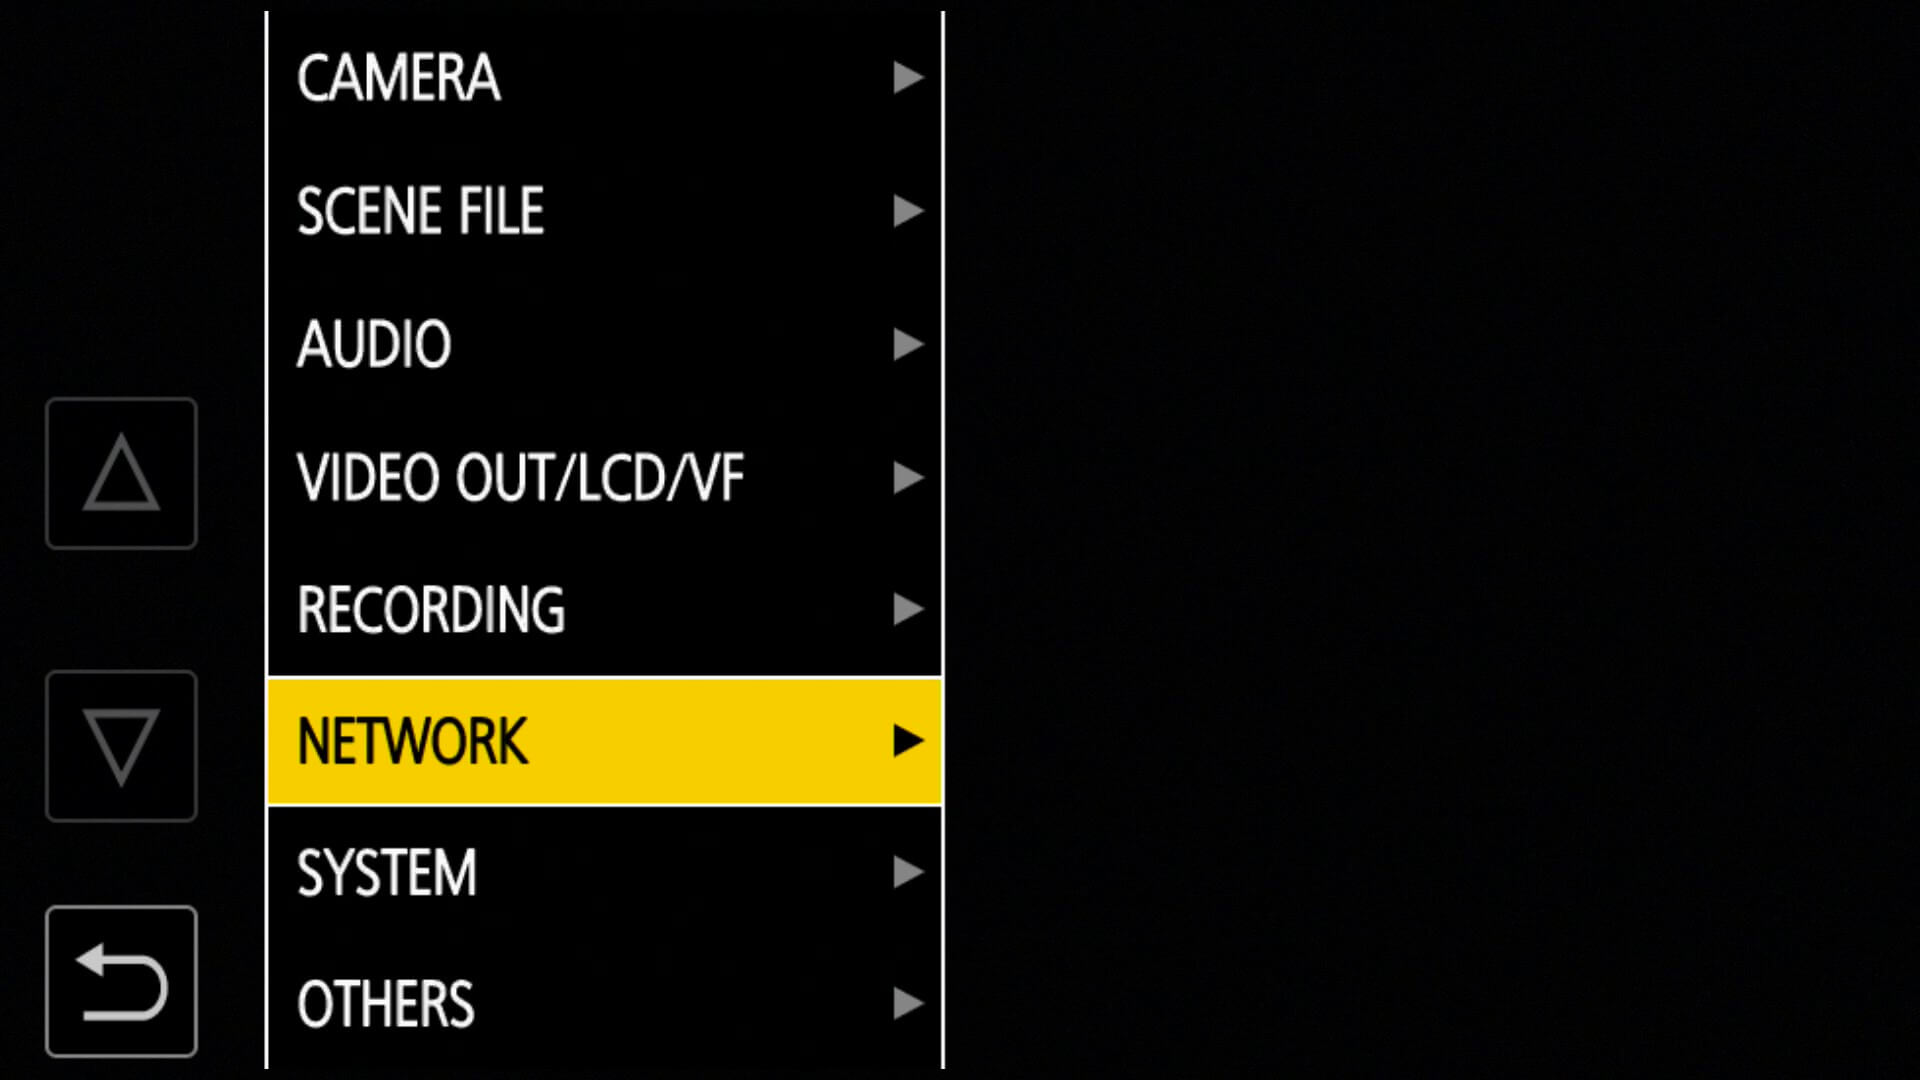
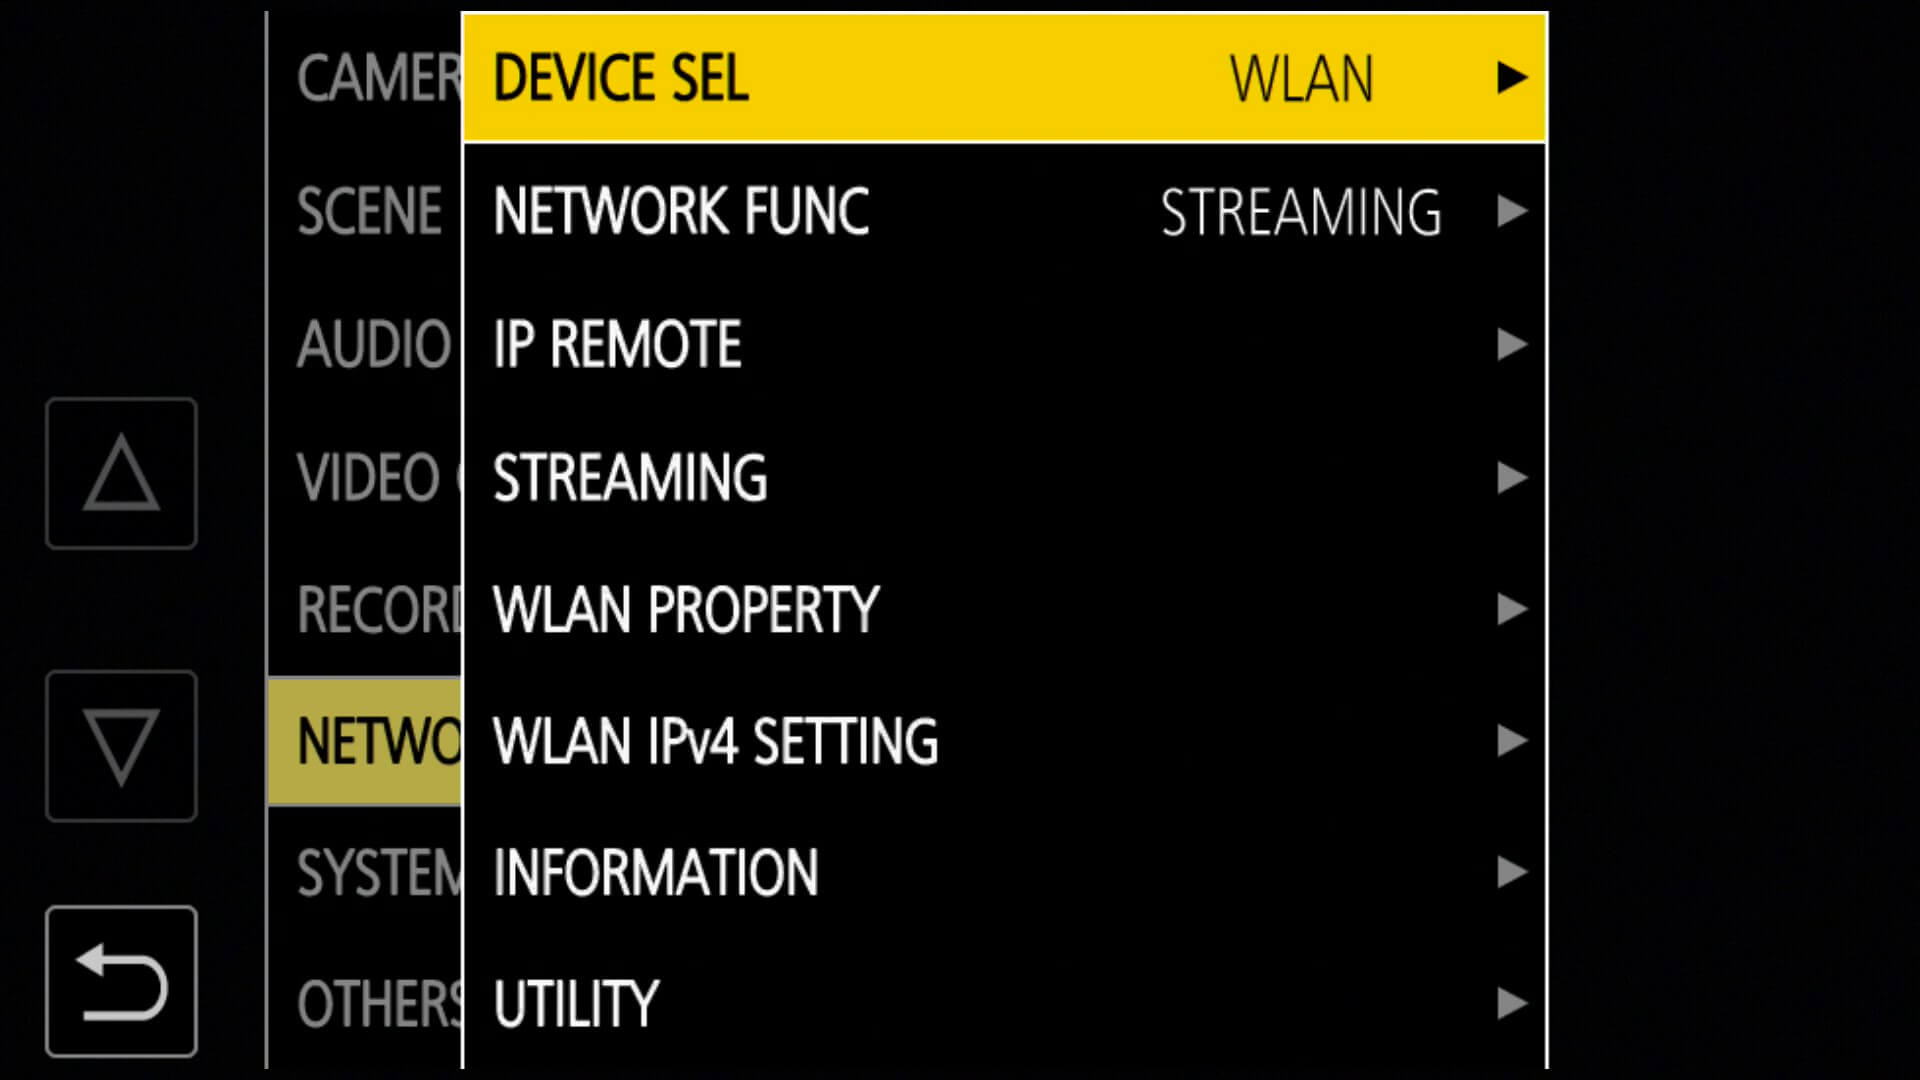
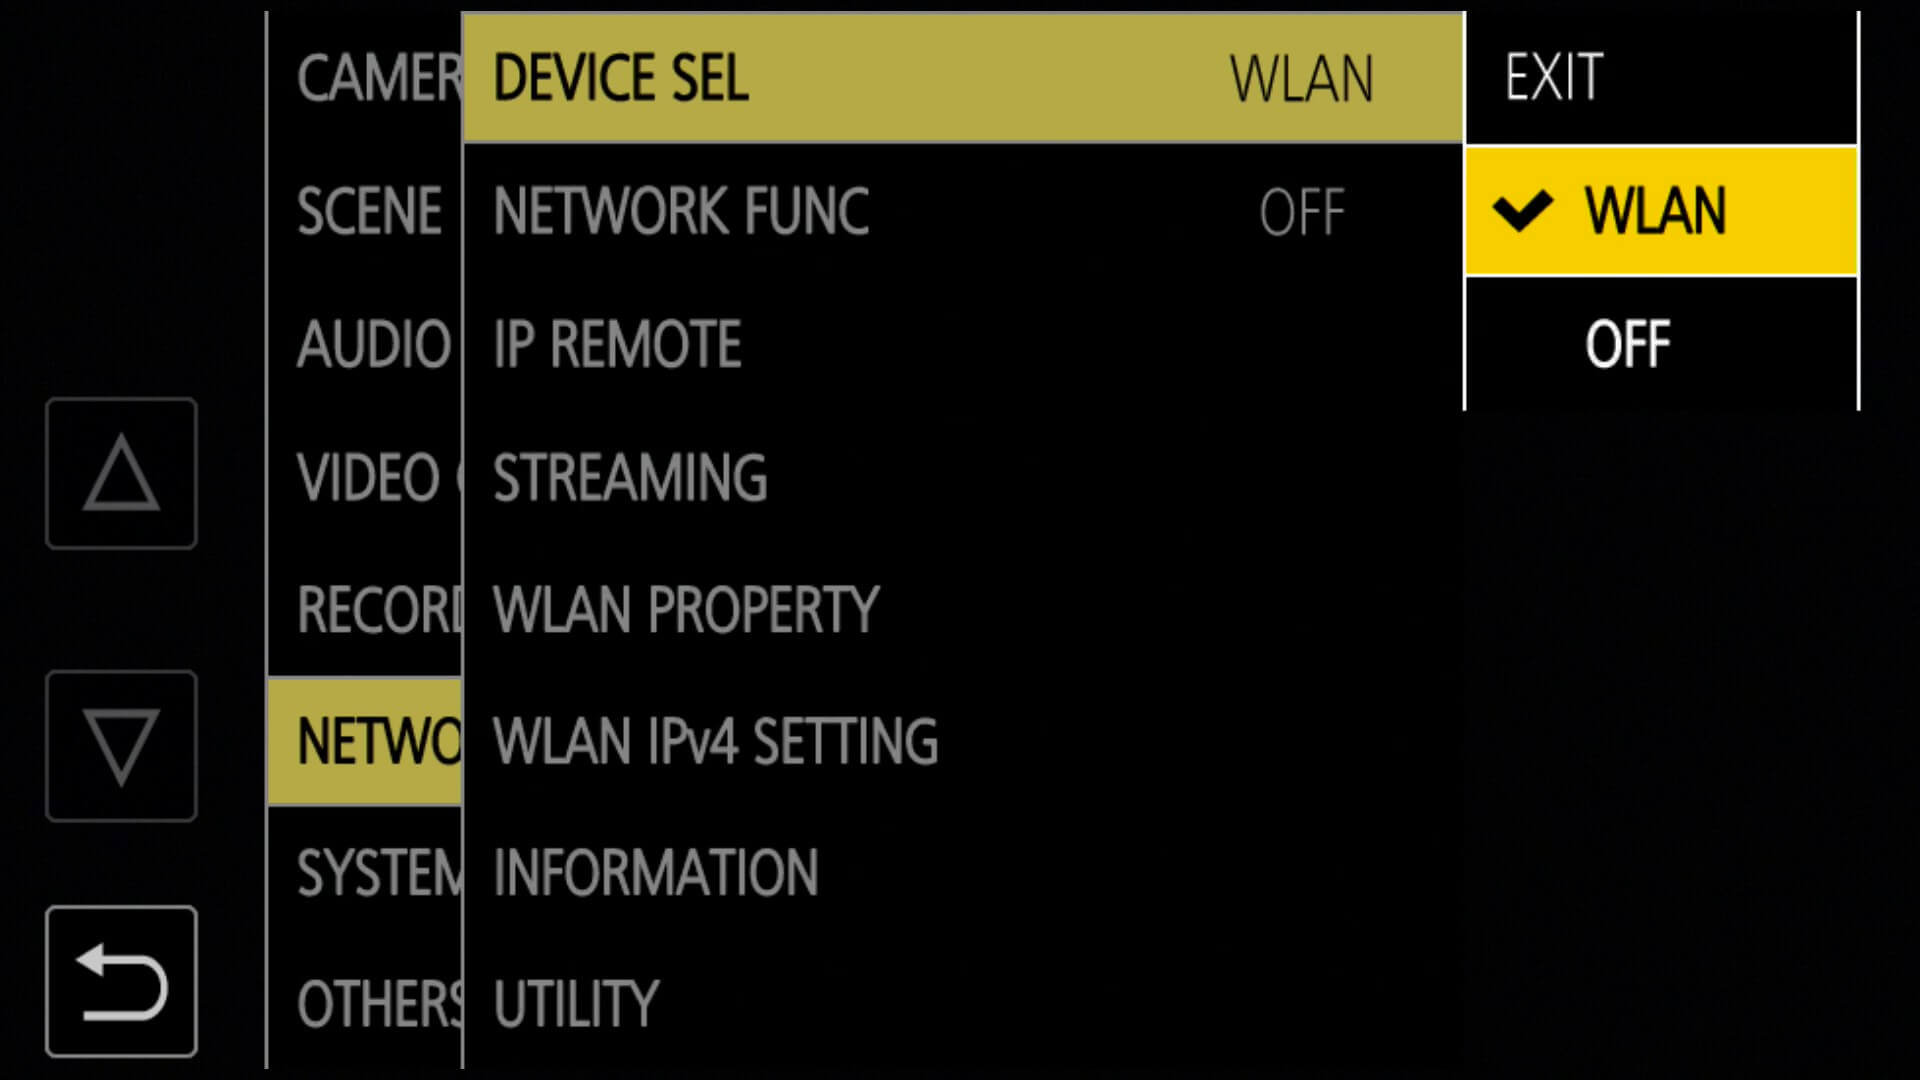
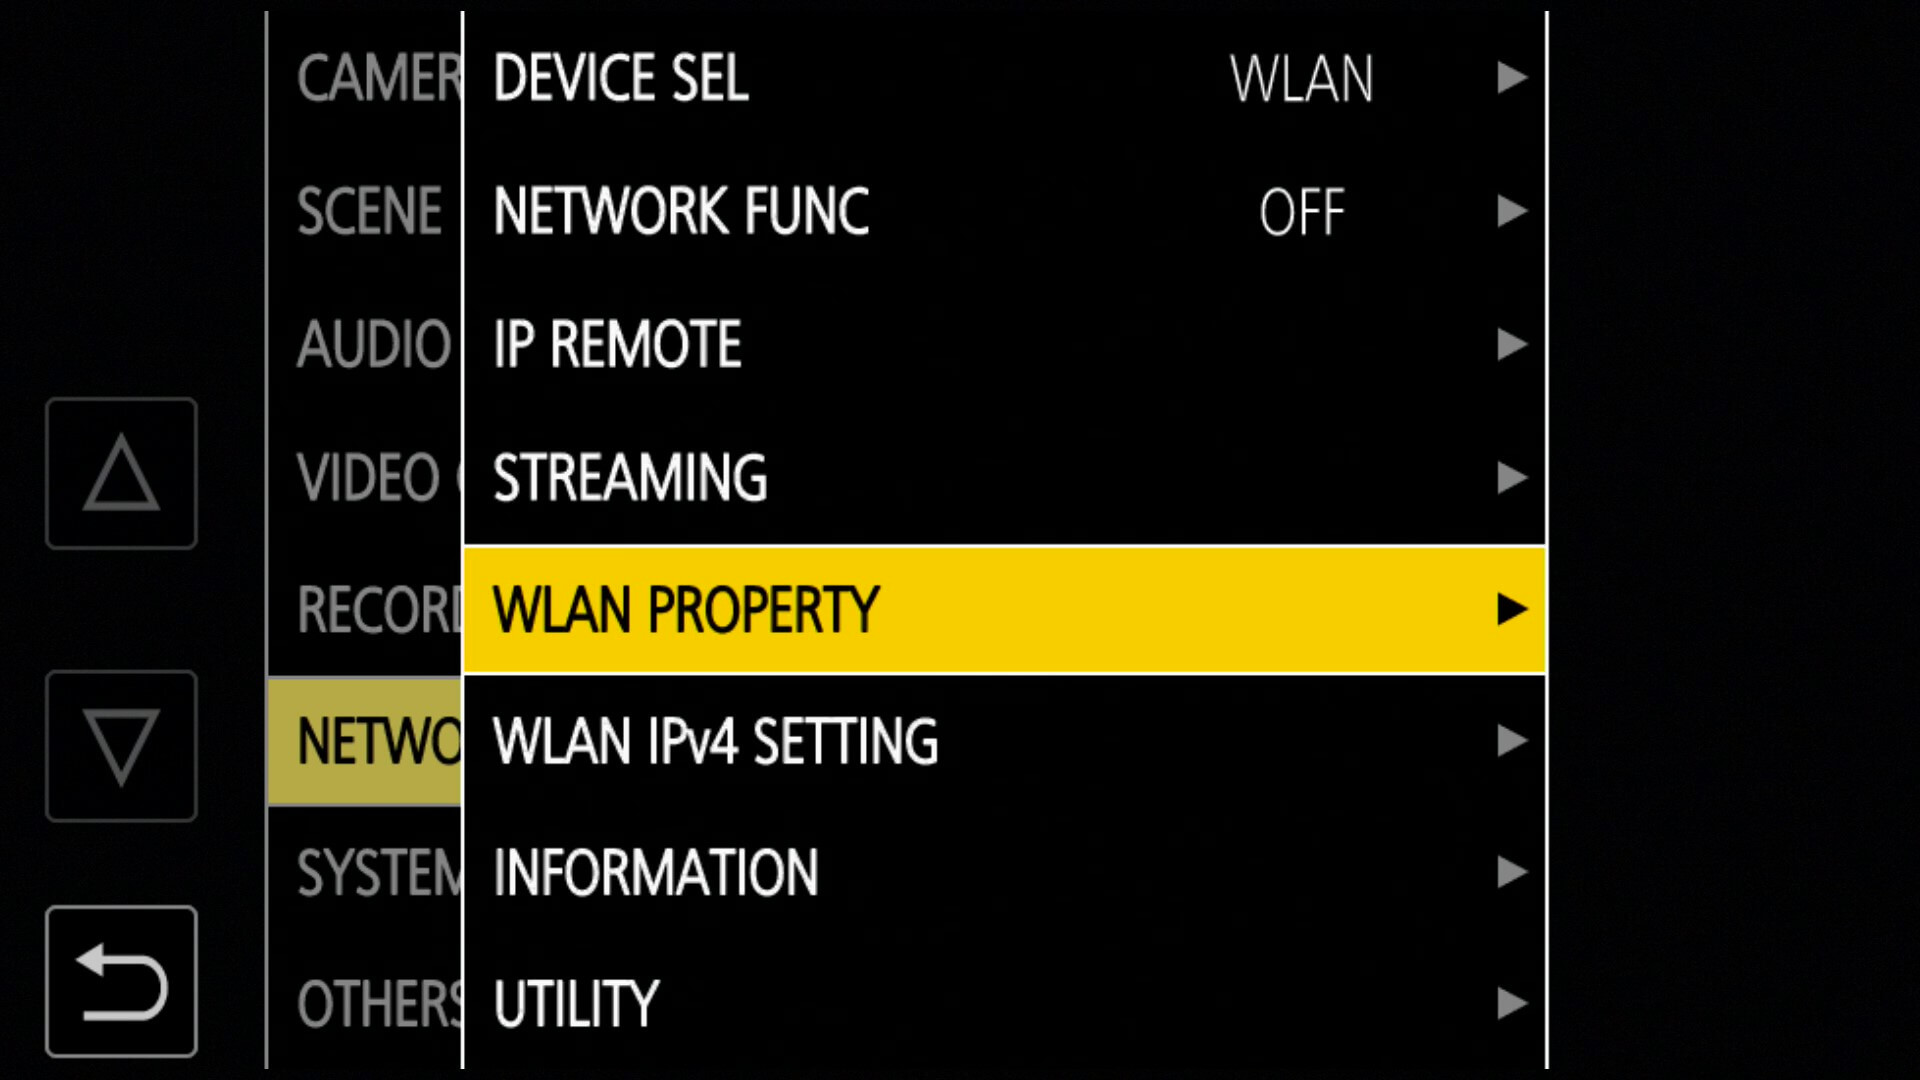
- Select [MENU] → [NETWORK] → [DEVICE SEL] → [WLAN].
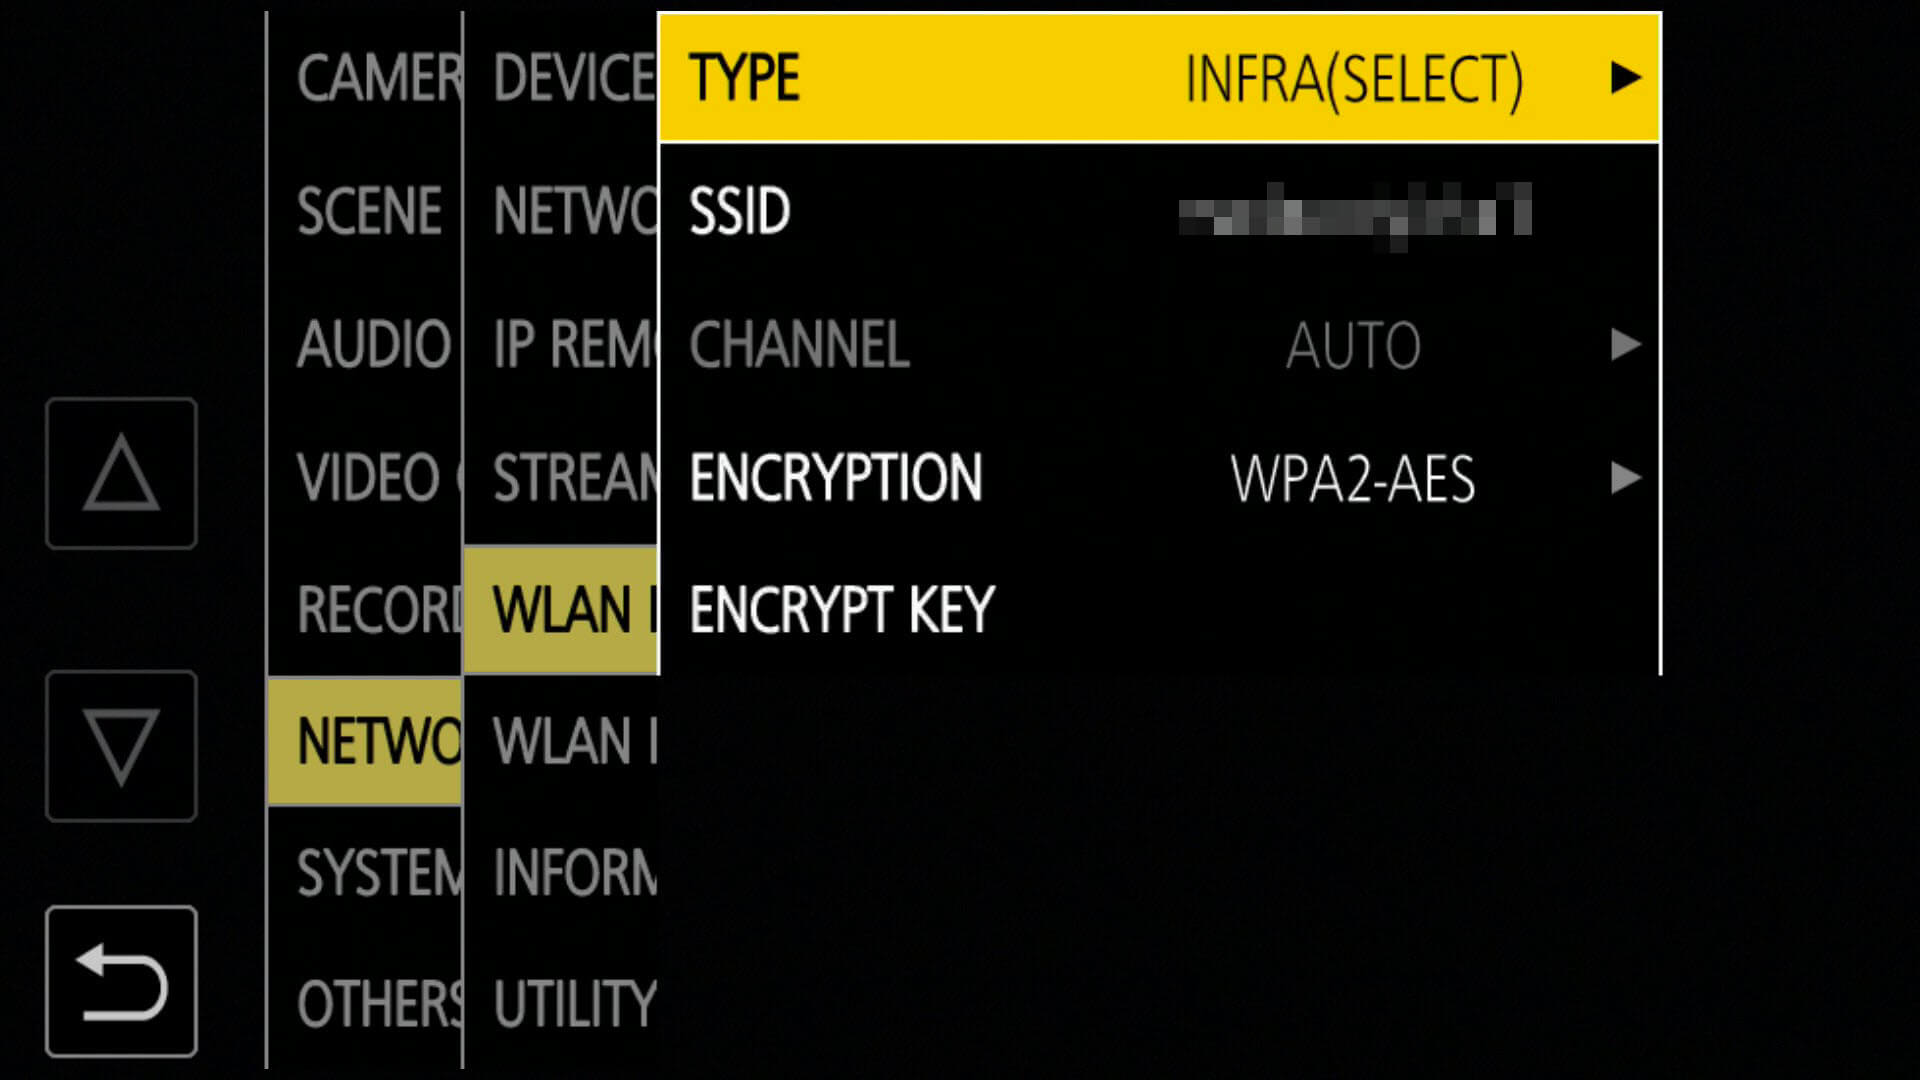
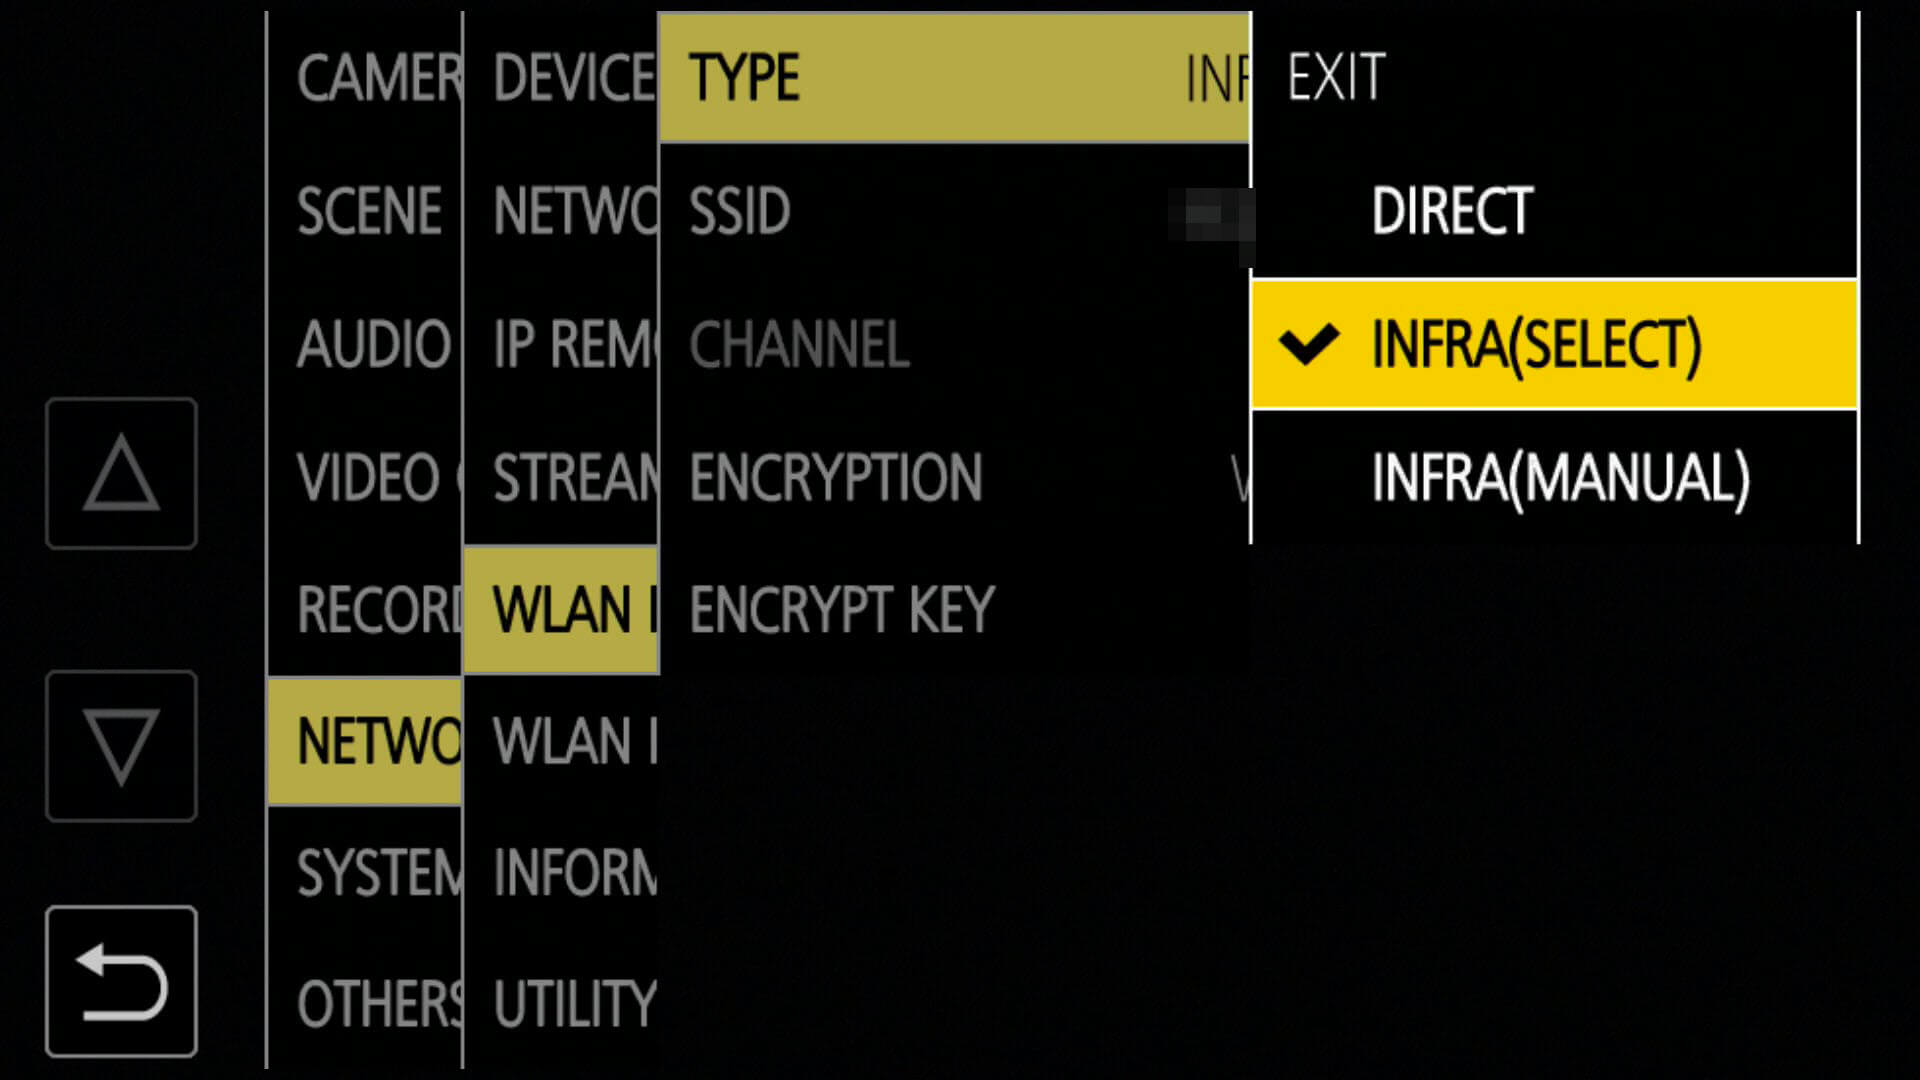
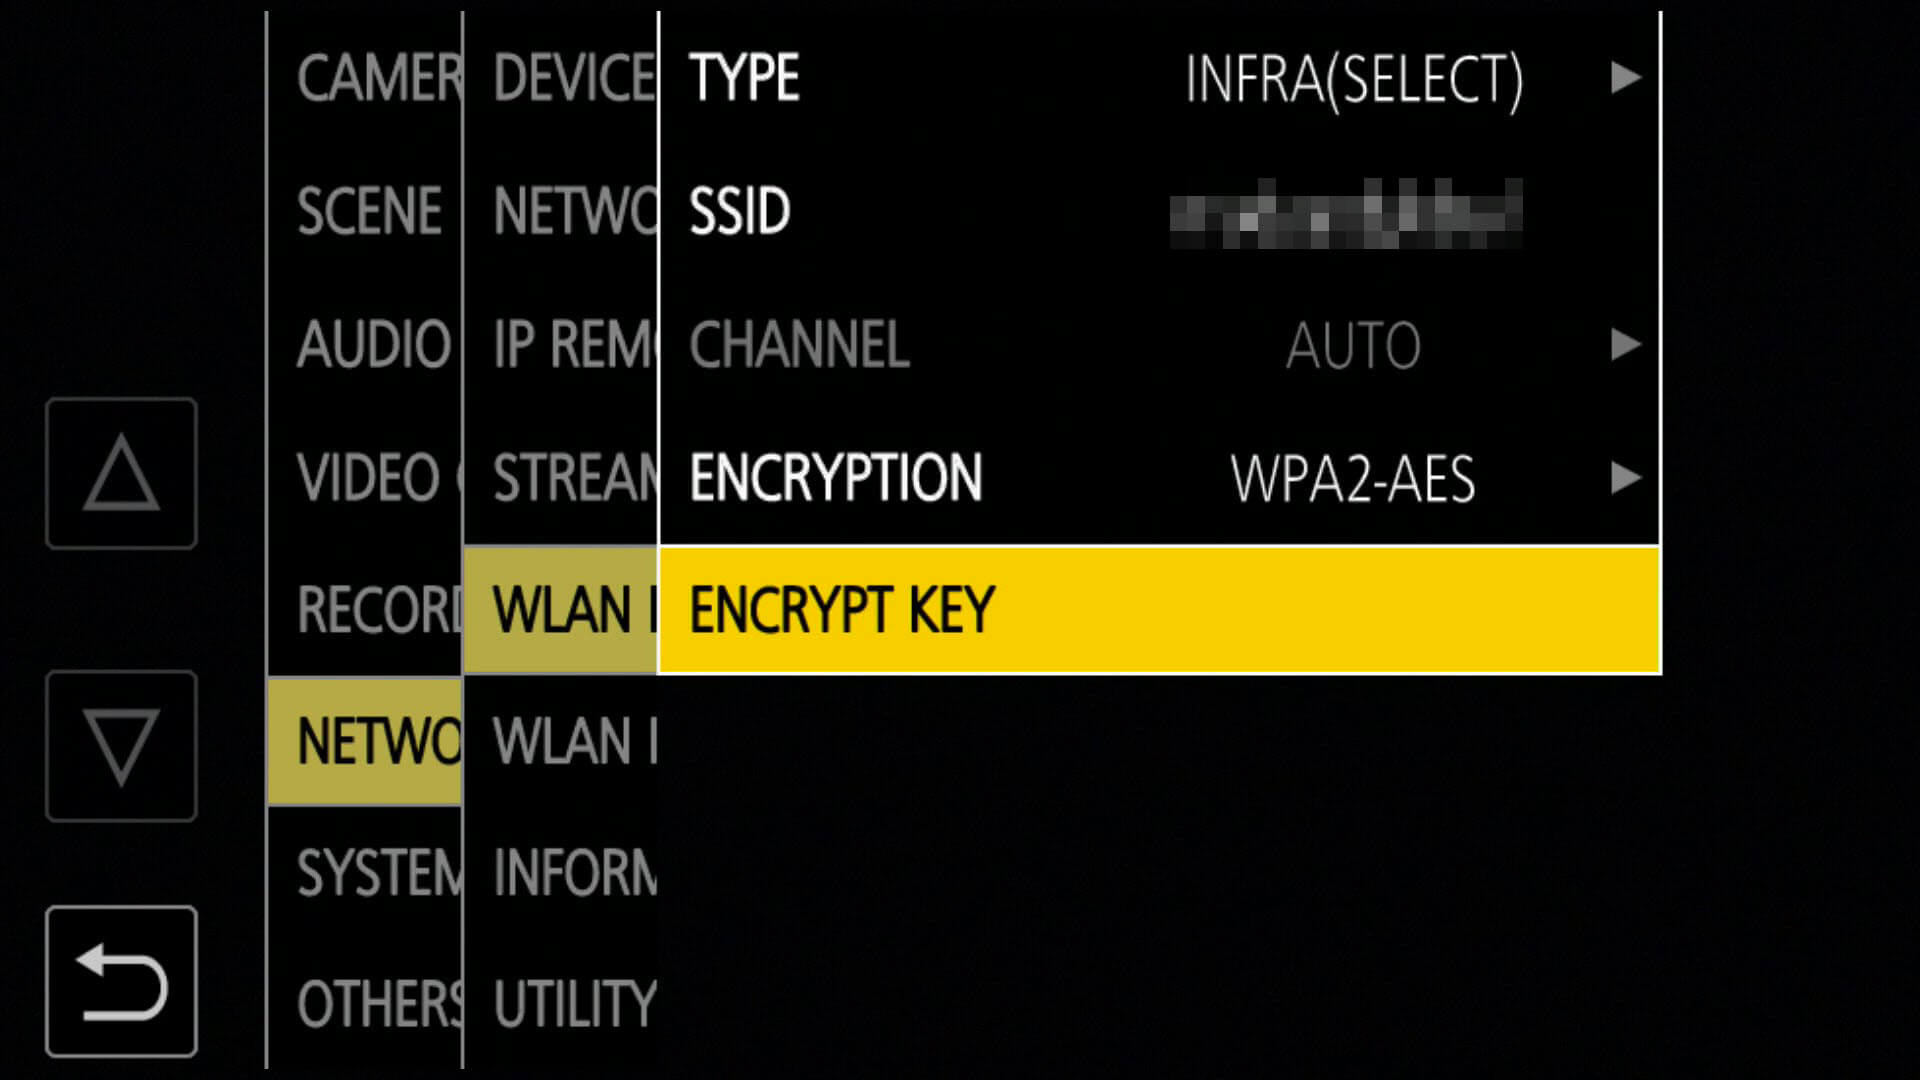
- Select [WLAN PROPERTY] → [TYPE] → [INFRA(SELECT)].
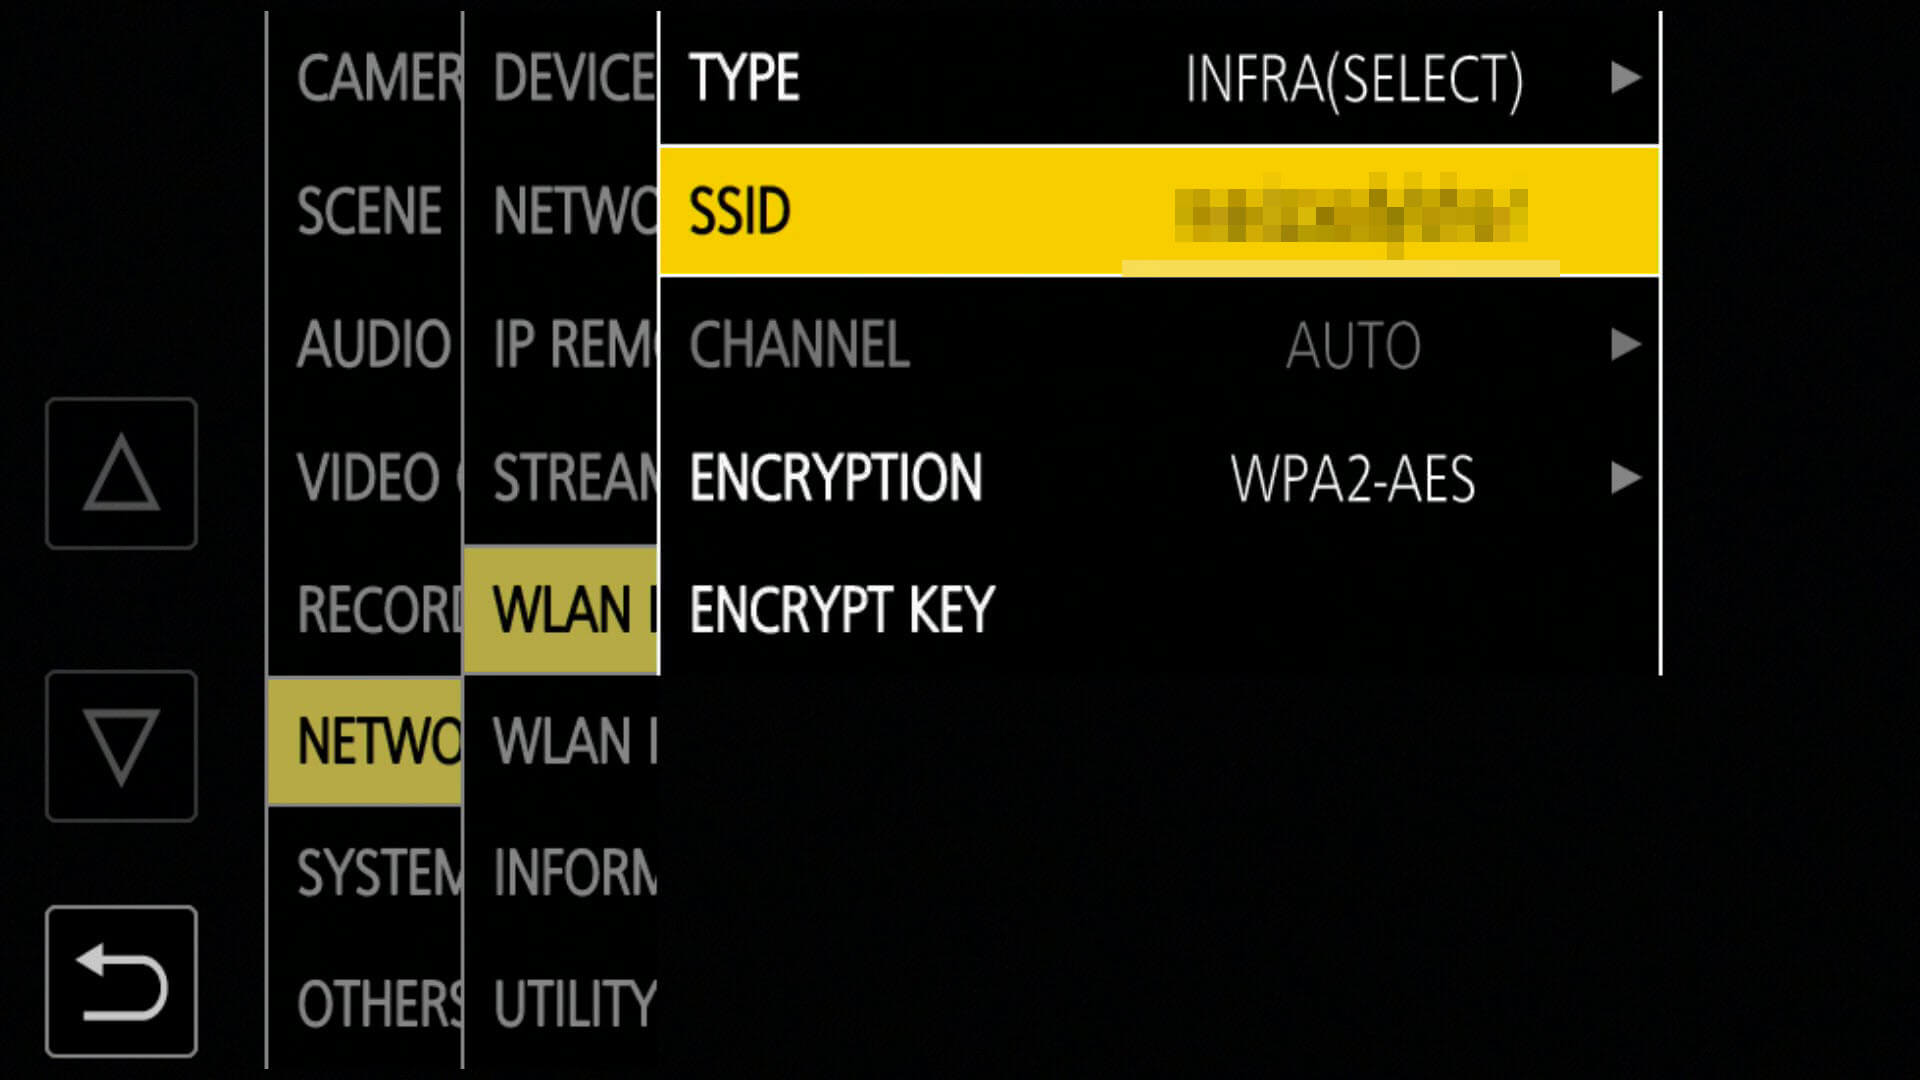
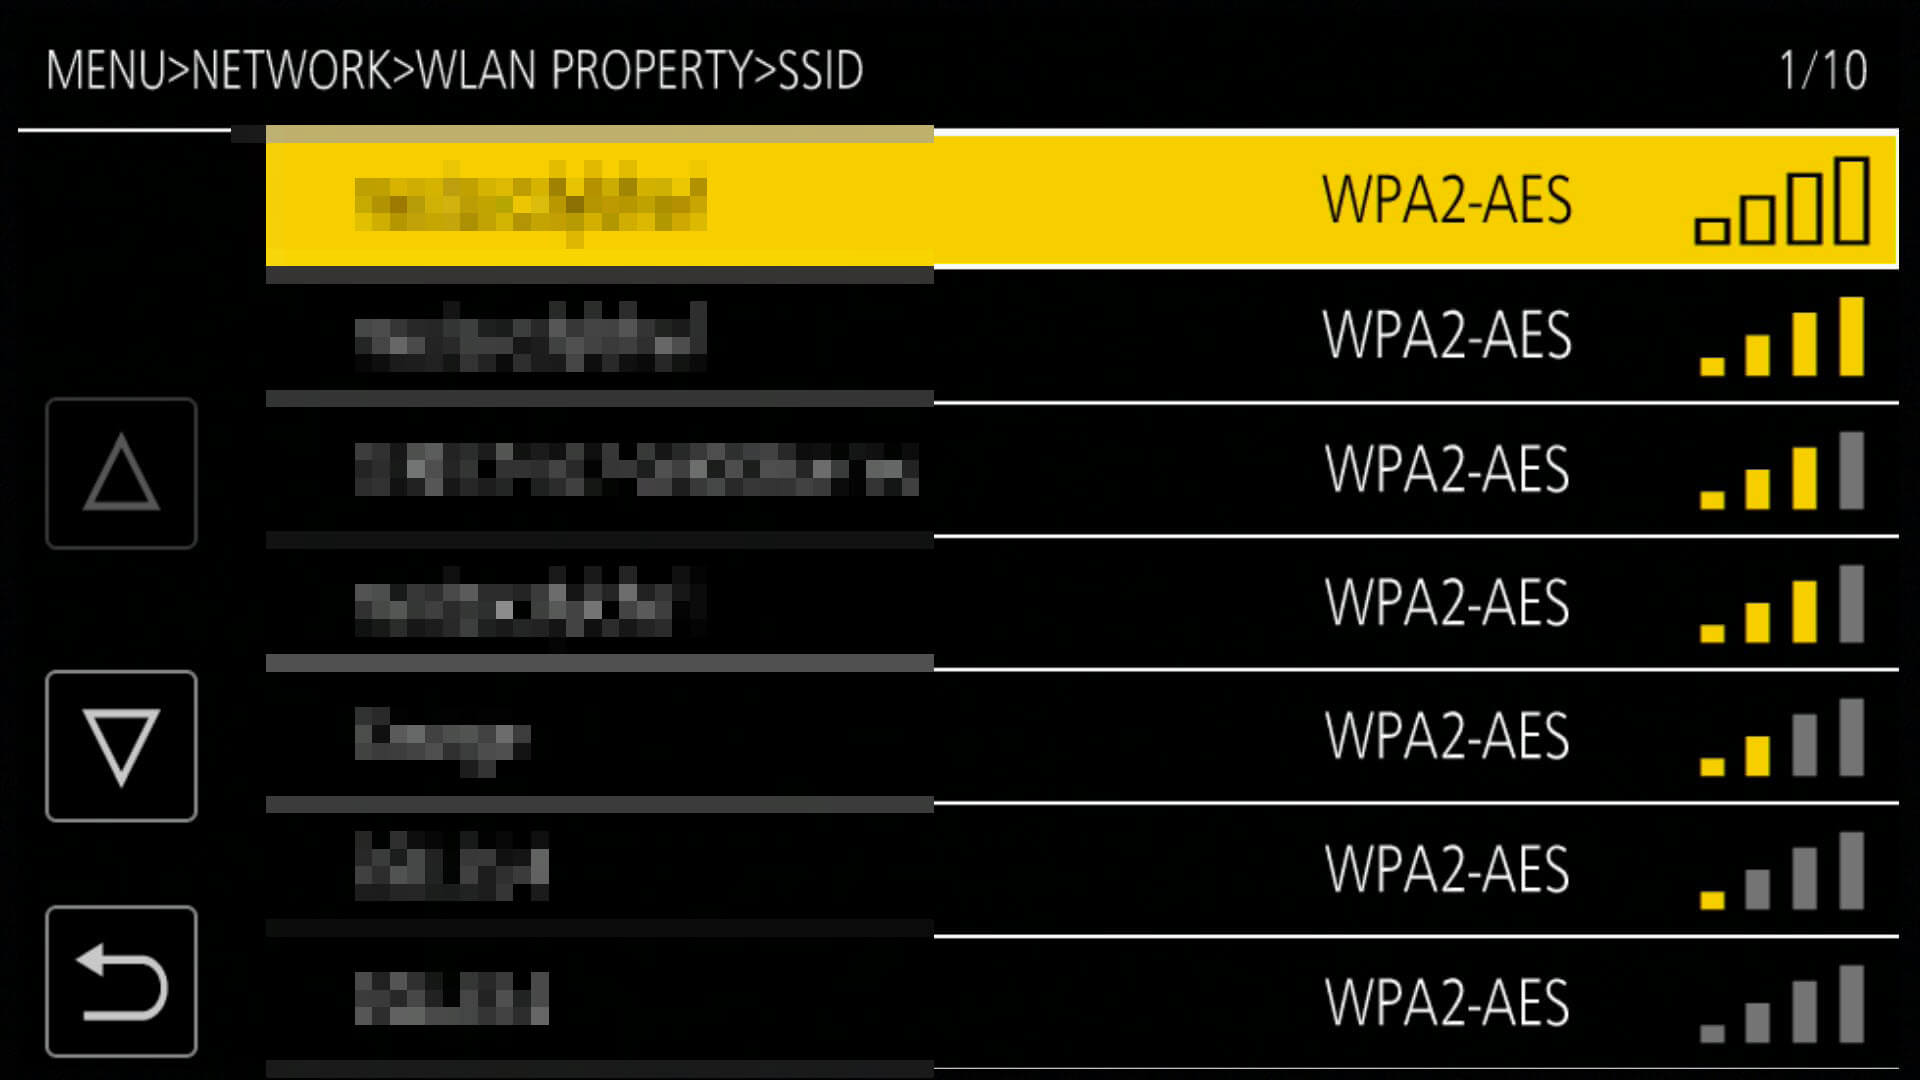
- Select [SSID].
- Select your desired Wi-Fi network from the list of available networks.
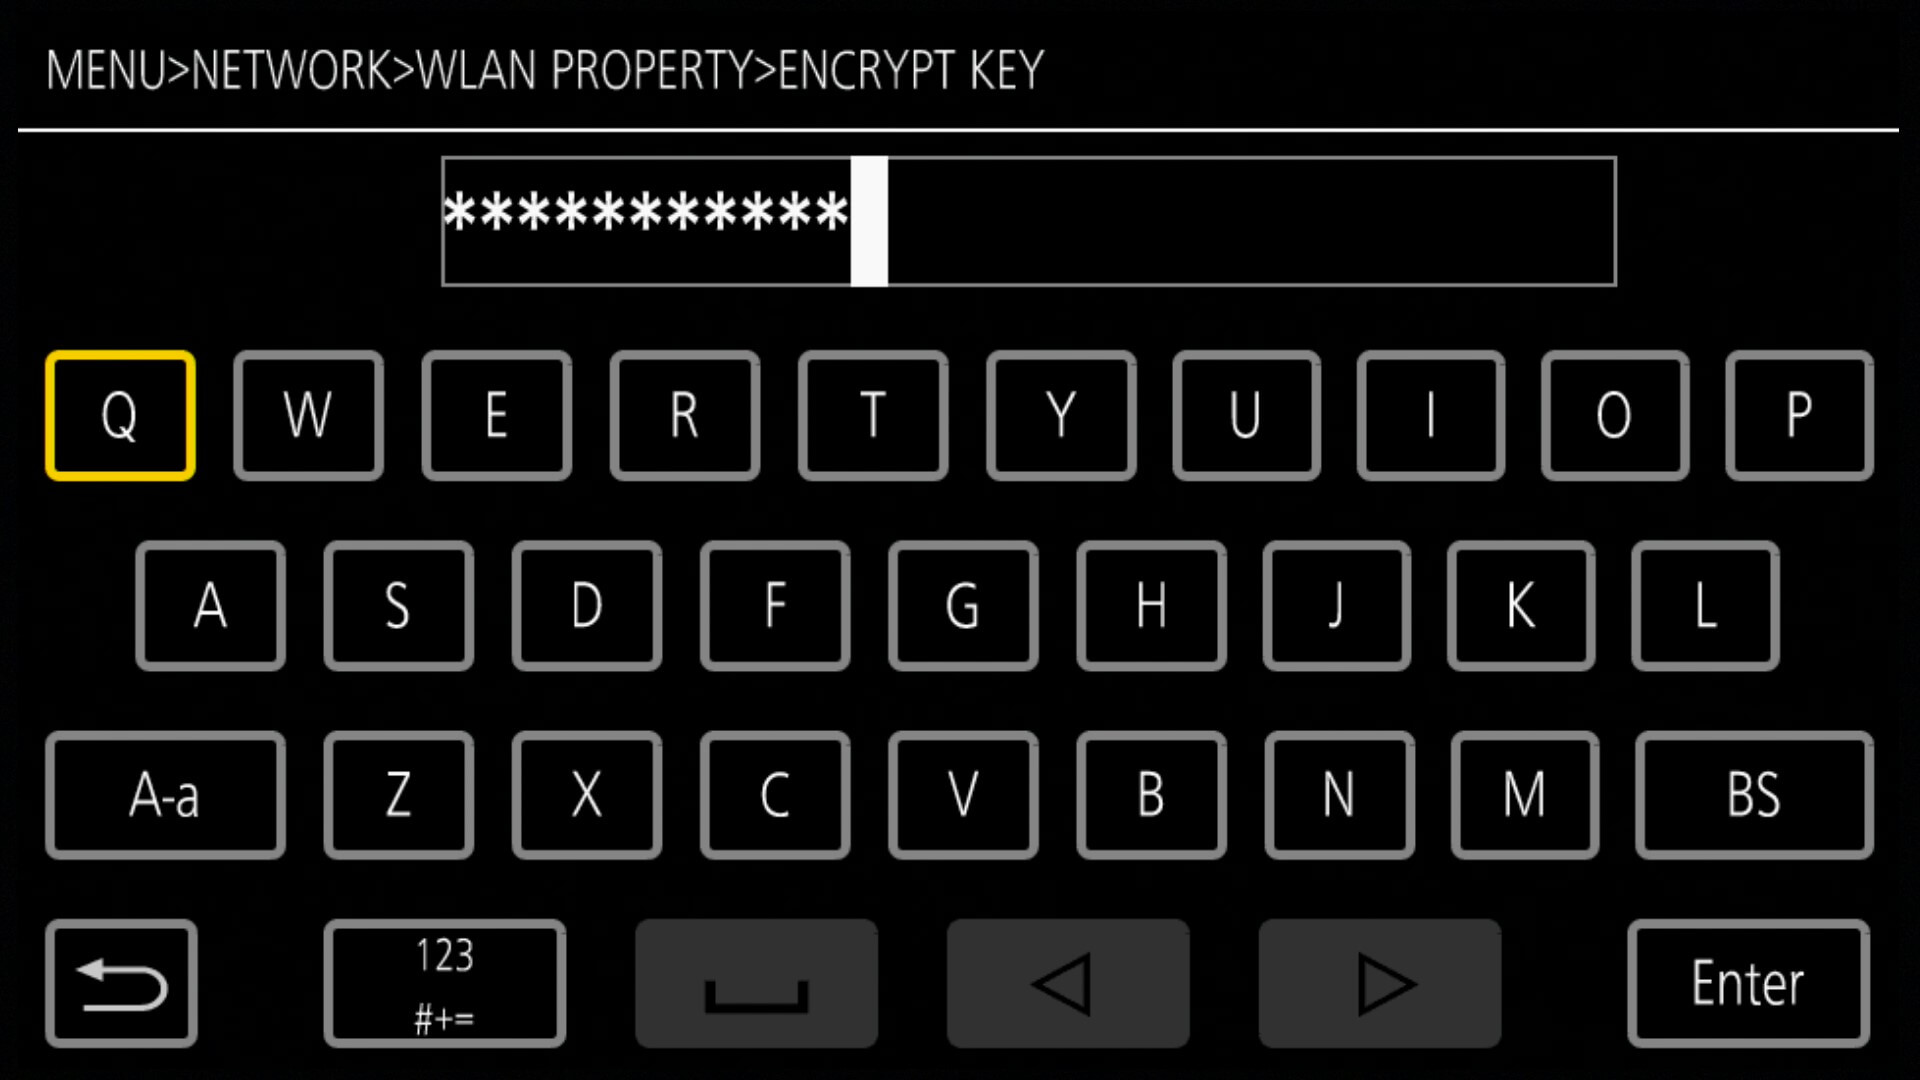
- Select [ENCRYPT KEY].
- Input the correct Wi-Fi network password and select [ENTER].
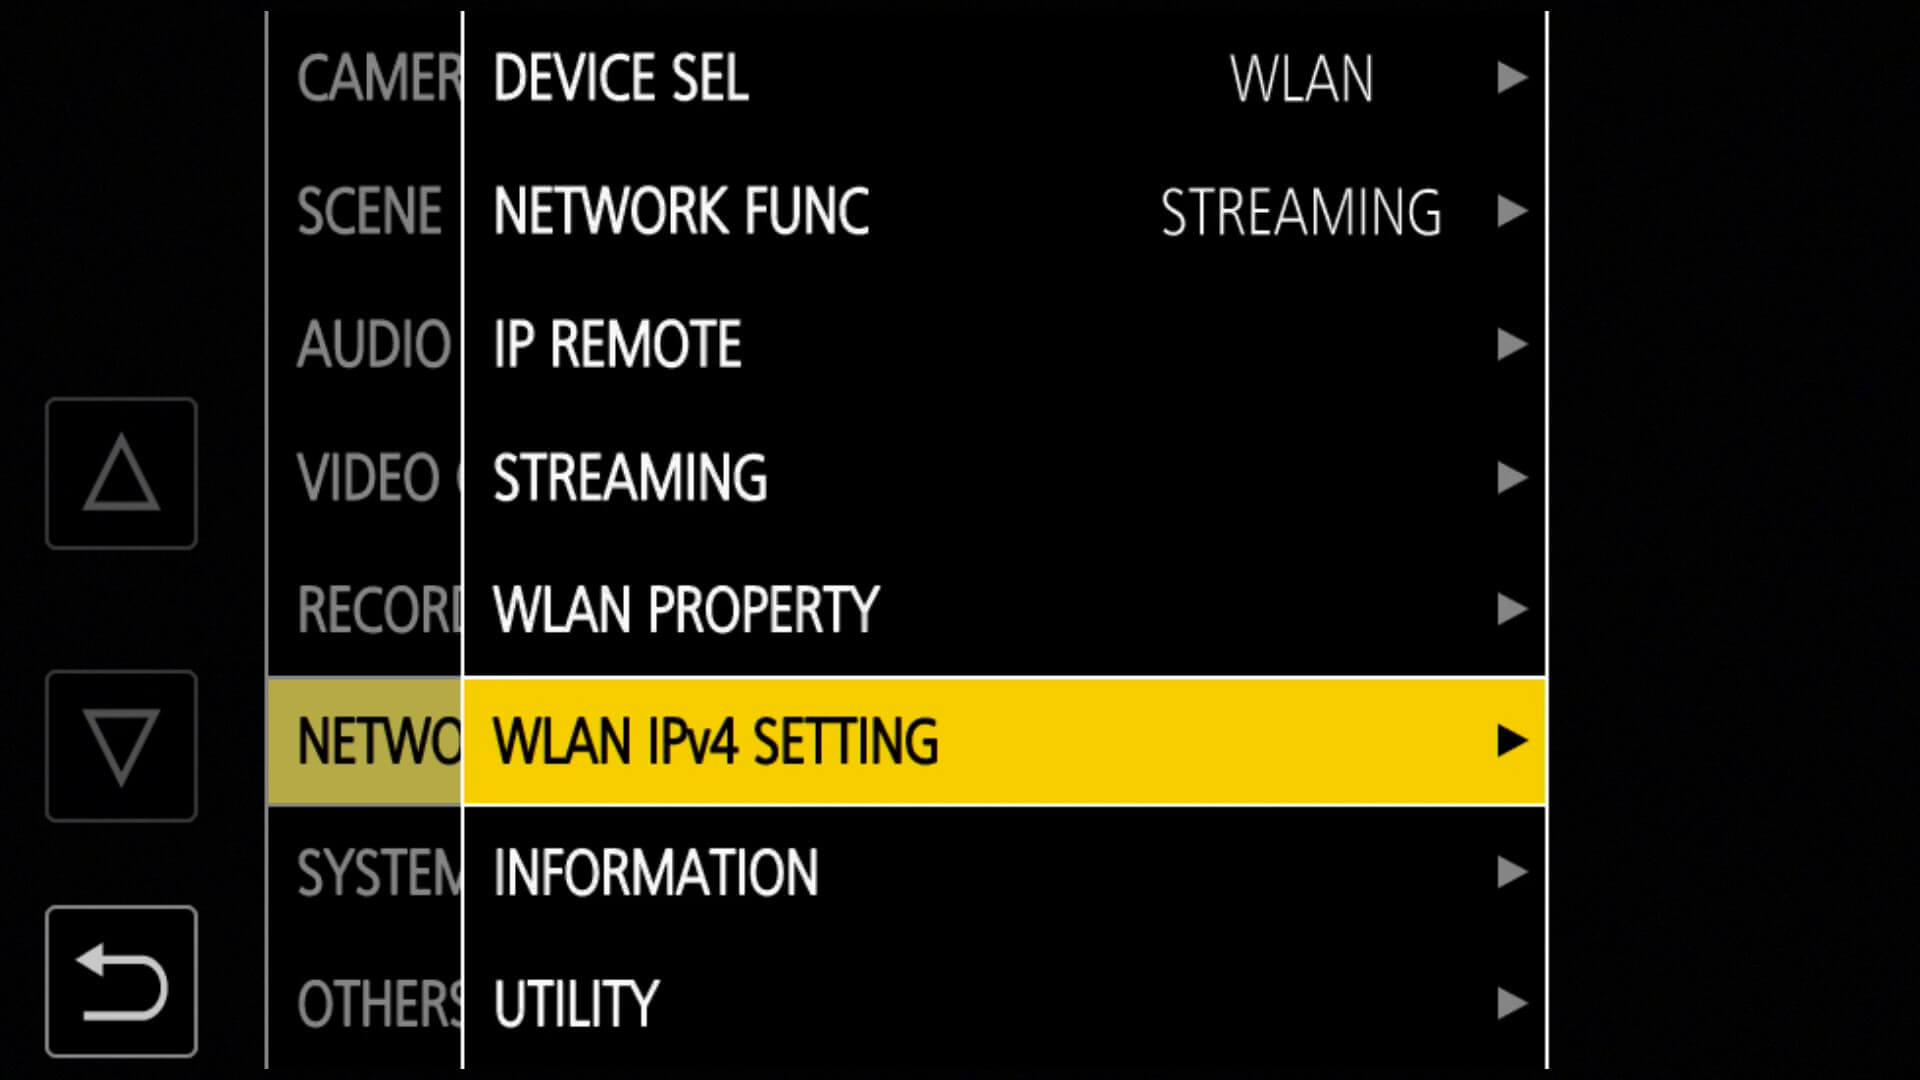
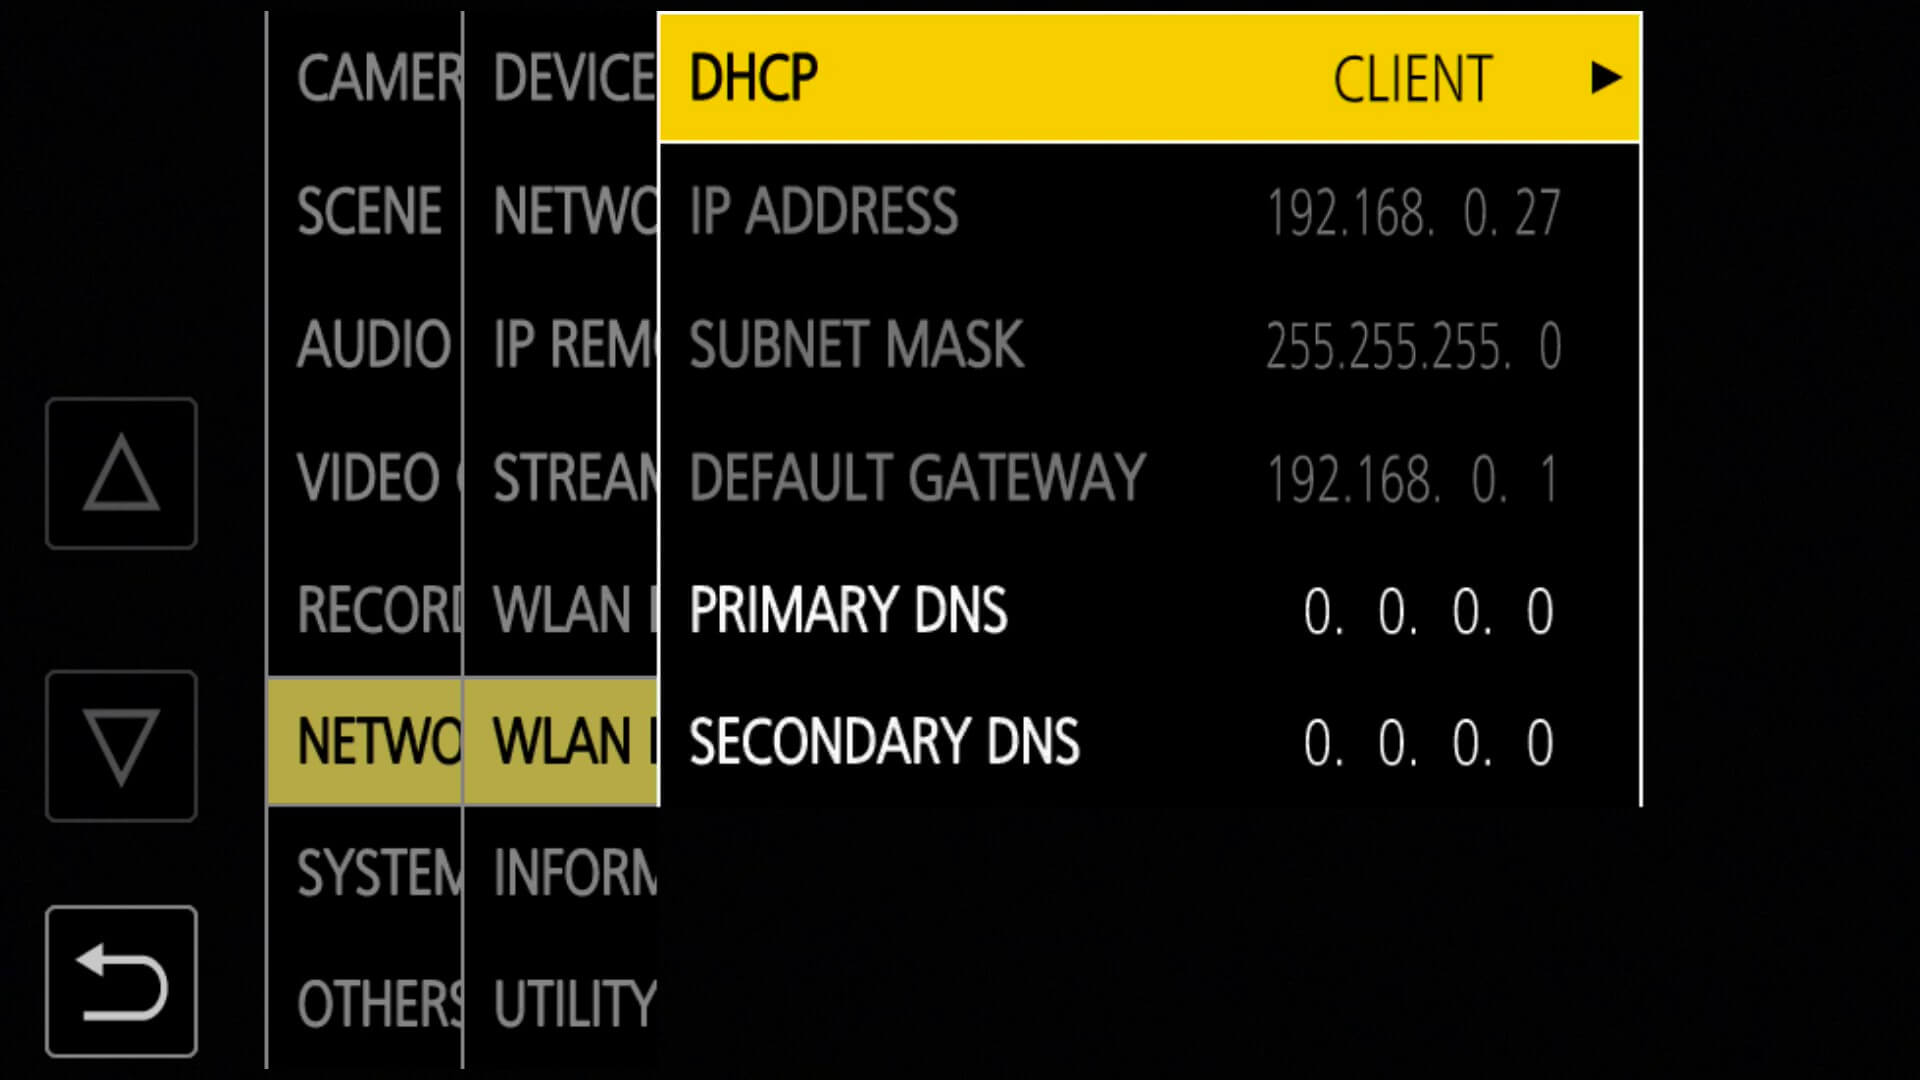
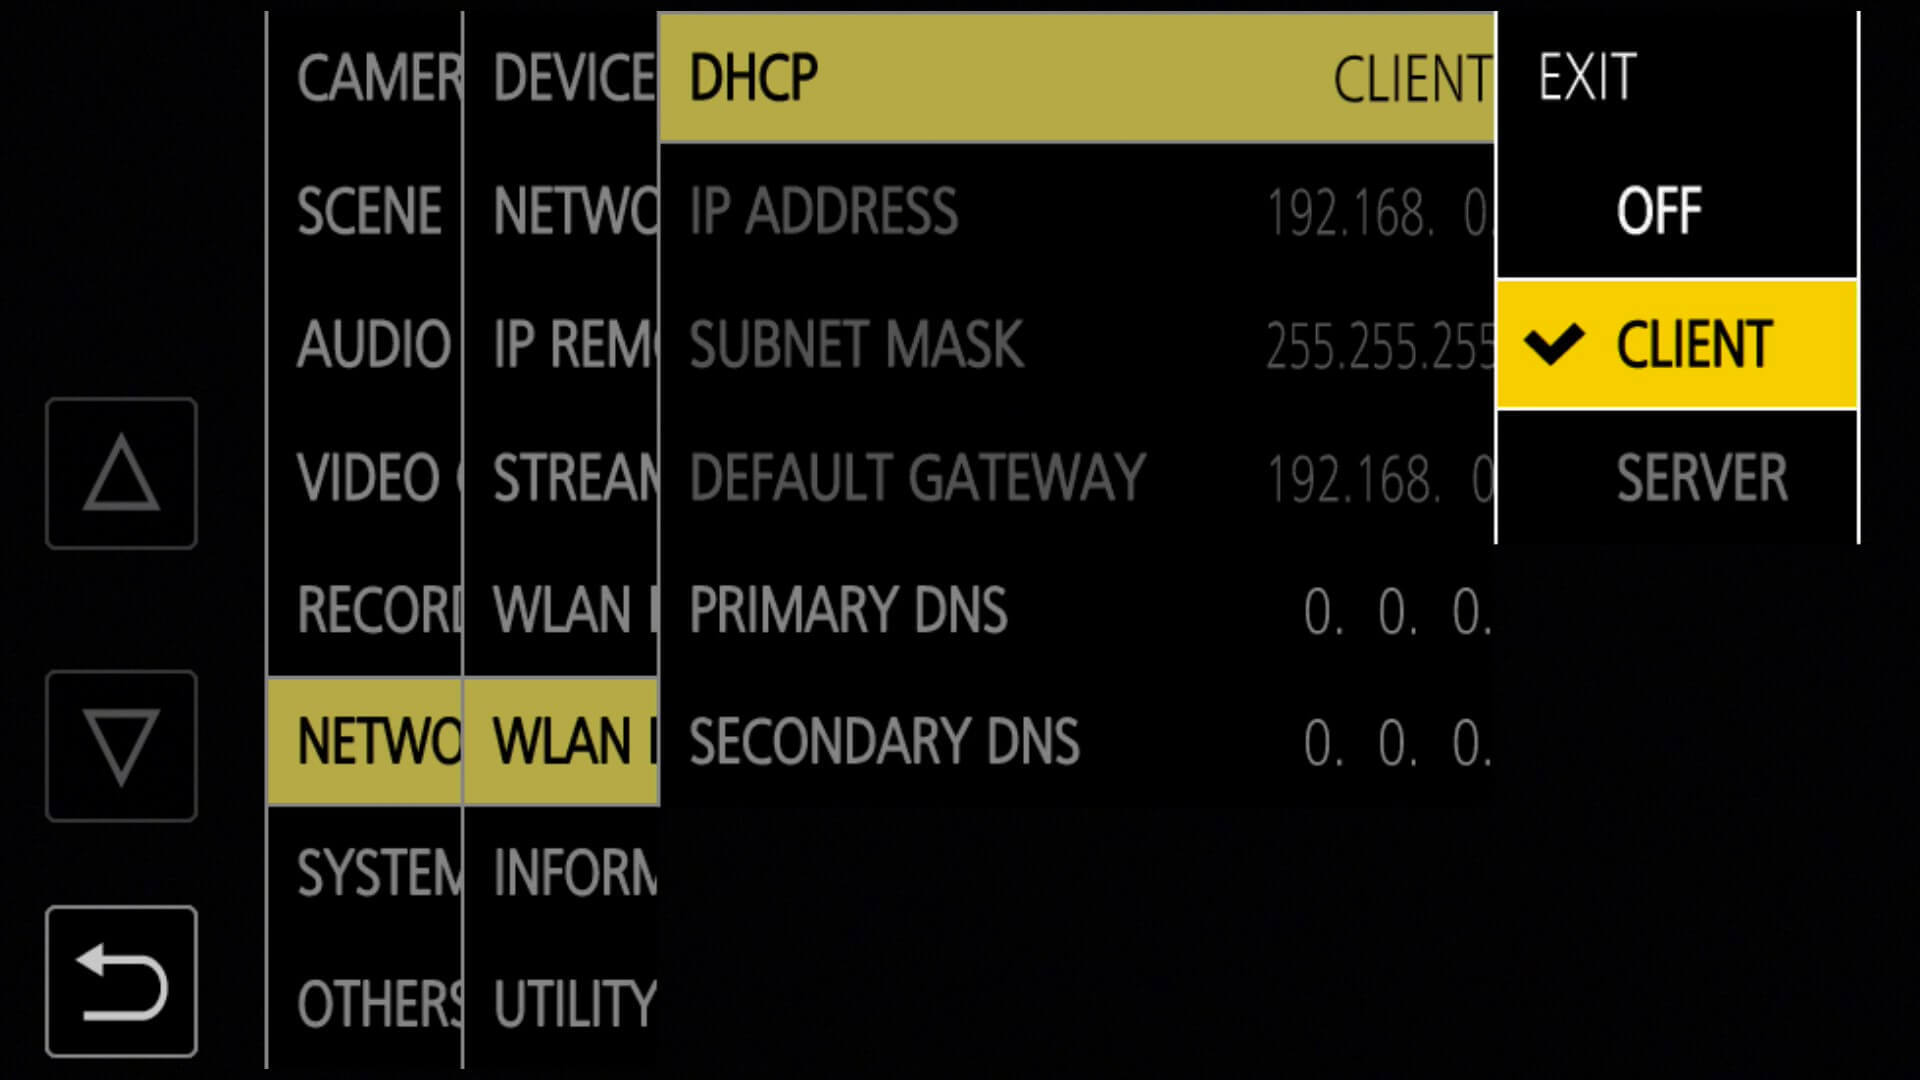
- Select [WLAN IPv4 Setting] → [DHCP] → [CLIENT]
- Press [RETURN] 3 times to return to the main menu for step 2.
Step 2: Set recording formats
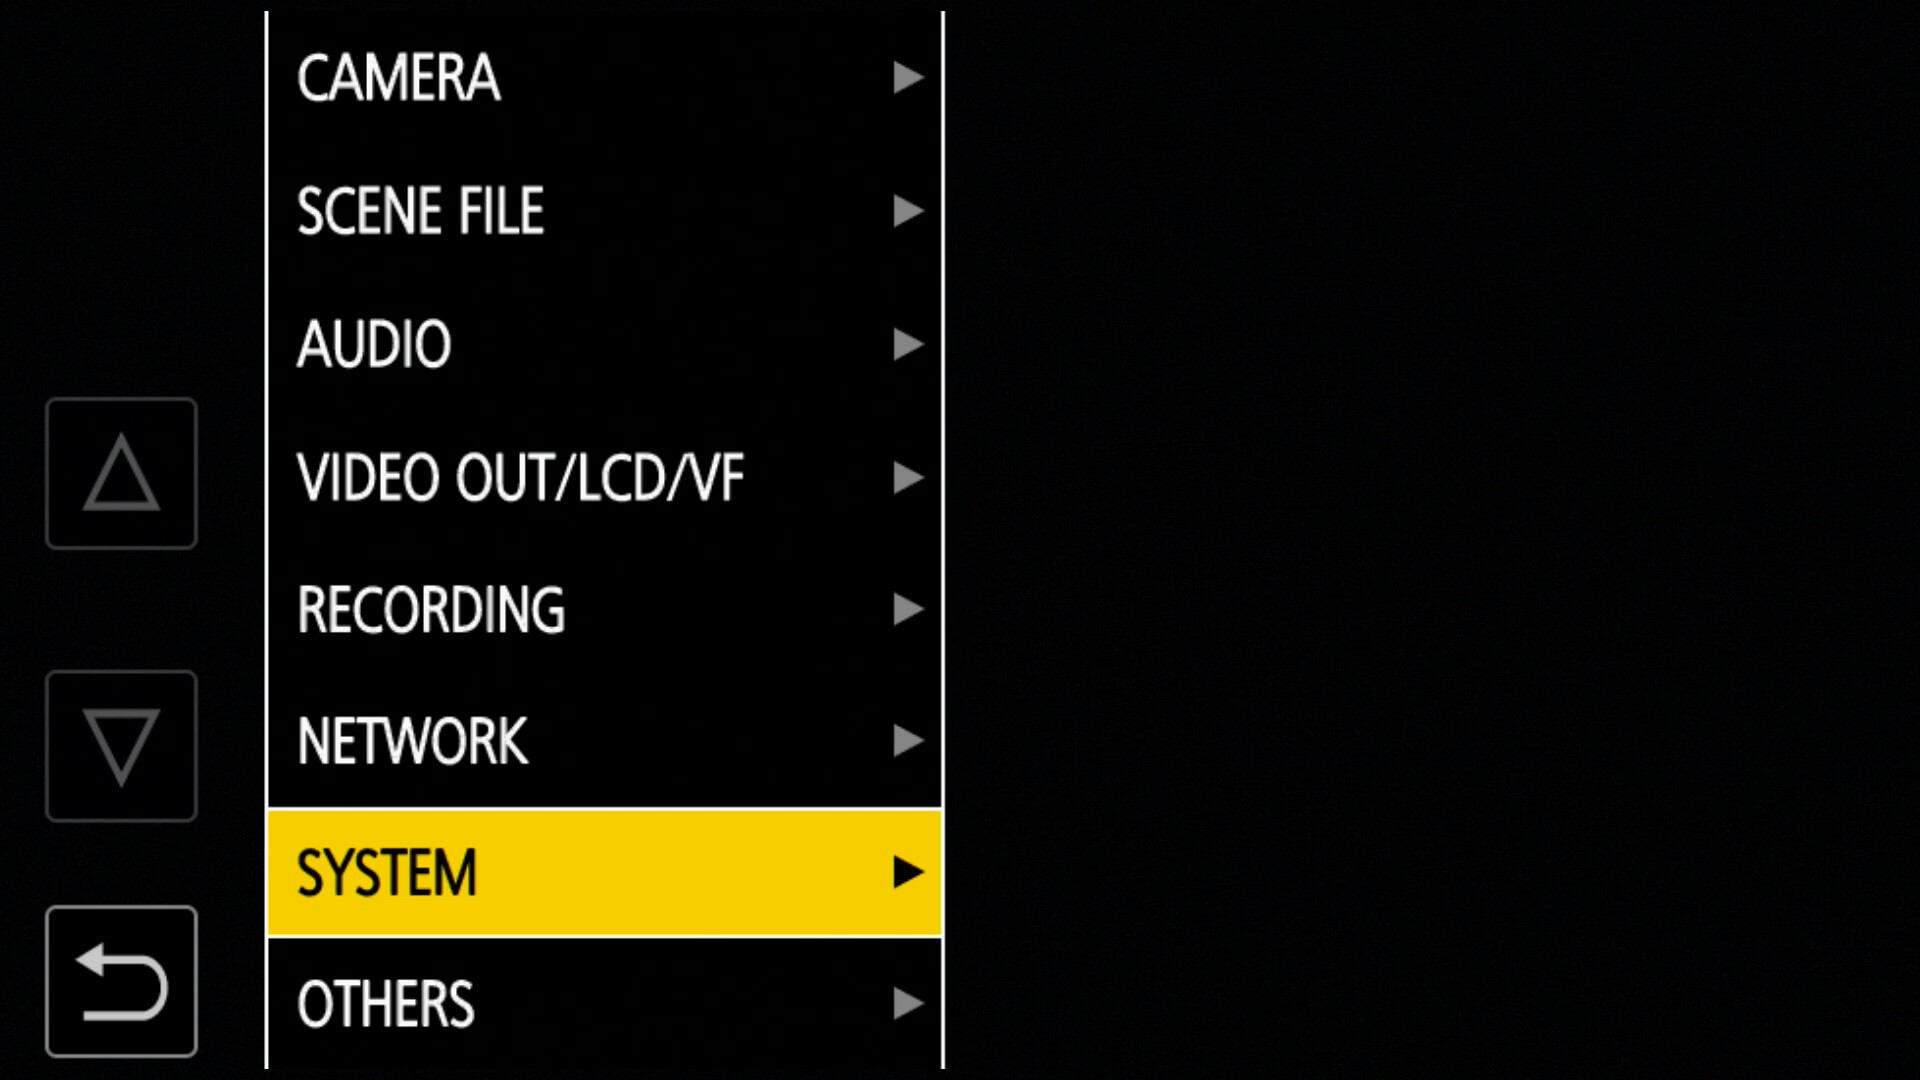
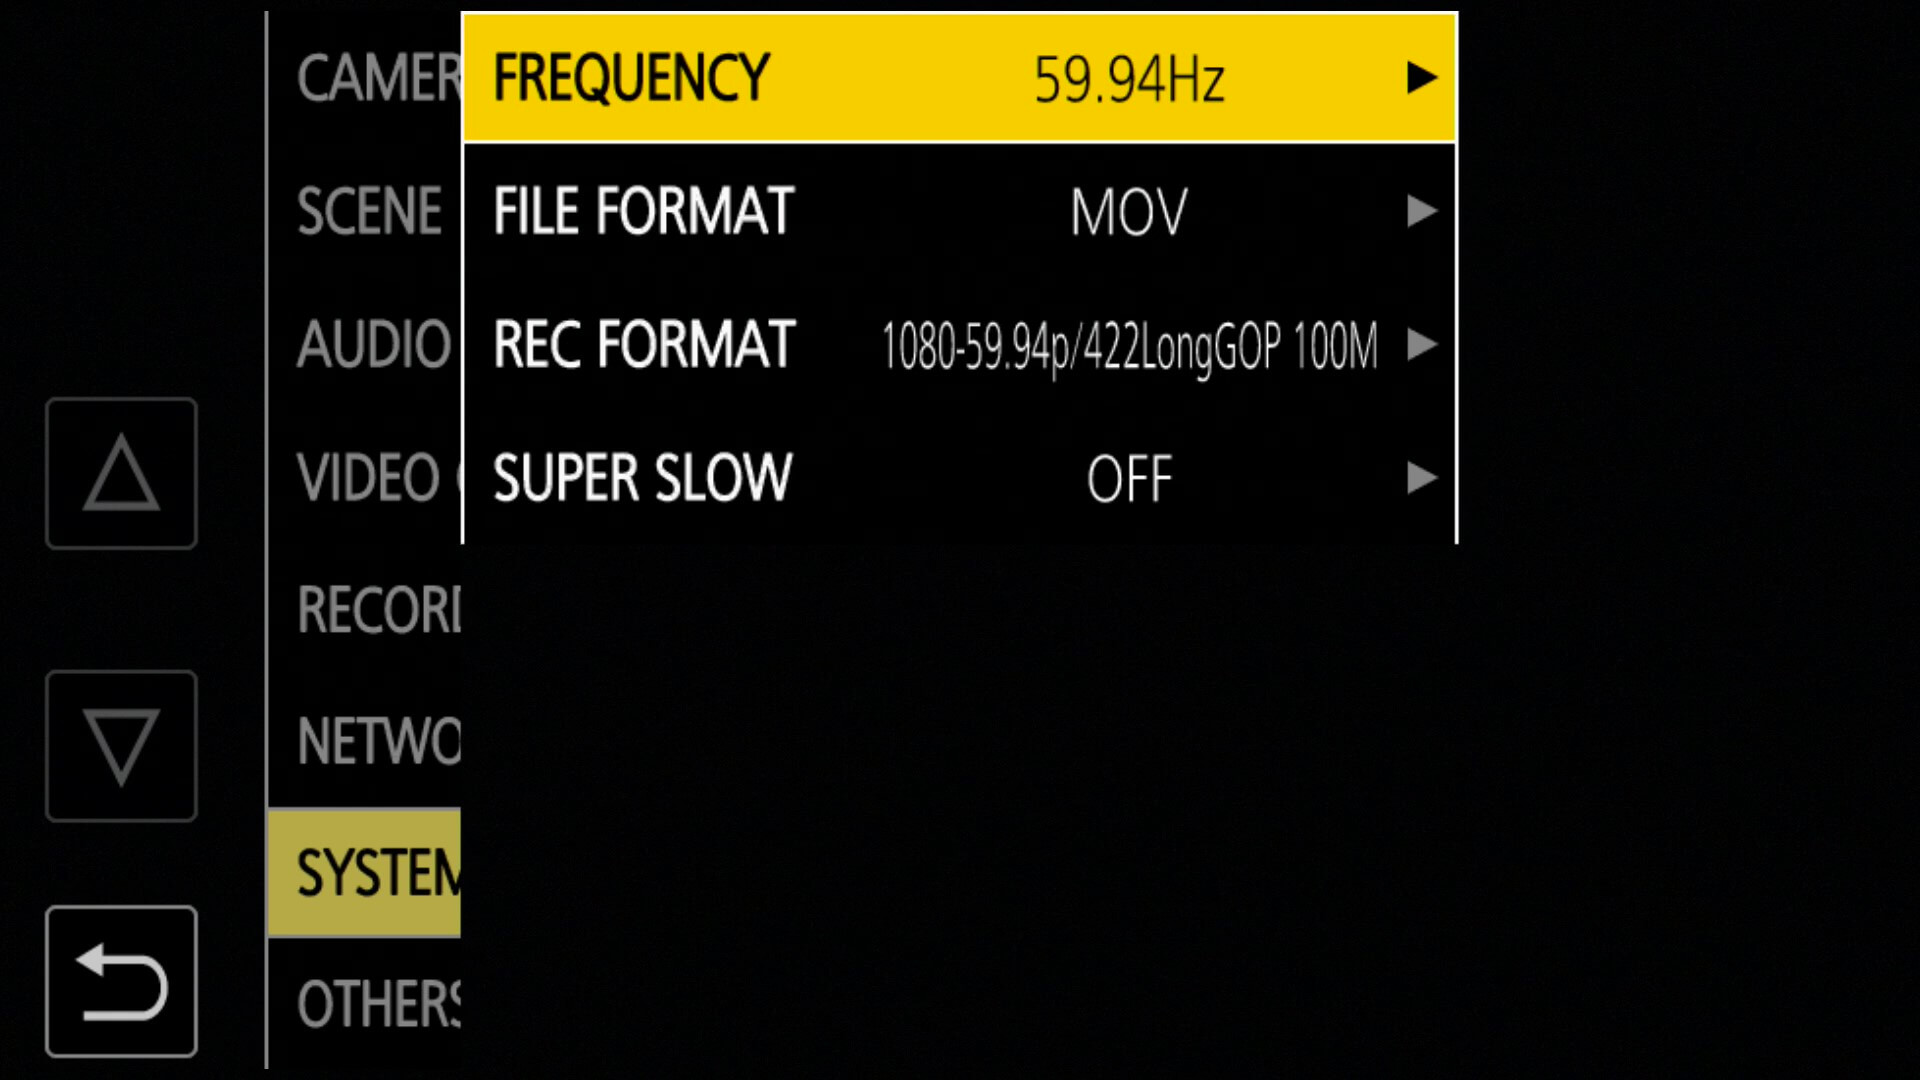
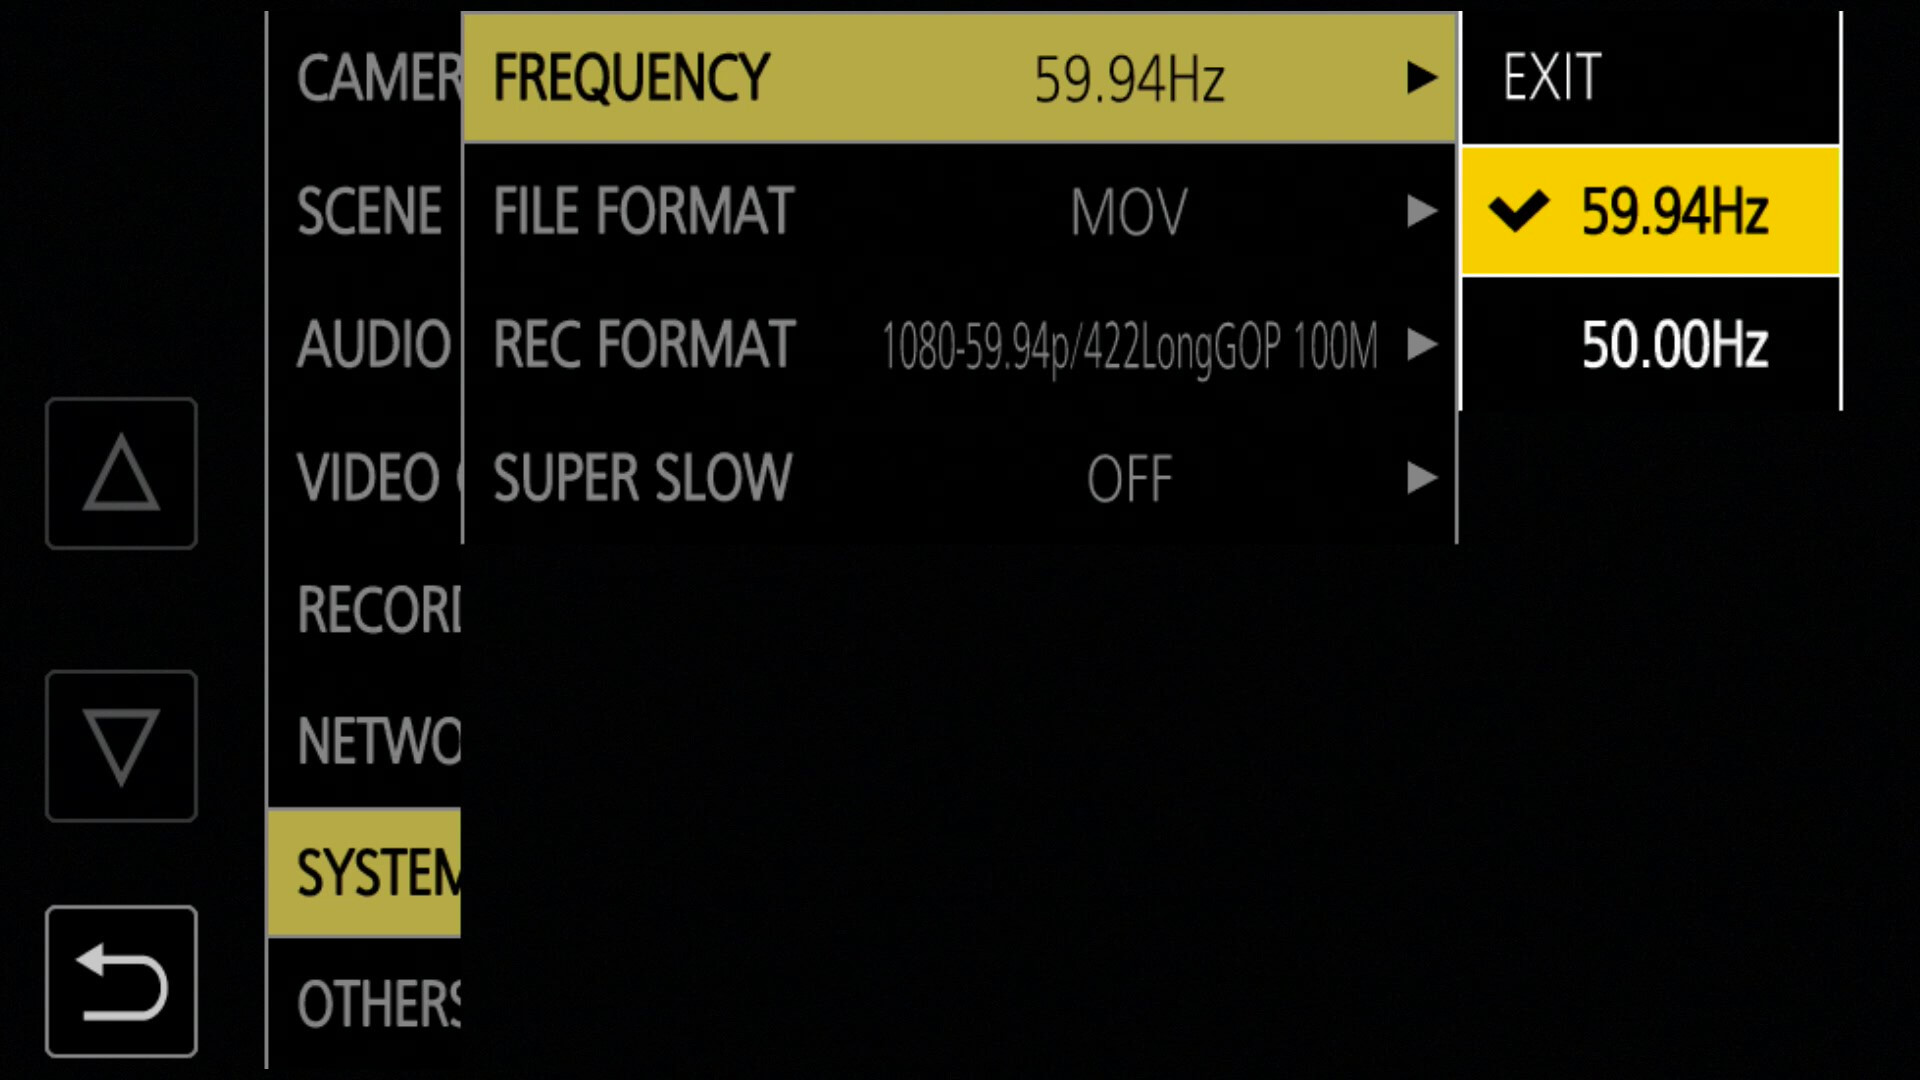
- Select [SYSTEM] → [FREQUENCY] → [59.94Hz].
- Select [FILE FORMAT] and choose the file format that you would like to stream your content in.
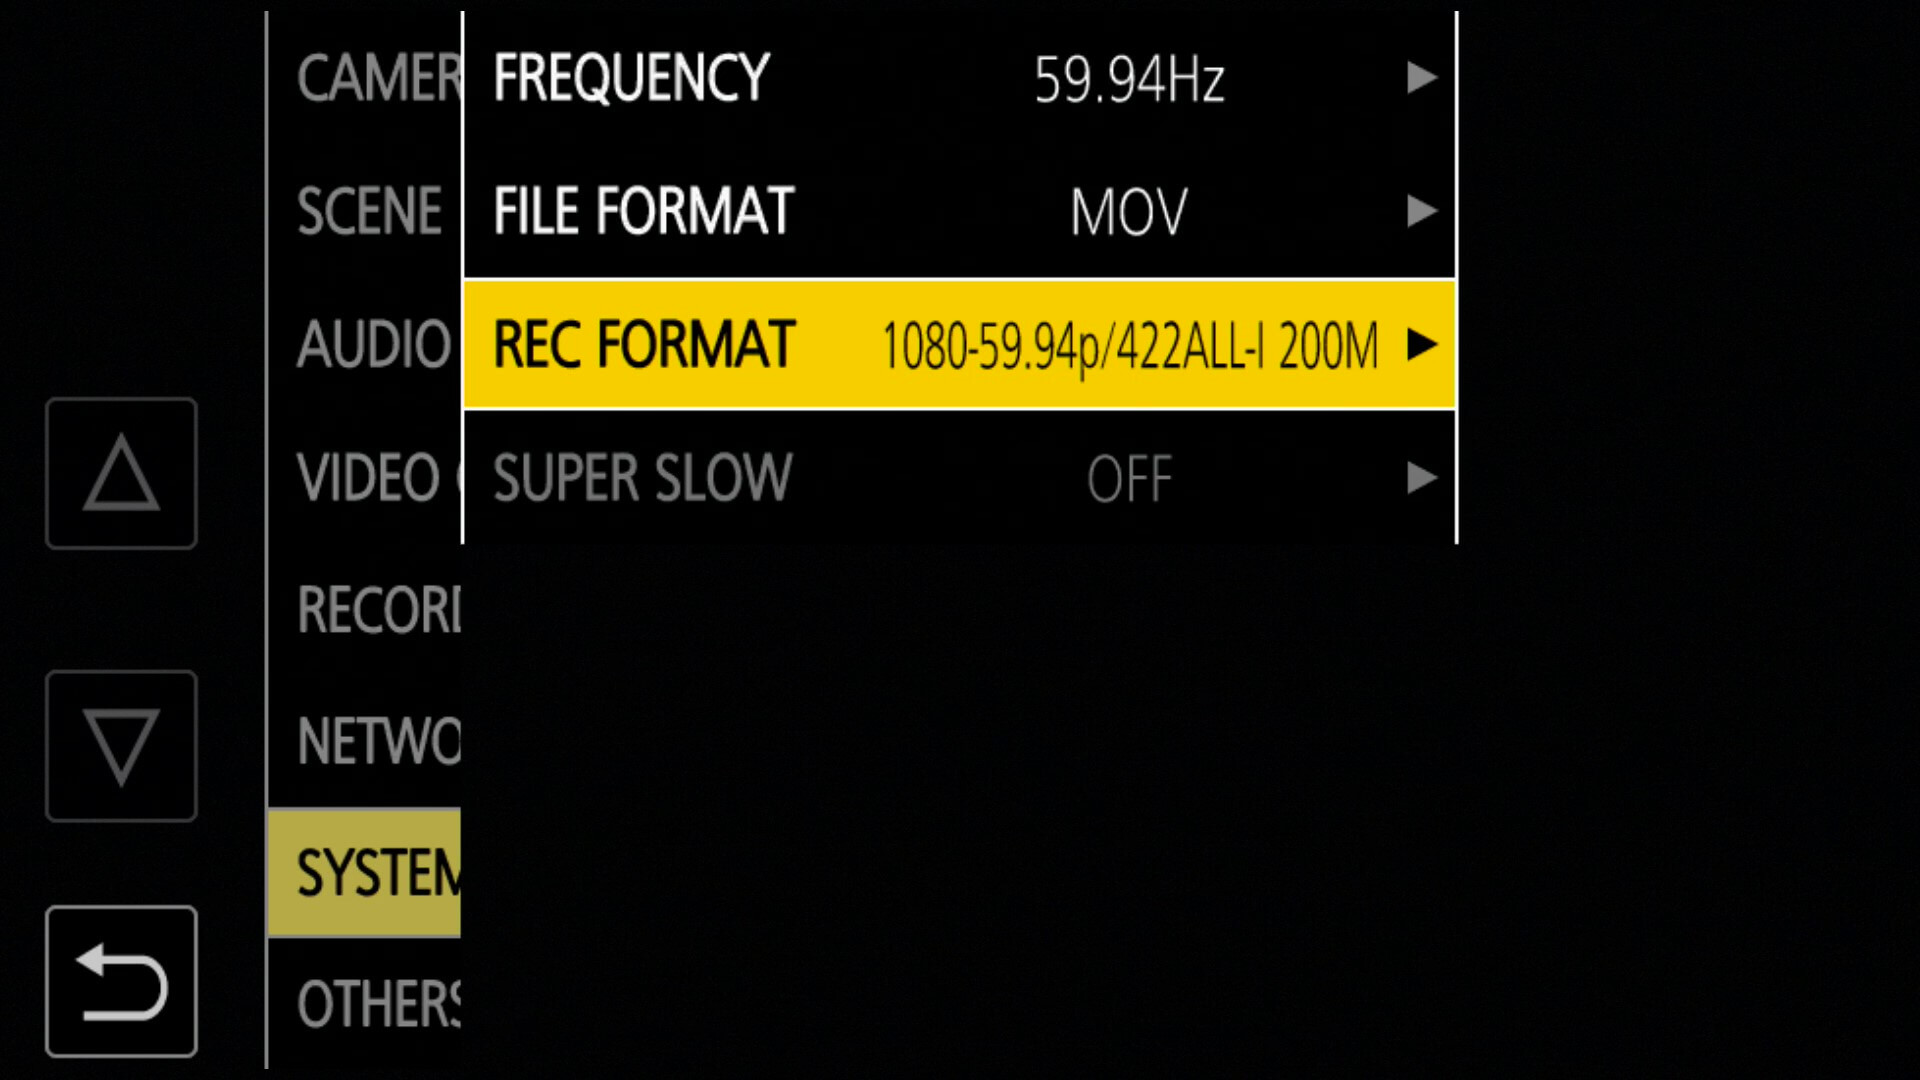
- Select [REC FORMAT] and choose a format that is supported for livestreaming.
Step 3: Setting the streaming format
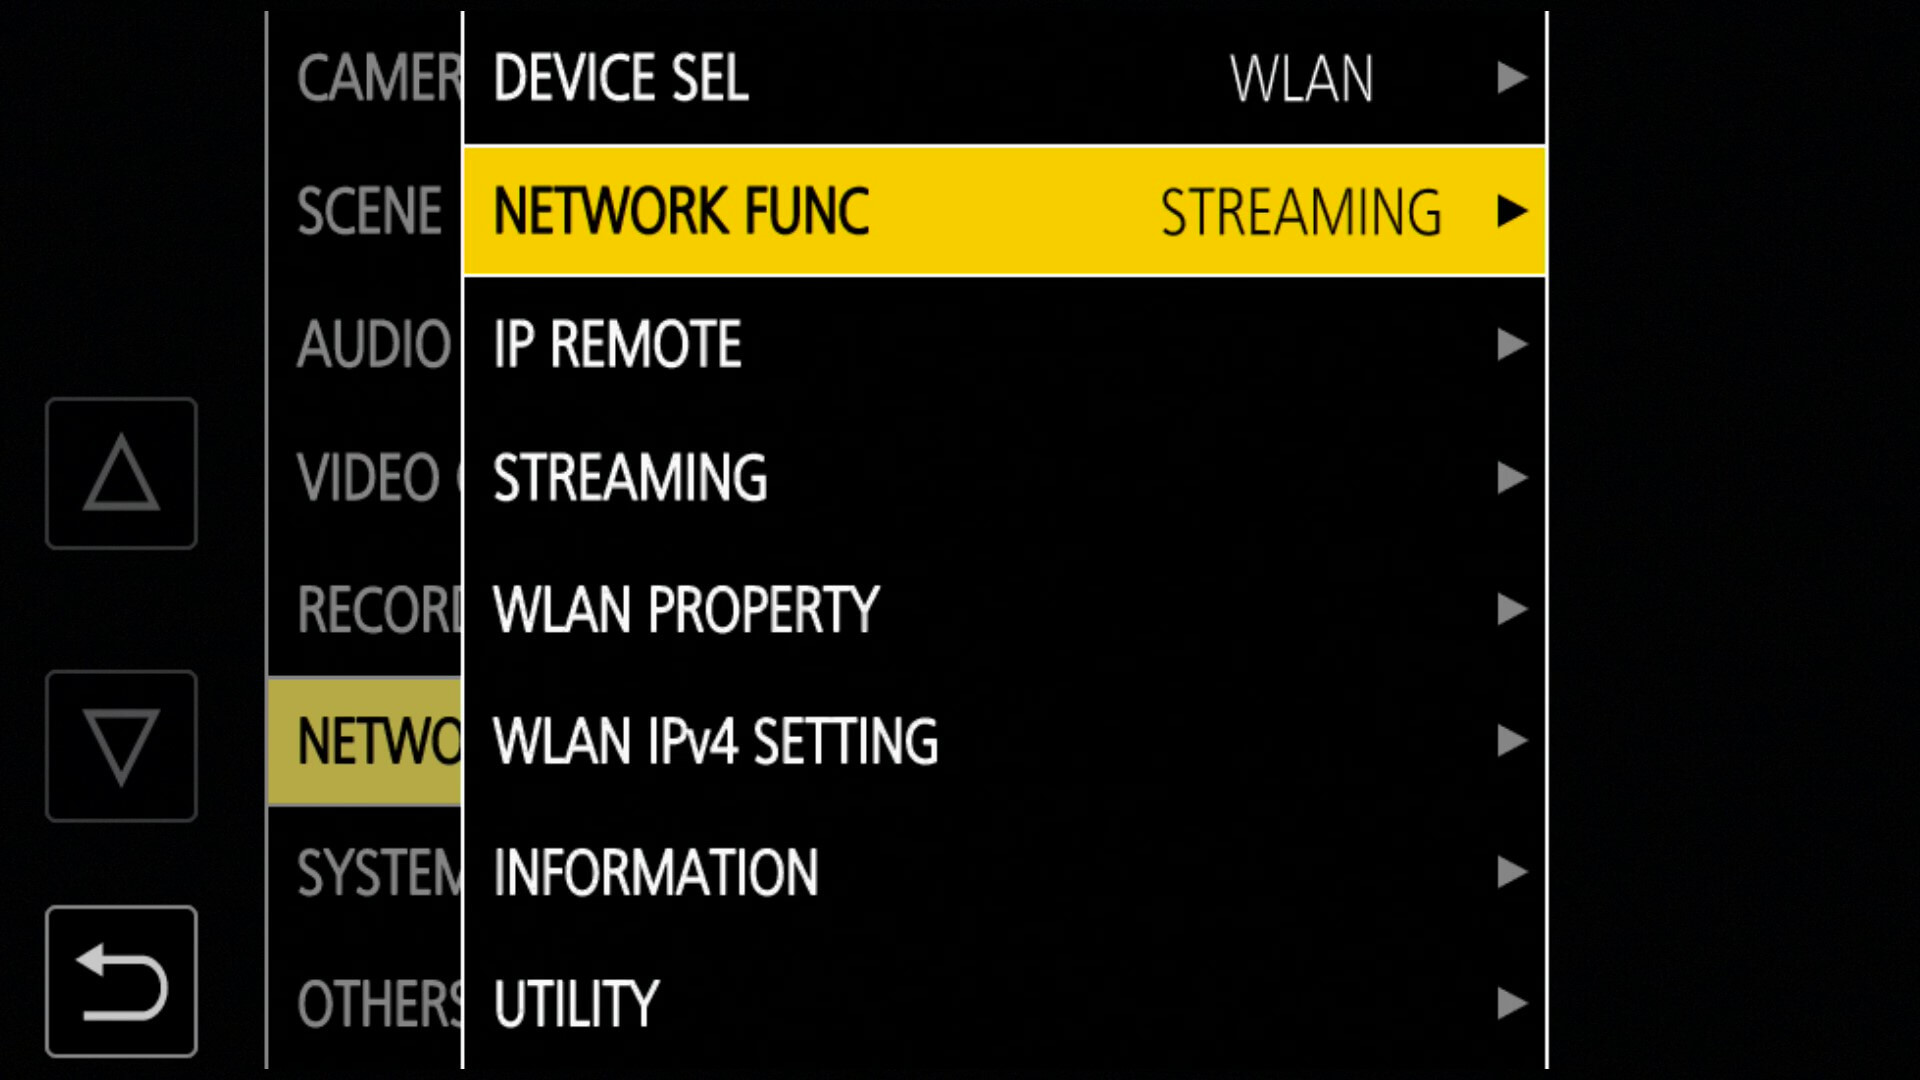
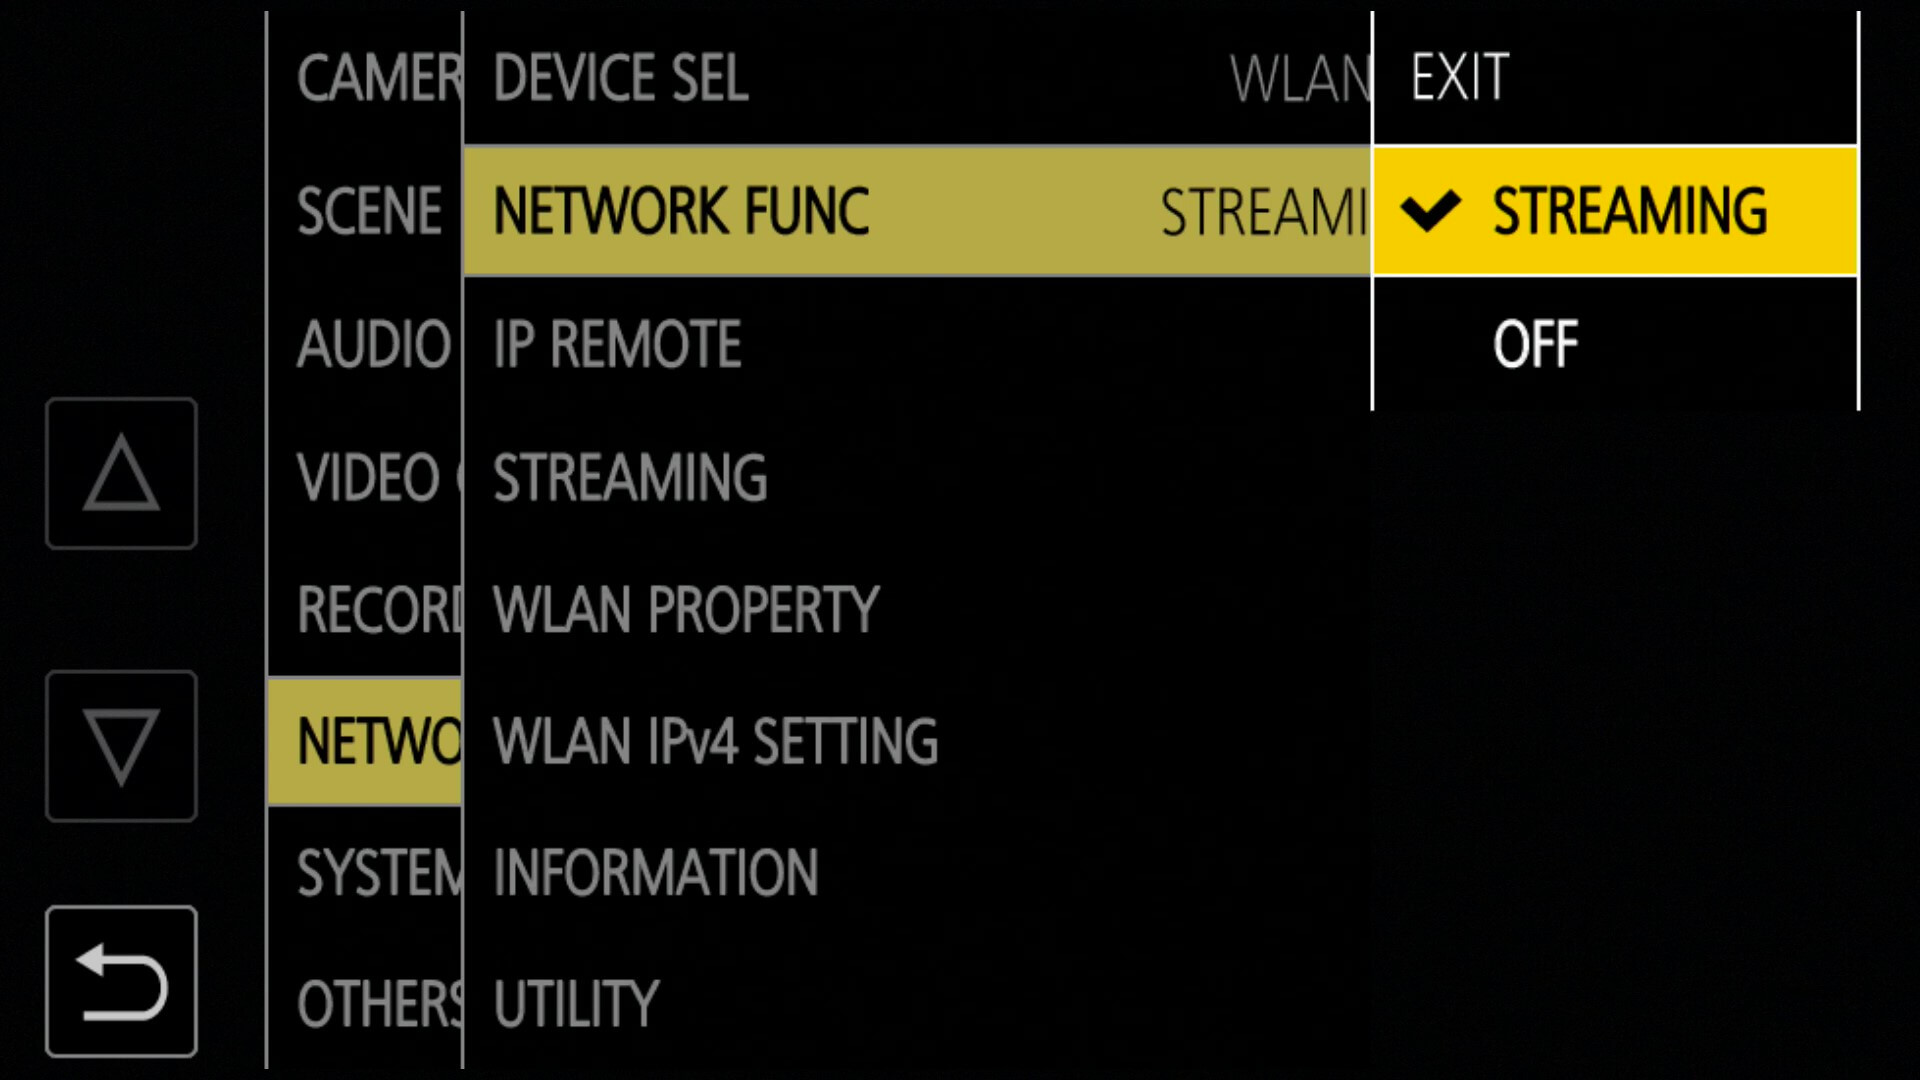
- From the main menu, select [NETWORK] → [NETWORK FUNC] → [STREAMING].
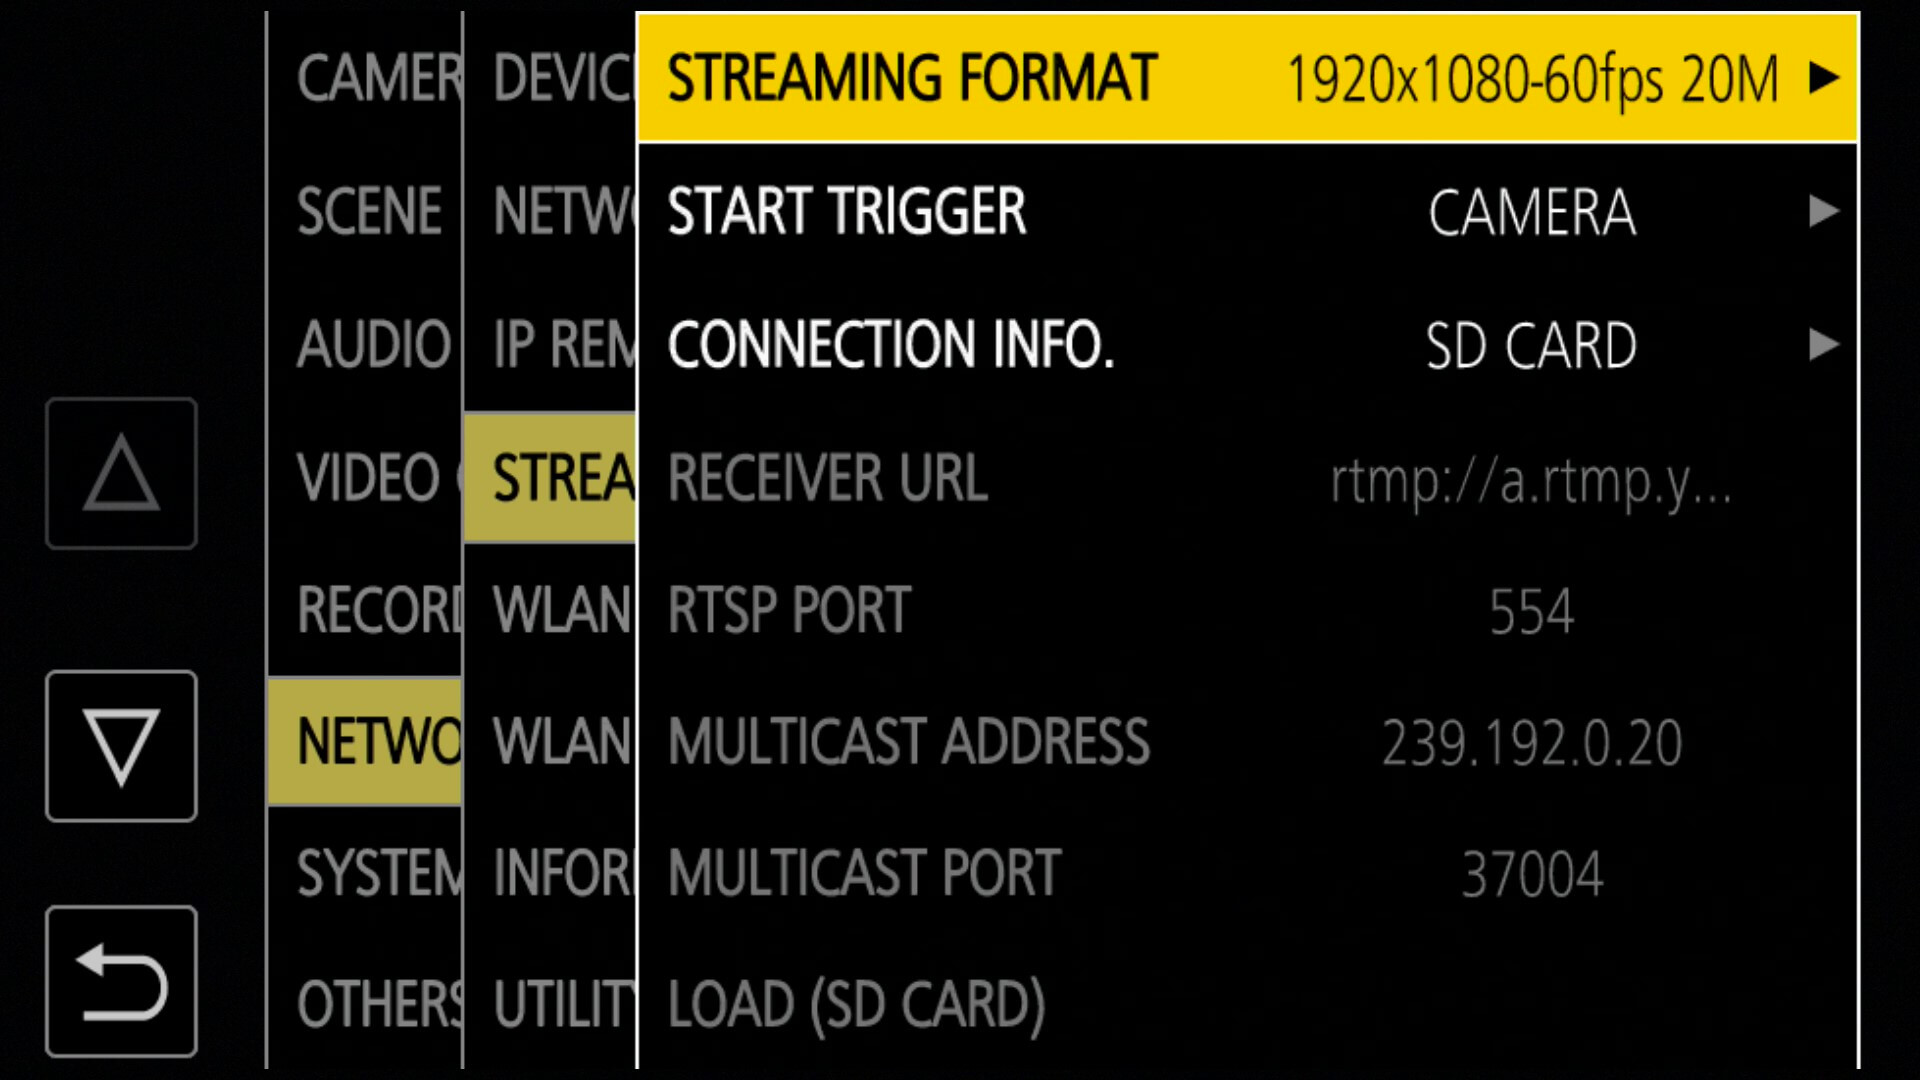
- Select [STREAMING] → [STREAMING FORMAT] and choose your desired format.
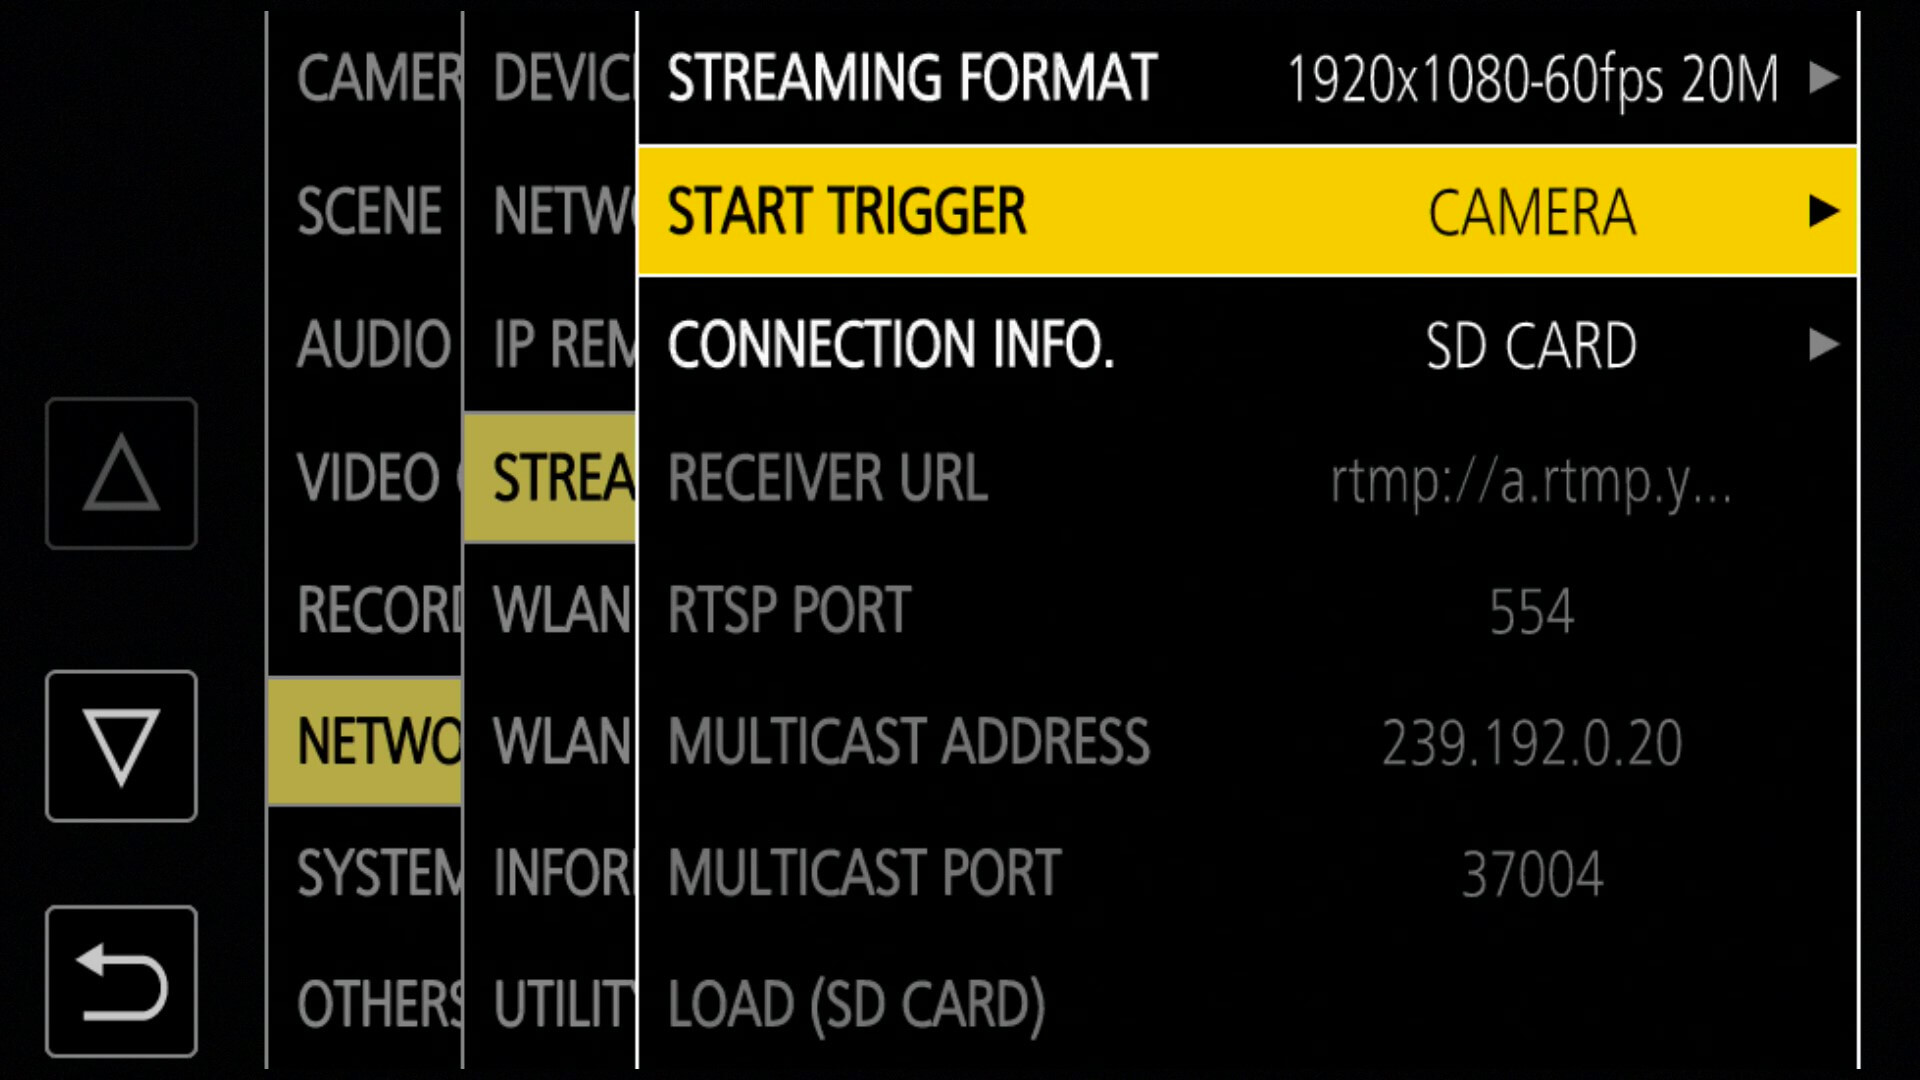
- Select [STREAMING] → [START TRIGGER] → [CAMERA].
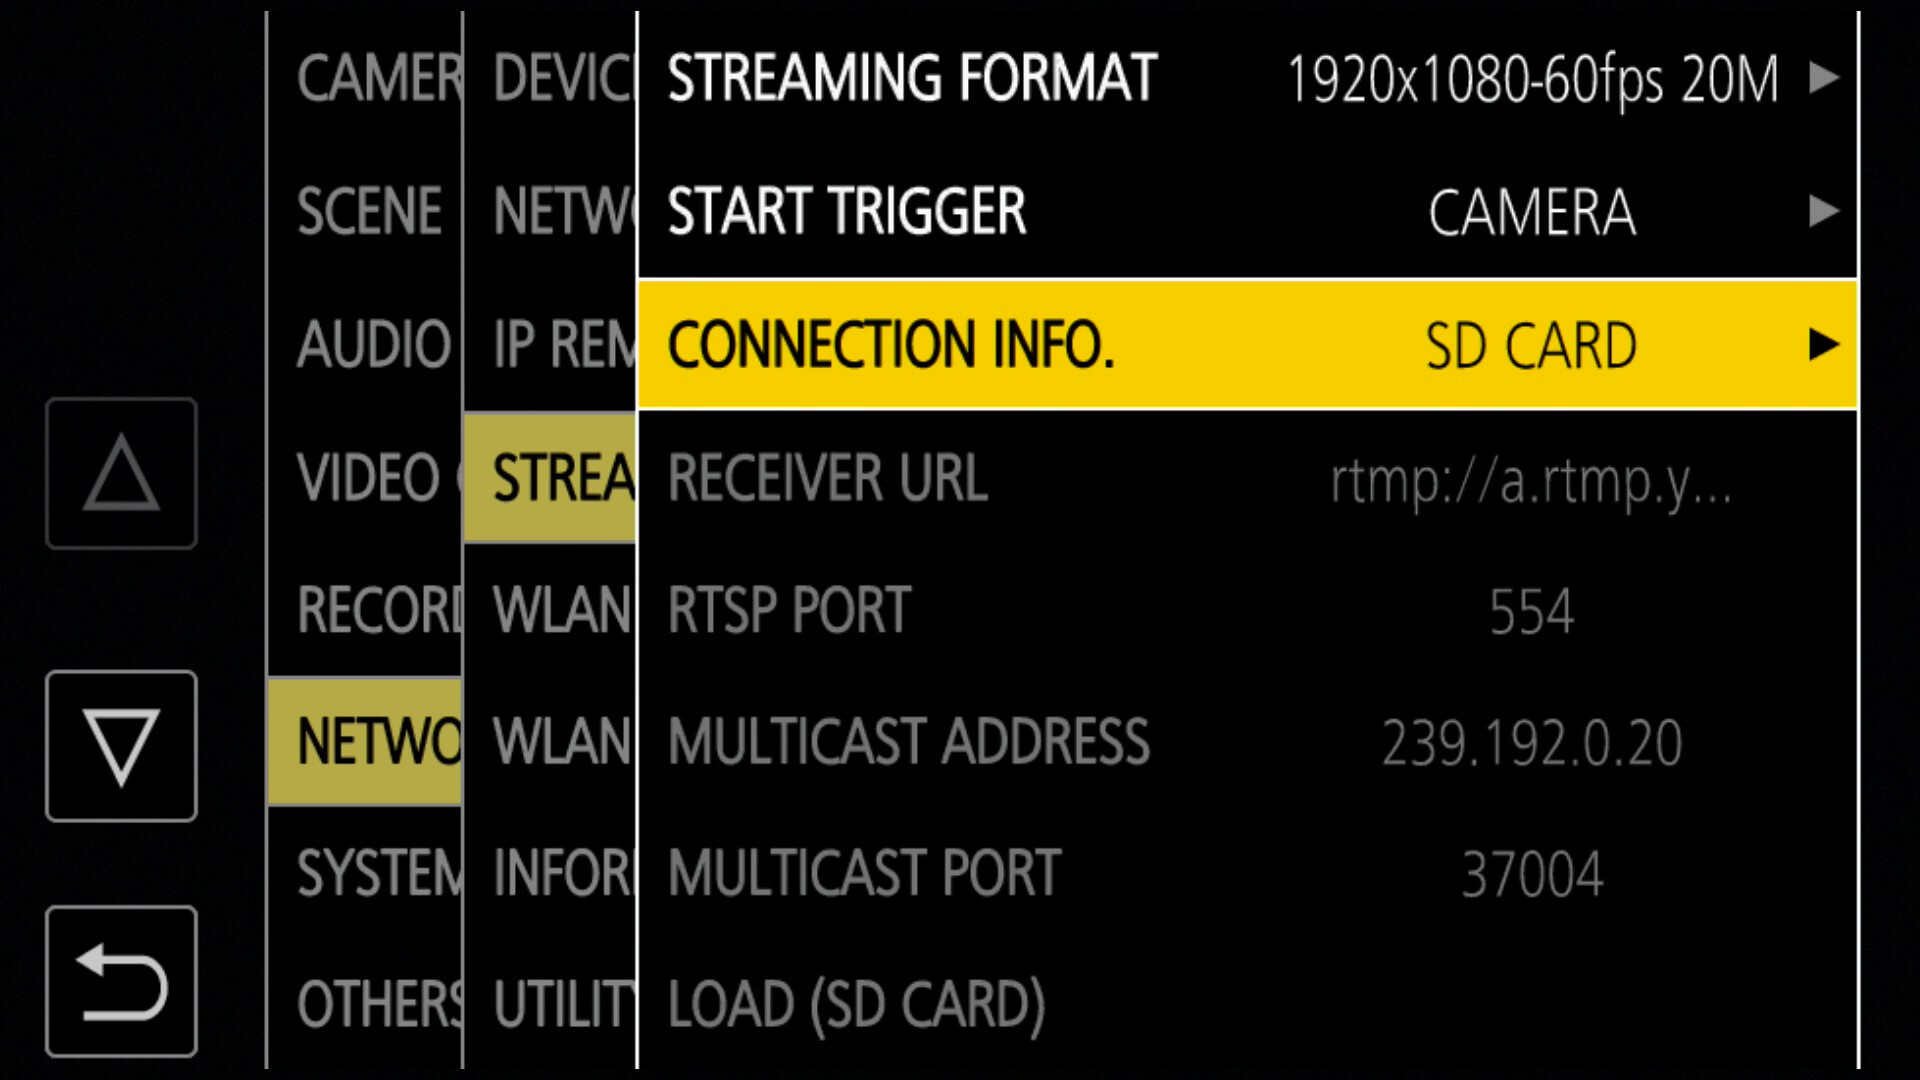
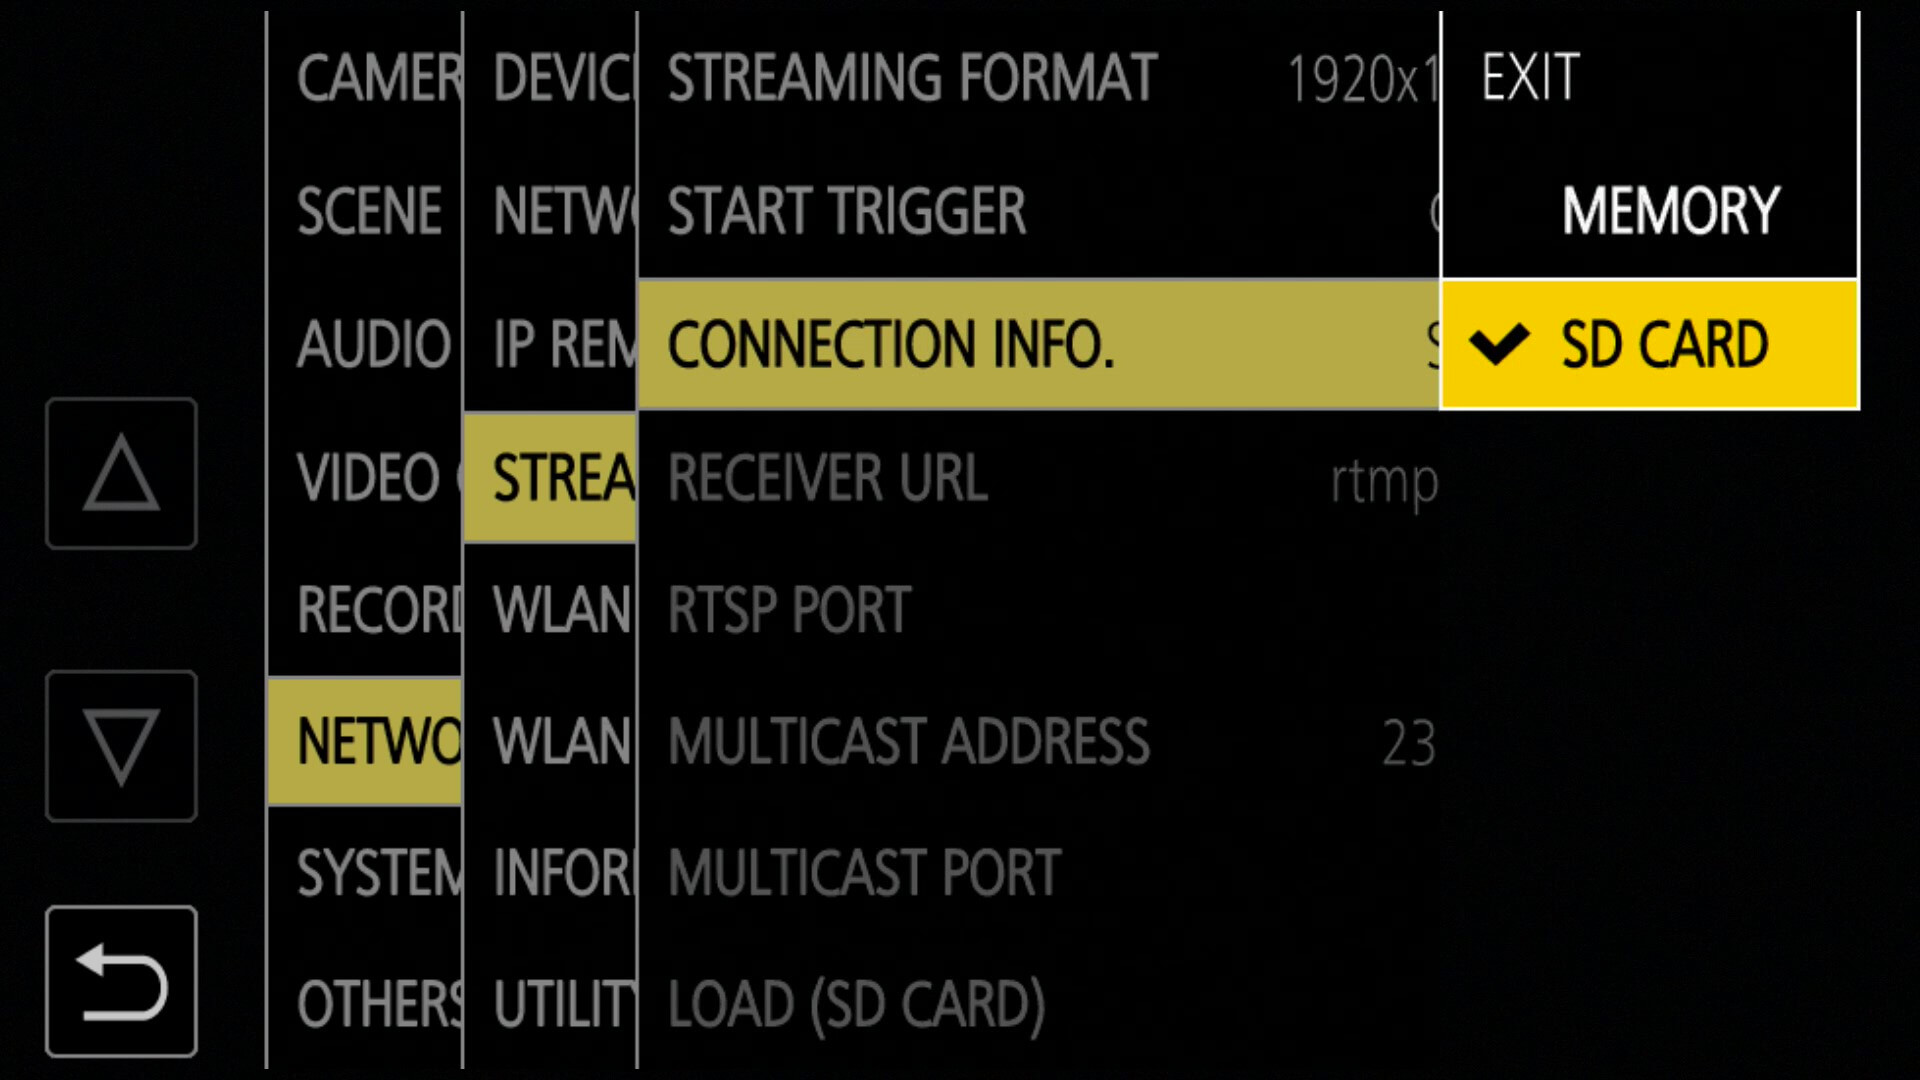
- Select [CONNECTION INFO] → [SD
CARD].
- Note: the [RECEIVER URL] is copied from the SD card.
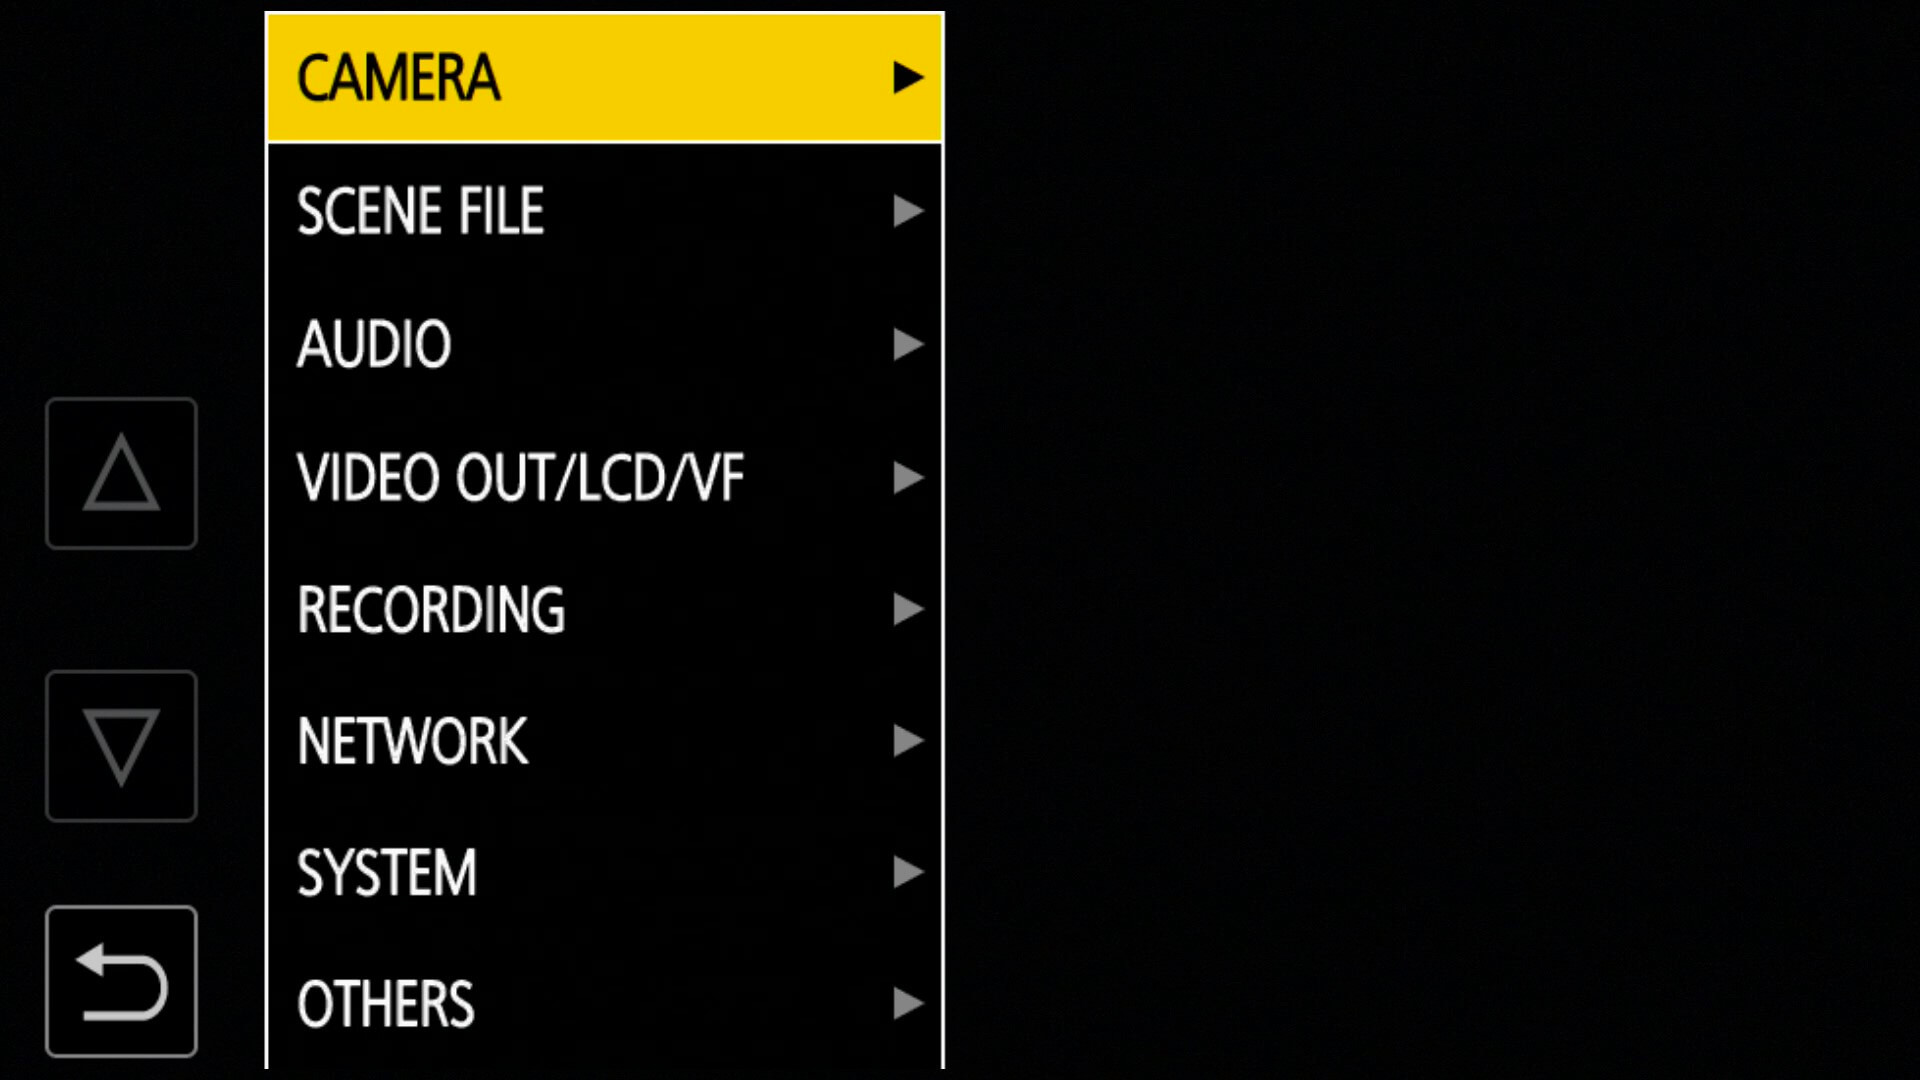
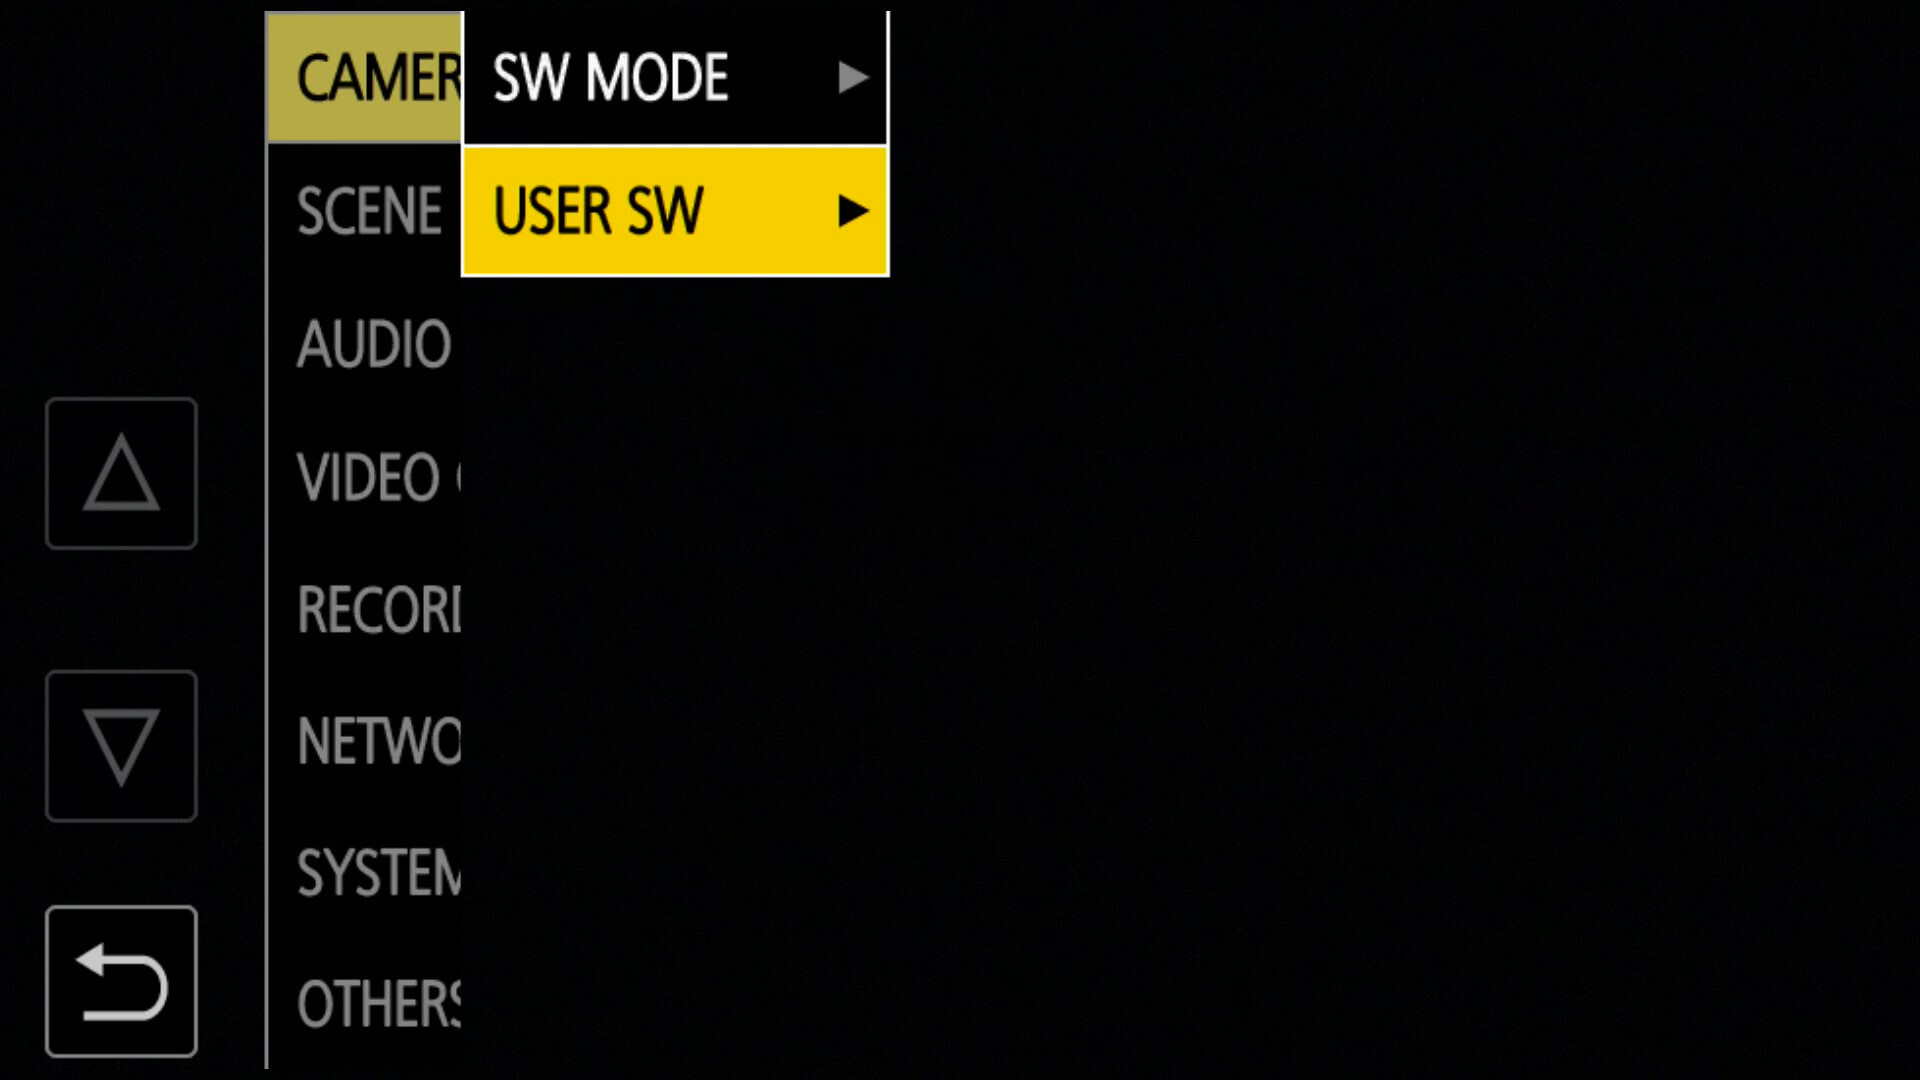
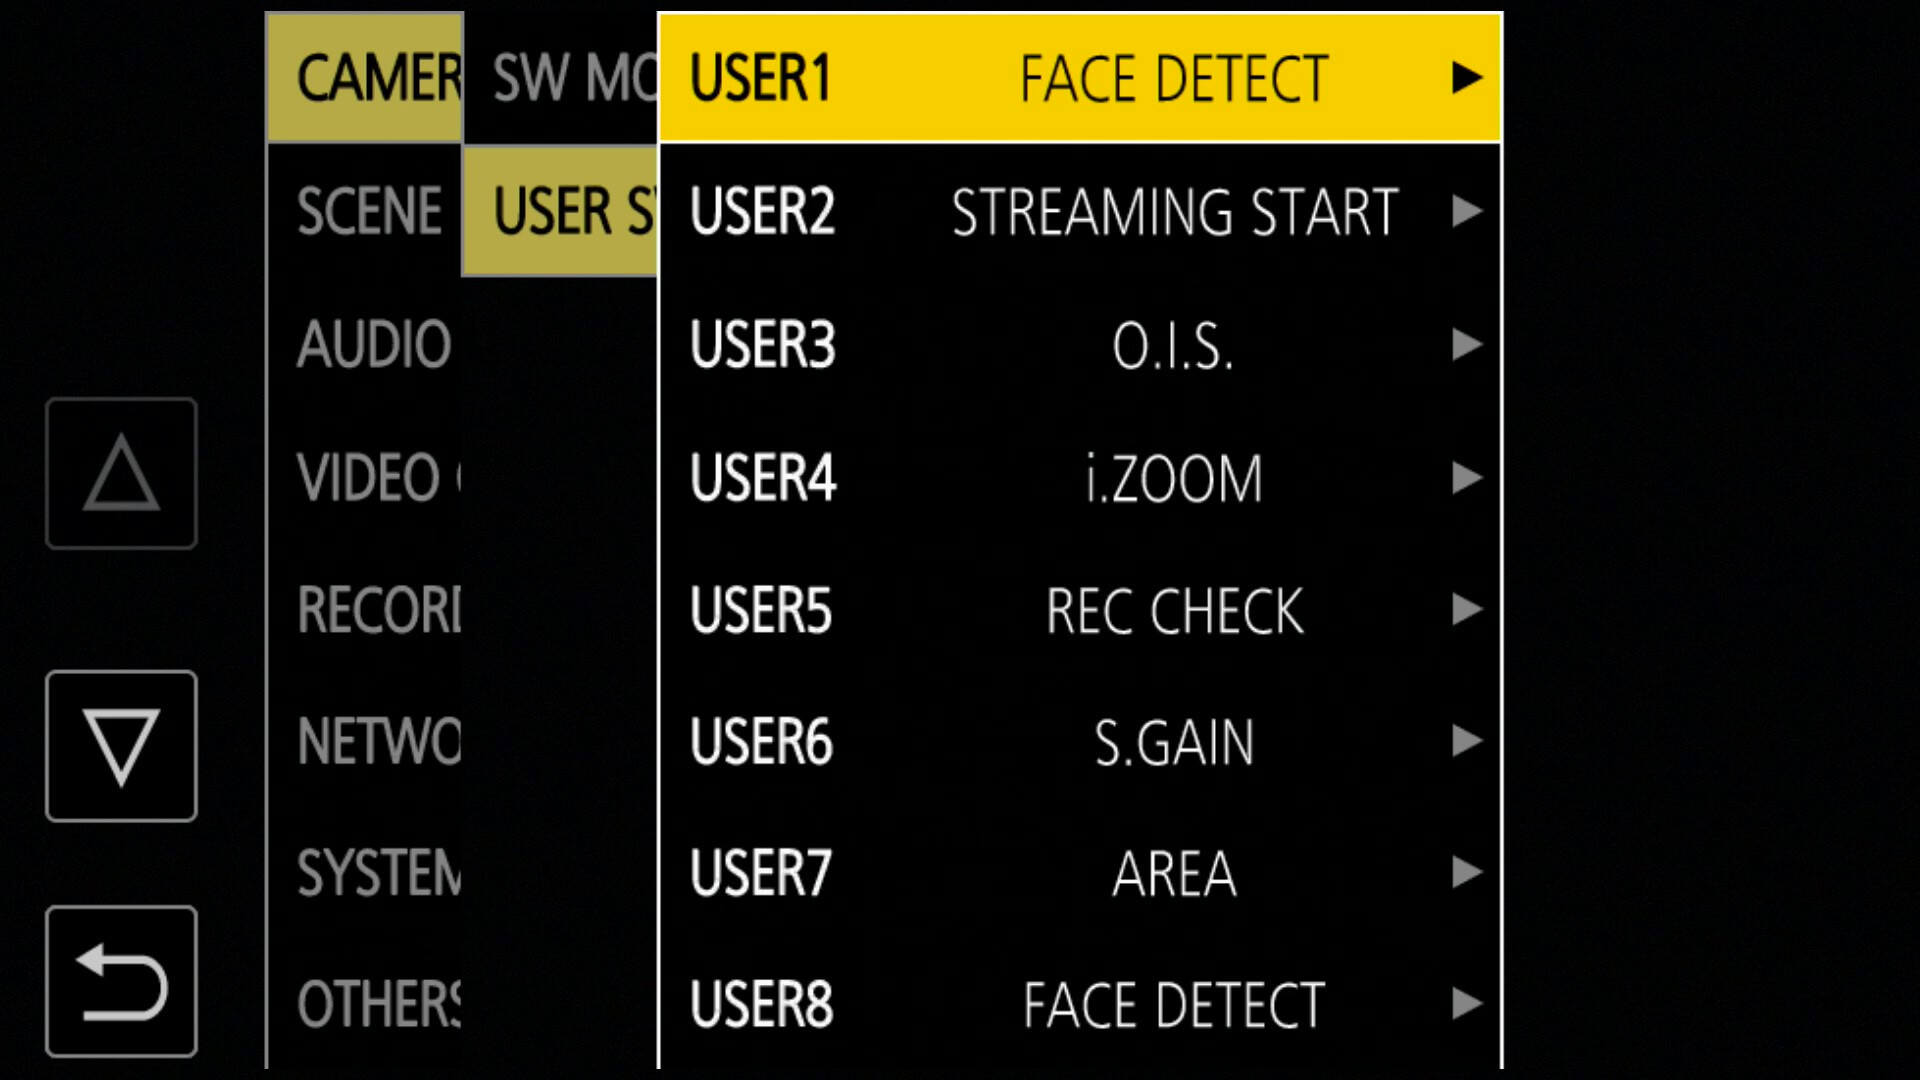
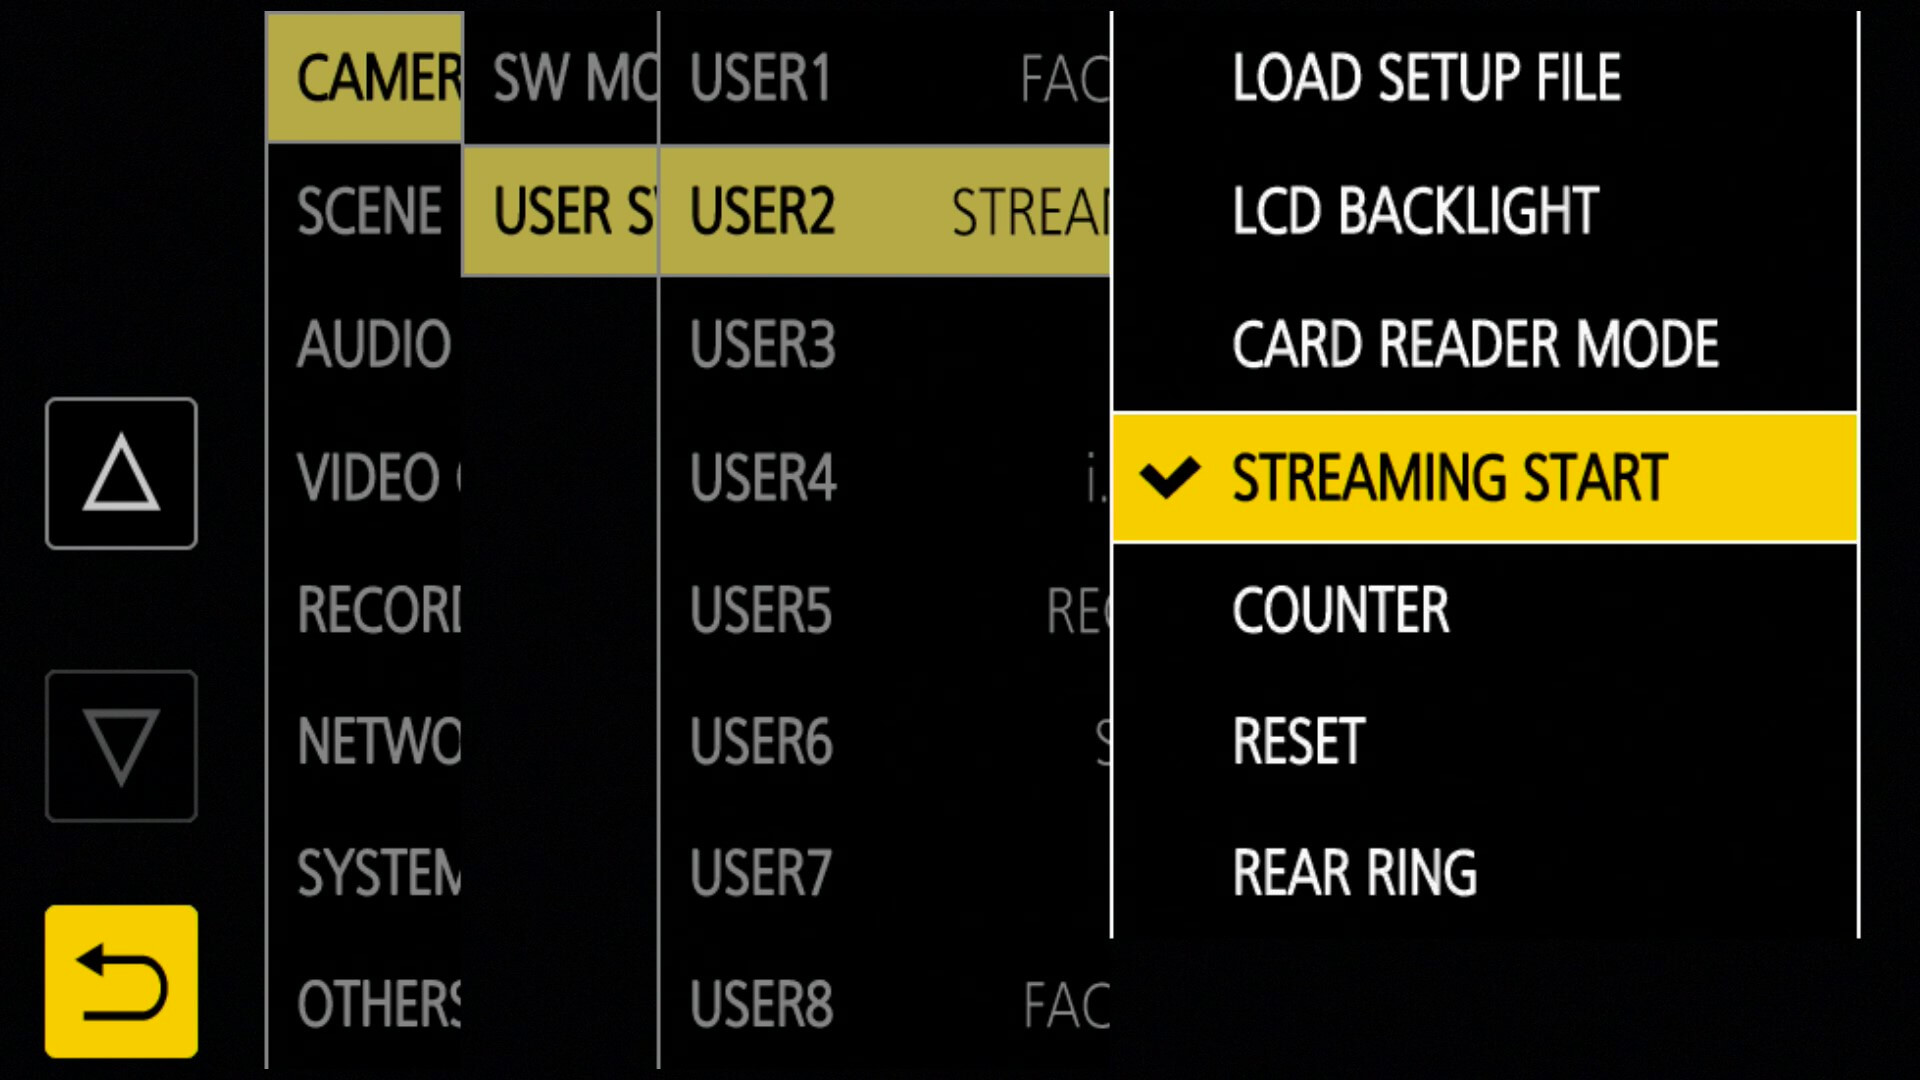
- Select [MENU] → [CAMERA ] → [USER SW] and set set your desired user to [STREAMING START].
Step 4: Downloading the P2 Network Setting Software
- Click here to download the Software here.
- Click here to download the P2 Network Setting Operating Guide.
- Click here to learn how to set up RTMP (Real Time Messaging Protocol).
Once you have completed the previously listed steps, you will be able to connect to your streaming platform.
For screenshots and a step-by-step visual guide on how to configure your camera for direct streaming, use this interactive module.
- Screenshots seen below are taken from the HC-X1500 / HC-X2000. Interface appearance / options may vary from the AG-CX10.


Direct Streaming
How to Directly Stream to YouTube
Last updated: June 2020
- Login to YouTube and select the "Camera Icon" and click Go Live.
- On the page you will have arrived on, select NEW STREAM.
- Fill in the selected fields and select CREATE STREAM.
- A Stream URL & Stream Key will be generated for you. Use
this URL and key in the P2 network setting software.
Which you had downloaded in step 4.
- Open up the P2 network setting software.
- Copy / Paste the Stream URL & Stream Key into the P2 Network Setting Software. If there is no "/" at the end of the Stream URL that you have copied, be sure to add a "/" to the end of it before continuing.
- Insert your camera's SD Card into the computer's SD Card slot.
- Inside of the P2 Network Setting Software, click Export and select the SD Card Drive and press OK. The configuration will now be written to the SD Card.
- Safely eject and remove the SD card from the computer and insert it into the camcorder.
- With the SD card inserted, select [MENU] → [NETWORK] → [STREAMING CONNECTION INFO] and select the option SD Card.
- Select [MENU] → [CAMERA] → [USER SW] → [STREAMING START] and select the option [USER SW].
- Press the [USER 1] button and the streaming starts.
- Click Go Live on YouTube to begin your stream.
How to Directly Stream to Facebook
Last updated: June 2020
- Login to Facebook and select Live Video.
- Select Use Stream Key.
- A Stream URL & Stream Key will be generated for you. Use
this URL and key in the P2 network setting software.
Which you had downloaded in step 4.
- Open up the P2 network setting software.
- Copy / Paste the Stream URL & Stream Key into the P2 Network Setting Software.
- Insert your camera's SD Card into the computer's SD Card slot.
- Inside of the P2 Network Setting Software, click Export and select the SD Card Drive and press [OK]. The configuration will now be written to the SD Card.
- Safely eject and remove the SD card from the computer and insert it into the camcorder.
- With the SD card inserted, select [MENU] → [NETWORK] → [STREAMING CONNECTION INFO] and select the option SD Card.
- Select [MENU] → [CAMERA] → [USER SW] → [STREAMING START] and select the option [USER SW].
- Press the [USER 1] button and the streaming starts.
- On Facebook Live, the box that says "Waiting for live video" should now have the live video feed from your camcorder.
How to Directly Stream to Streamlabs OBS (and similar software)
Last updated: October 2020
Why would I want to directly stream to an OBS (Open Broadcaster Software)?
There are many reasons why you may want to set up a direct stream to OBS. The most prominent being the ability to stylize your stream to be set up in many different ways. This could include using multiple cameras all at once, cutting to different camera feeds (otherwise known as scenes), displaying a video feed from your game console or desktop and your camera at the same time, live "Scene" transitions or live scene editing, streaming to multiple platforms (Twitch, Youtube, Facebook, etc.) all at once and much more. There are many benefits to using an Open Broadcaster Software.
In the following steps, you will find instructions on how to accept a direct stream from the HC-X1500 / HC-X2000 / AG-CX10 in Streamlabs OBS. A free live streaming software available on both Mac and Windows operating systems.
- Connecting to your network with your camera.
- Select [MENU] → [NETWORK] → [DEVICE SEL] → [WLAN]
- Select [WLAN PROPERTY] → [INFRA (SELECT)]
- Select [SSID] and choose your desired network from the list of available connections.
- Select [ENCRYPT KEY]
- Return to the [NETWORK] section and select [WLAN IPv4 SETTINGS] → [DHCP] and set to [CLIENT].
- Setting up streaming (Follow the order listed below).
- Select [MENU] → [NETWORK] → [NETWORK FUNC] and set [STREAMING]
- Return to the main menu and select
[STREAMING] and choose a stable
streaming format for your internet connection
- Lower bitrate will result in smoother playback when you have weak internet connection
- Typically choose somewhere within the range of 1920x1080 60fps 14M and 1280x720 60fps 3M for high to moderate streaming resolution respectively
- Select [START TRIGGER] → [RECEIVER]
- Select [WLAN IPv4 SETTING] and take note of the camera's [IP ADDRESS].
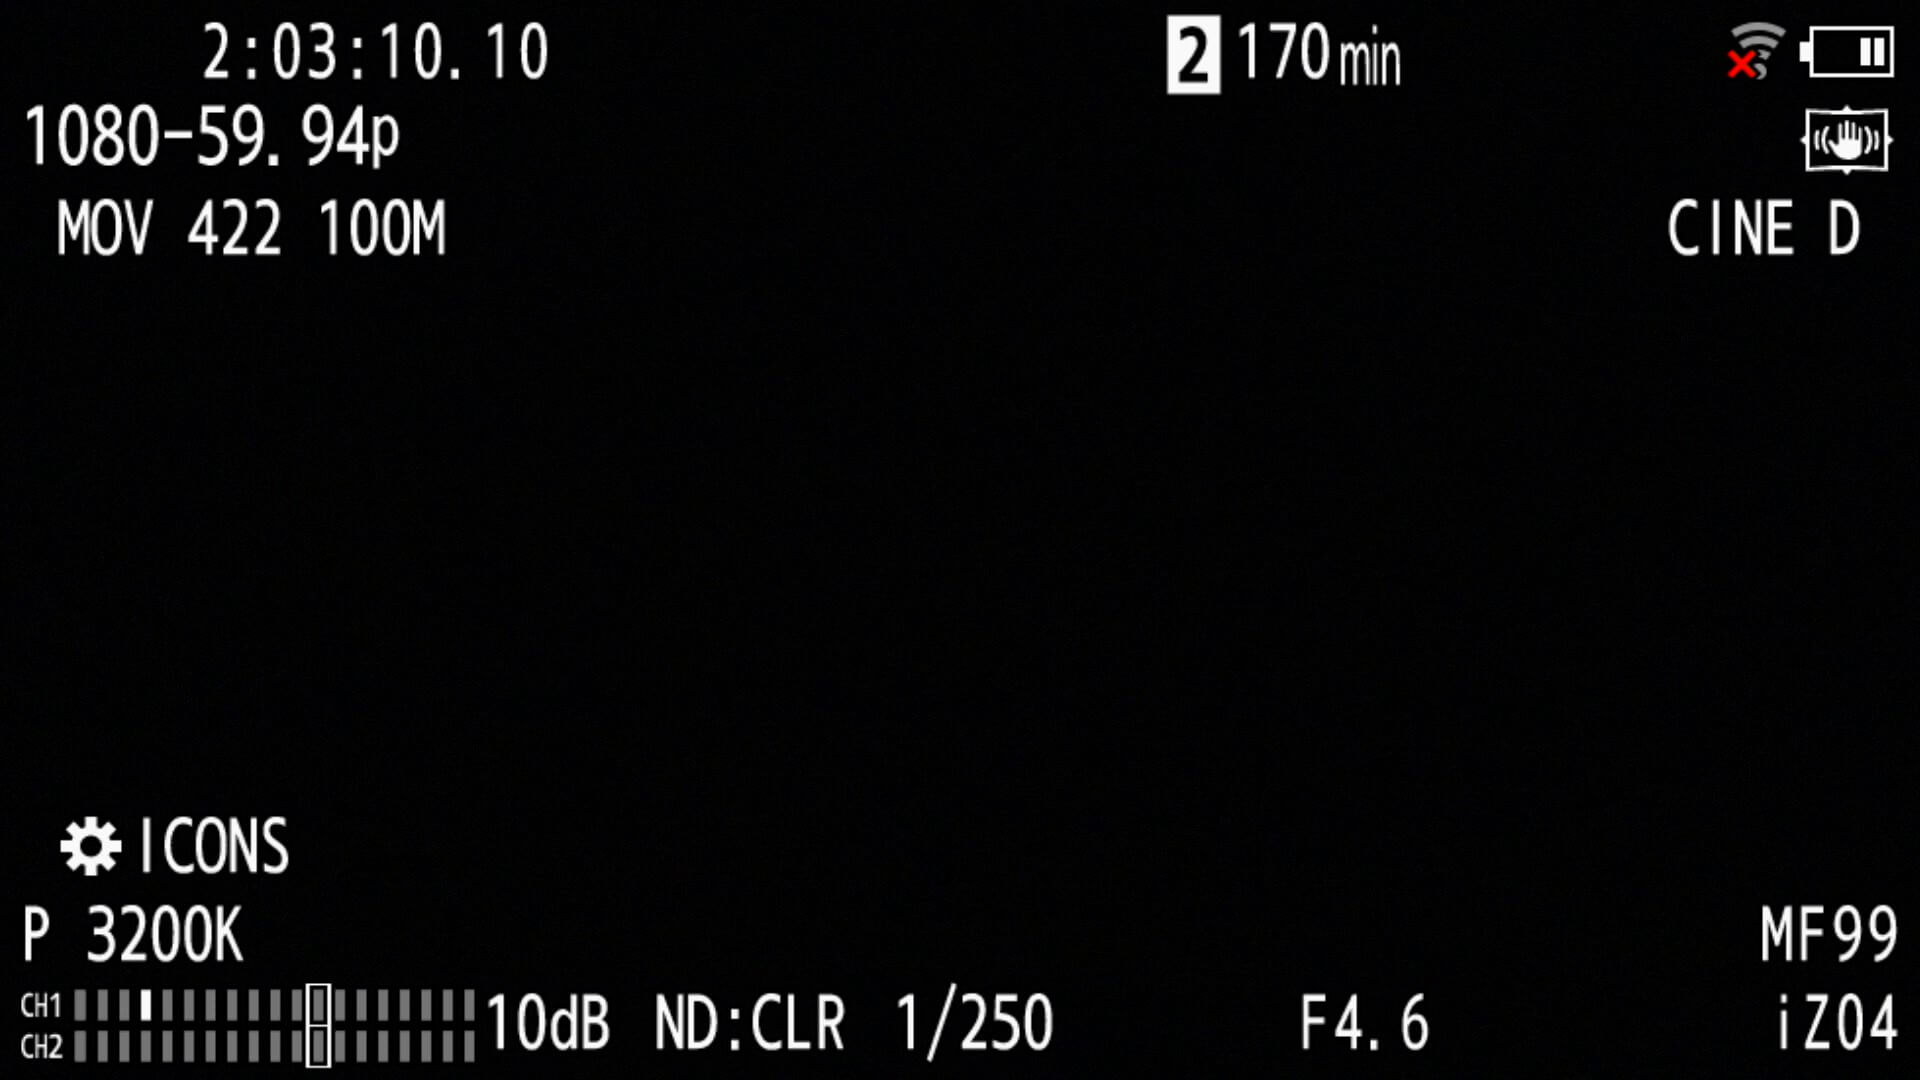
- Exit the camera's menu and confirm that the unit is connected to your wireless netowrk by looking for the Wi-Fi icon at the top right of the display.
- Receiving the direct stream in Streamlabs OBS.
- Open Streamlabs.
- (Optional) Click on the "+" icon located in the "Scenes" section and create a new scene. Name the scene accordingly (E.g: HC-X2000 feed).
- With that scene still highlighted, click on the "+" icon located in the "Sources" section
- In the dialogue window that pops up, select "Media Source" and click "Add Source." Give the new source an appropriate name (E.g: HC-X2000) and confirm.
- In the next menu, deselect "Local
file", and in the input field, enter in:
- rtsp://{{Enter camera's IP address here}}/stream
- Ensure there there are no brackets { or } between "rtsp://" and "/stream"
- Only list the camera's IP address(numbers and decimals) between the forward slashes (/)
- Select "OK" and your camera's feed
will now be connected
- If it is not displaying, attempt the following troubleshooting steps.
- Is the camera connected to the same Wi-Fi as your computer? Ensure that you are not using an ethernet connection for your computer as well.
- Transition to (Open) a different scene and return to the scene with your camera's feed to attempt to "Refresh" the connection.
- Confirm that you entered the correct IP address. The IP address of the camera can change after a reset or restart of the unit.
- Streaming to your livestreaming platform (Twitch,
YouTube, Facebook).
- Click "Settings" in OBS.
- Go to "Stream".
- Select your streaming platform from the "Service" dropdown menu (E.g: Twitch).
- Enter your stream key acquired from your streaming
platform. This key is often found in your account
settings or streaming settings for the platform.
- If streaming to Twitch:
- Go to "Output" in your OBS settings and set the "Video Bitrate" to 6000kbps or below.
- You may want to choose a lower Video Bitrate (closer to 2500) depending on your network connection.
- If streaming to Twitch:
- Select "Done" or "Apply" to confirm your settings.
- Click on "Go Live" or "Start Stream" on your software's dashboard to go live on your selected streaming platform!