


Troubleshooting - No 4K signal when connected to a Blu Ray player via HDMI.
You may be experiencing a HDMI/HDCP version conflict. The HDMI/HDCP version conflict may happen when the device is not recognized by Auto detection. When this happens you may need to change the settings manually. If you are not getting a picture from via HDMI perform a "
TV Self-Test" to verify proper function of the TV for picture and sound To access the televison self test mode,
- Press [ MENU ]
- Scroll to [ HELP ] and press [ OK ]
- Scroll to [ TV Self Test ] and press [ OK ]
- View this video for a demo of the TV Self Test.
- If there is no picture with self test, contact an authorized
Panasonic service centre
for service repair. If the picture is good check the HDMI cable is connected properly when watching TV, Blu-ray, DVD, Game Console, etc. If Self Test mode displays there are 2 default mode settings depending on your model television. There is the HDCP Setting and HDMI Auto Setting.
- For model TC-50CX400, TC-55CX400, TC-65CX400, TC-55CX420, TC-65CX420 is the HDMI EDID Setting.
- HDCP setting default is AUTO (can be changed manually for most models to 1.4, 2.0 or 2.2)
- HDMI auto setting default is Mode2 (can be changed manually to Mode1).
Note:
Mode1 means HDMI version 2.2 Mode2 means HDMI version 1.4. Screen shots vary by model series, features & software version.Models with HDCP setting or HDMI auto setting
- Press [ INPUT ] to select the input the device is connected to "HDMI 1/2"
- Press [ MENU ] and press [▲▼] to select " Setup ".
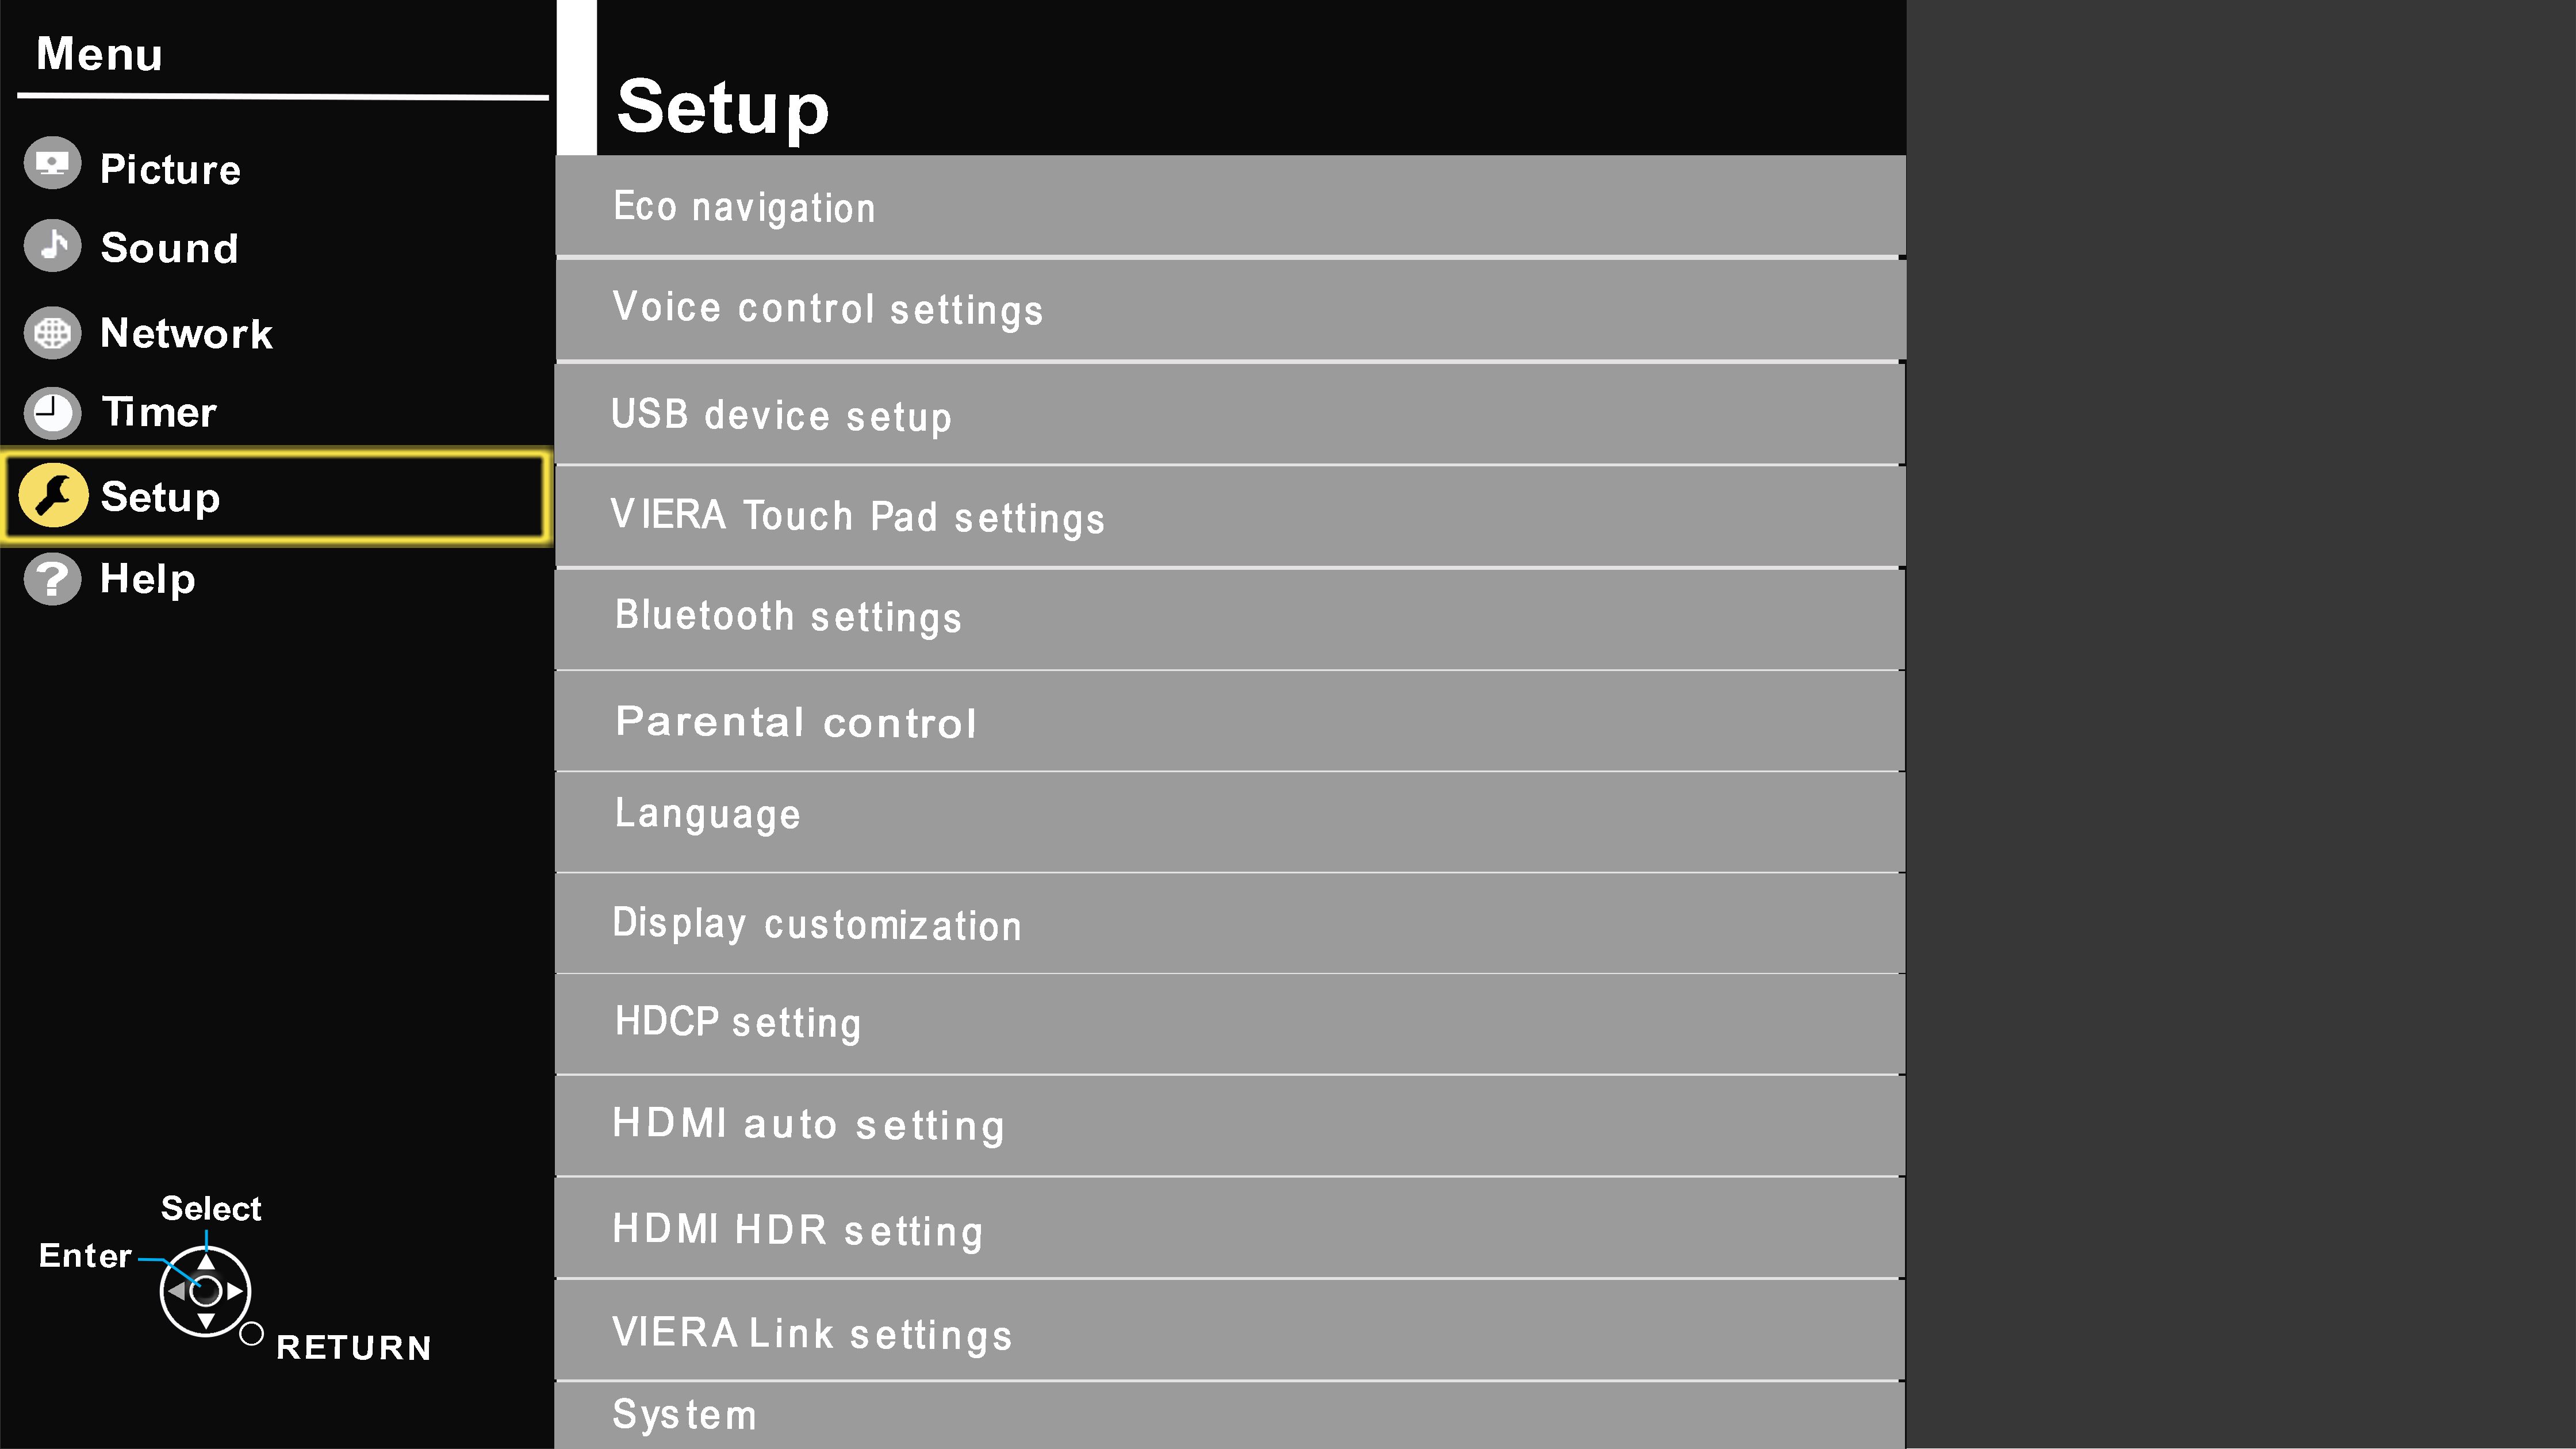 Image vary by model
 - Press [▲▼] to select “ HDCP setting ” and press [ OK ].
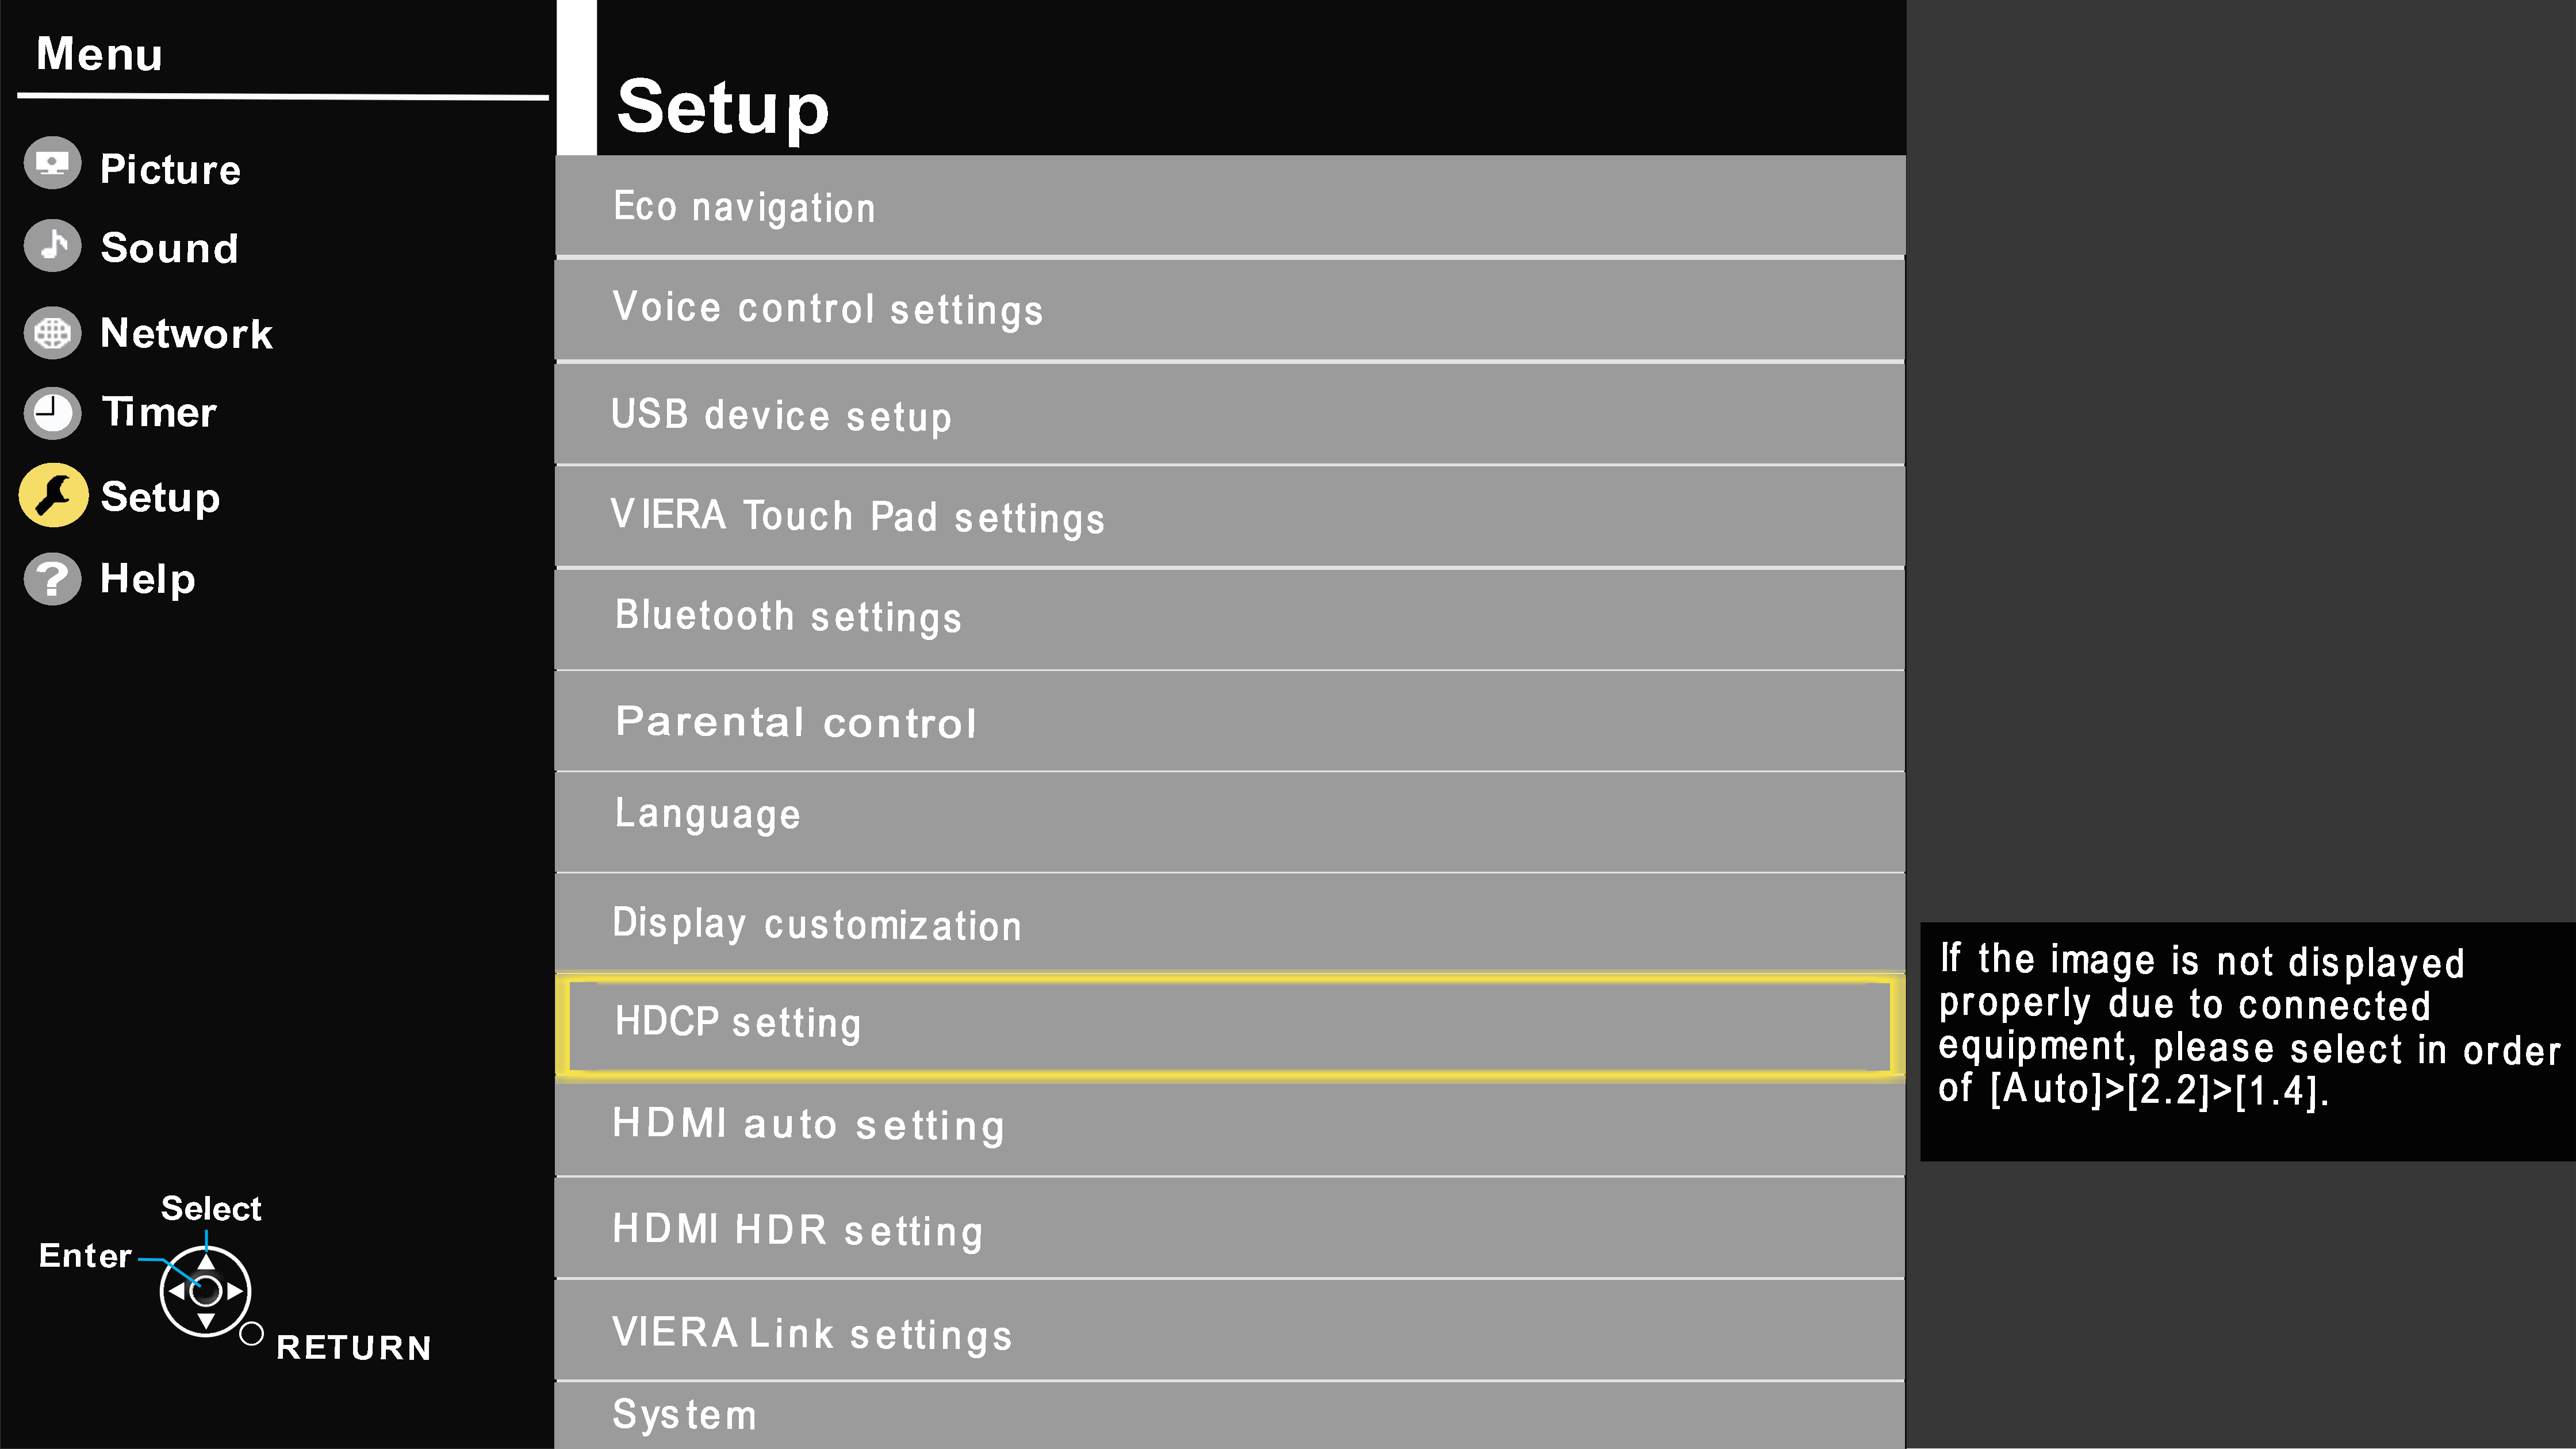 Image vary by model
 - Press [▲▼] to select the HDMI input your 4K device is connected to and press [OK].
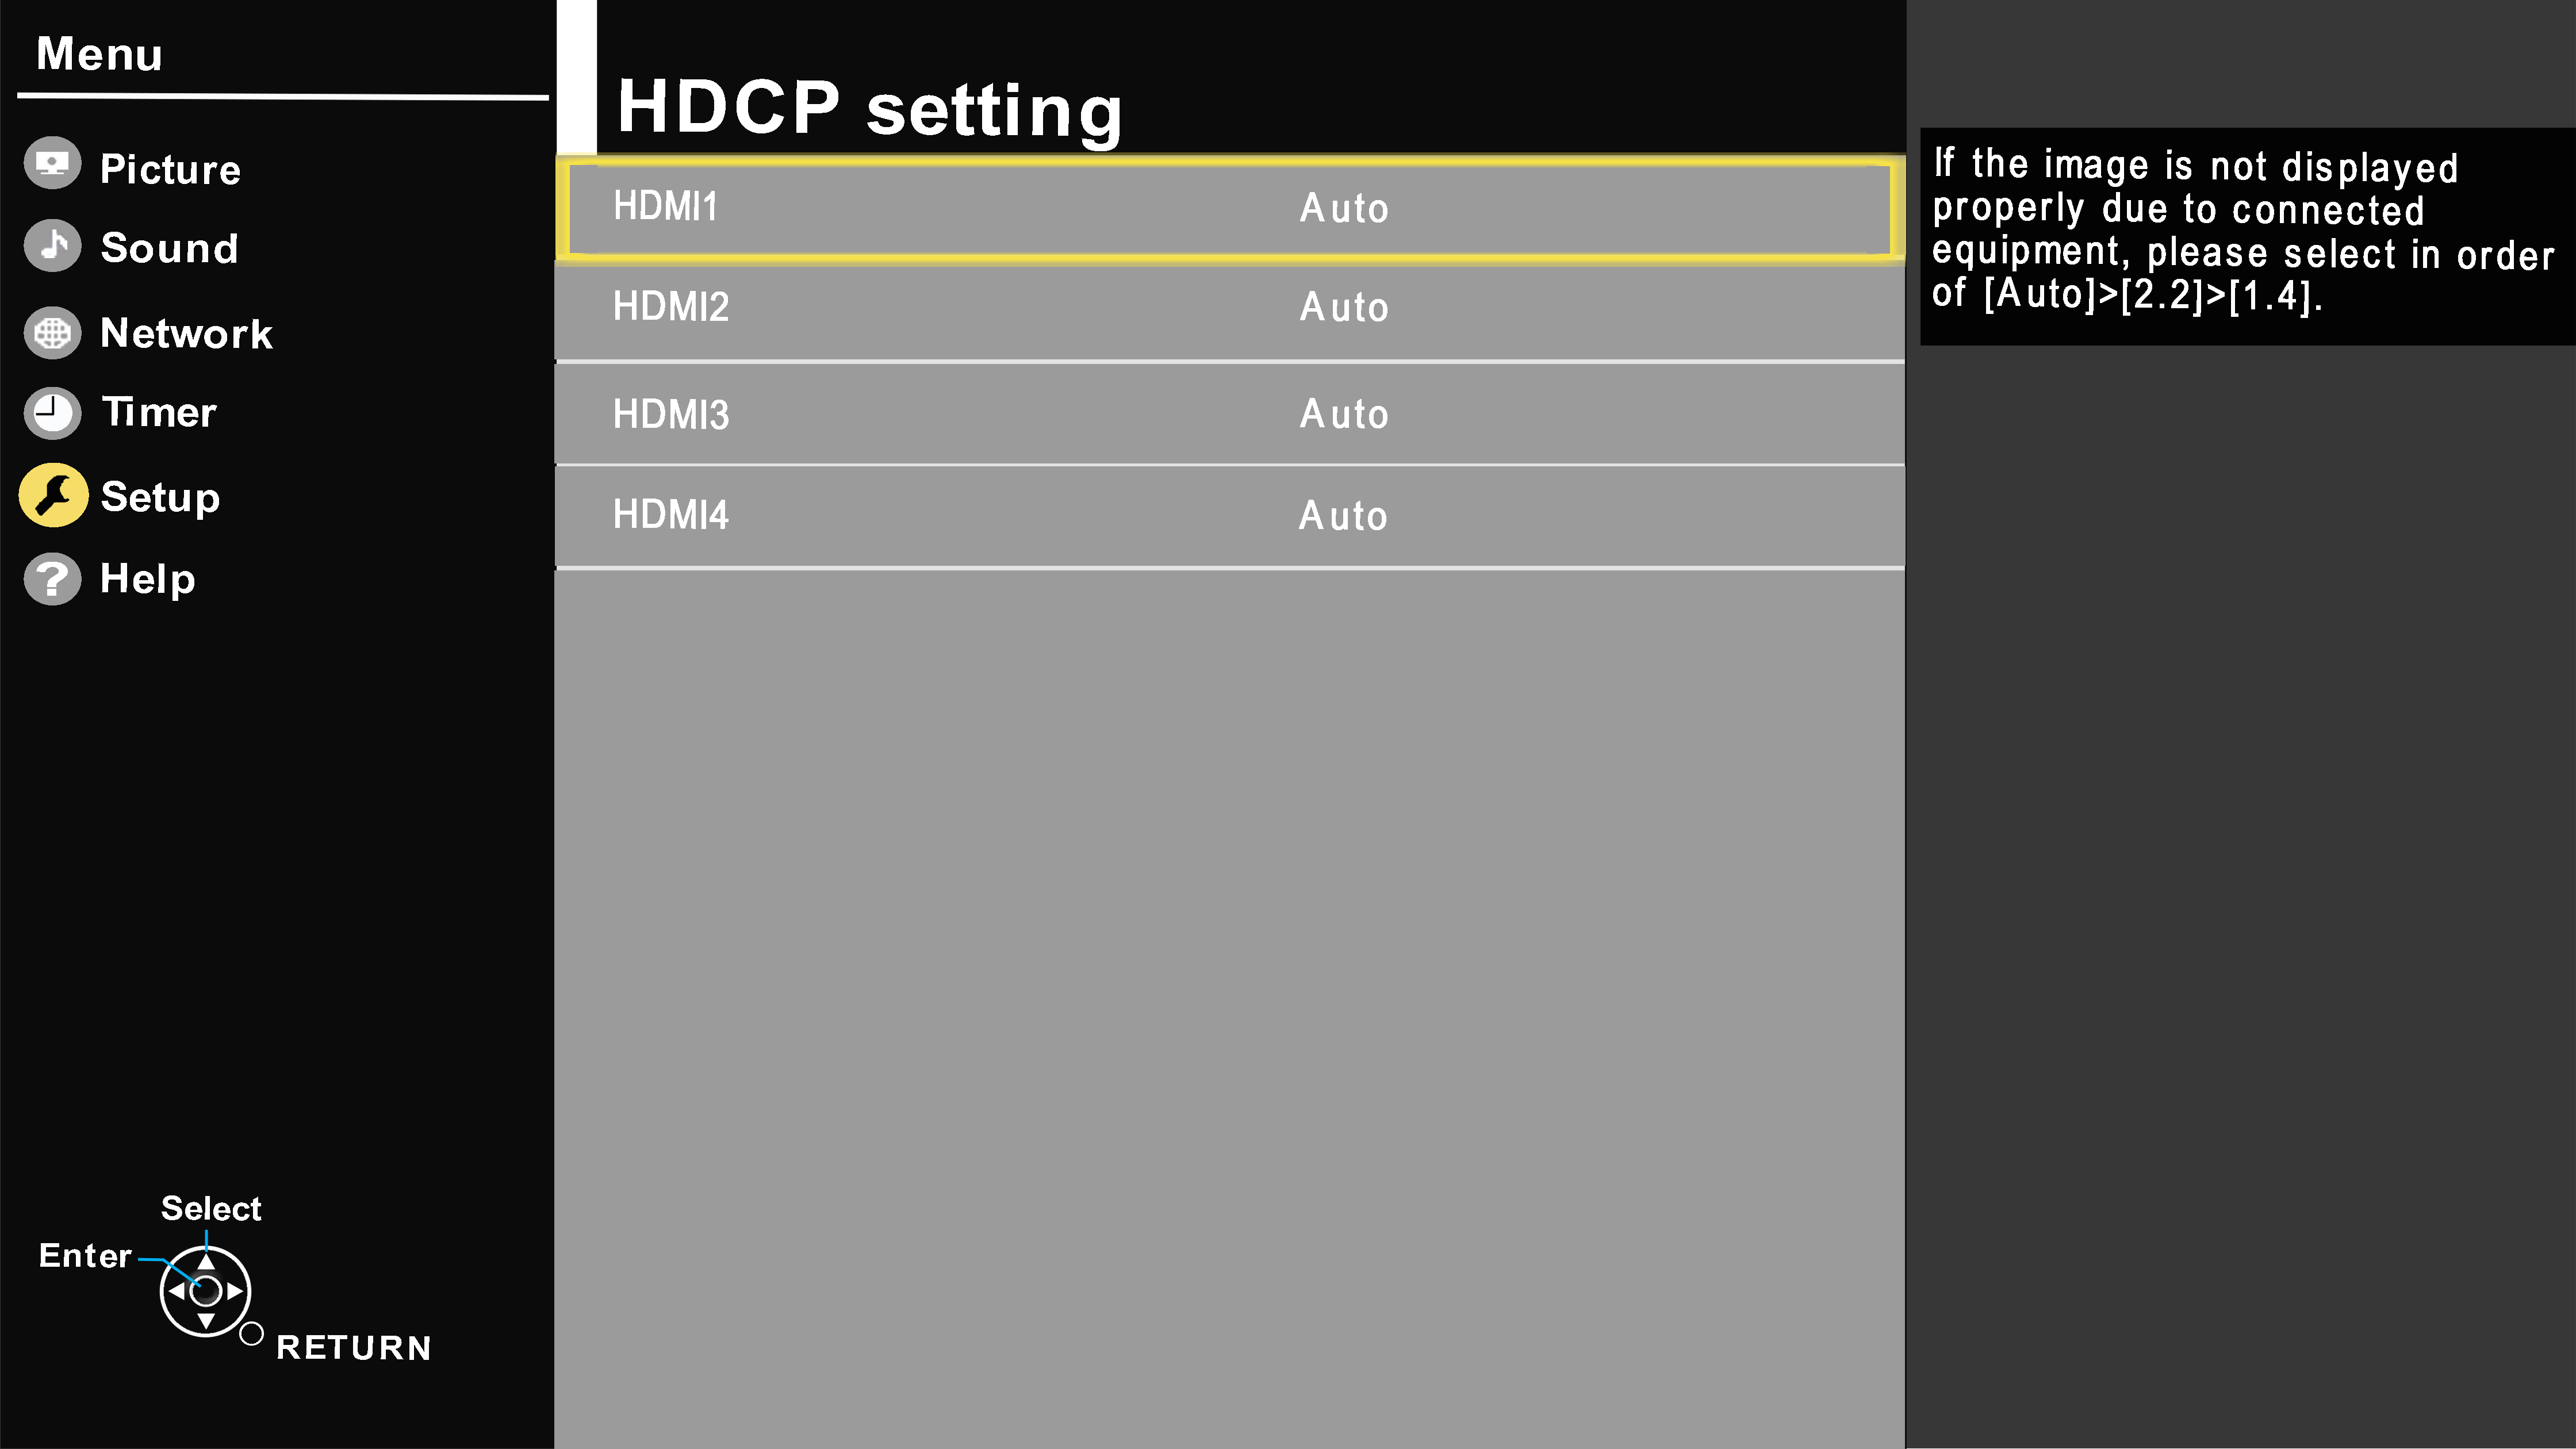 Image vary by model
 - Change setting from " Auto" to " 1.4" or " 2.2 . Check the result after each change.
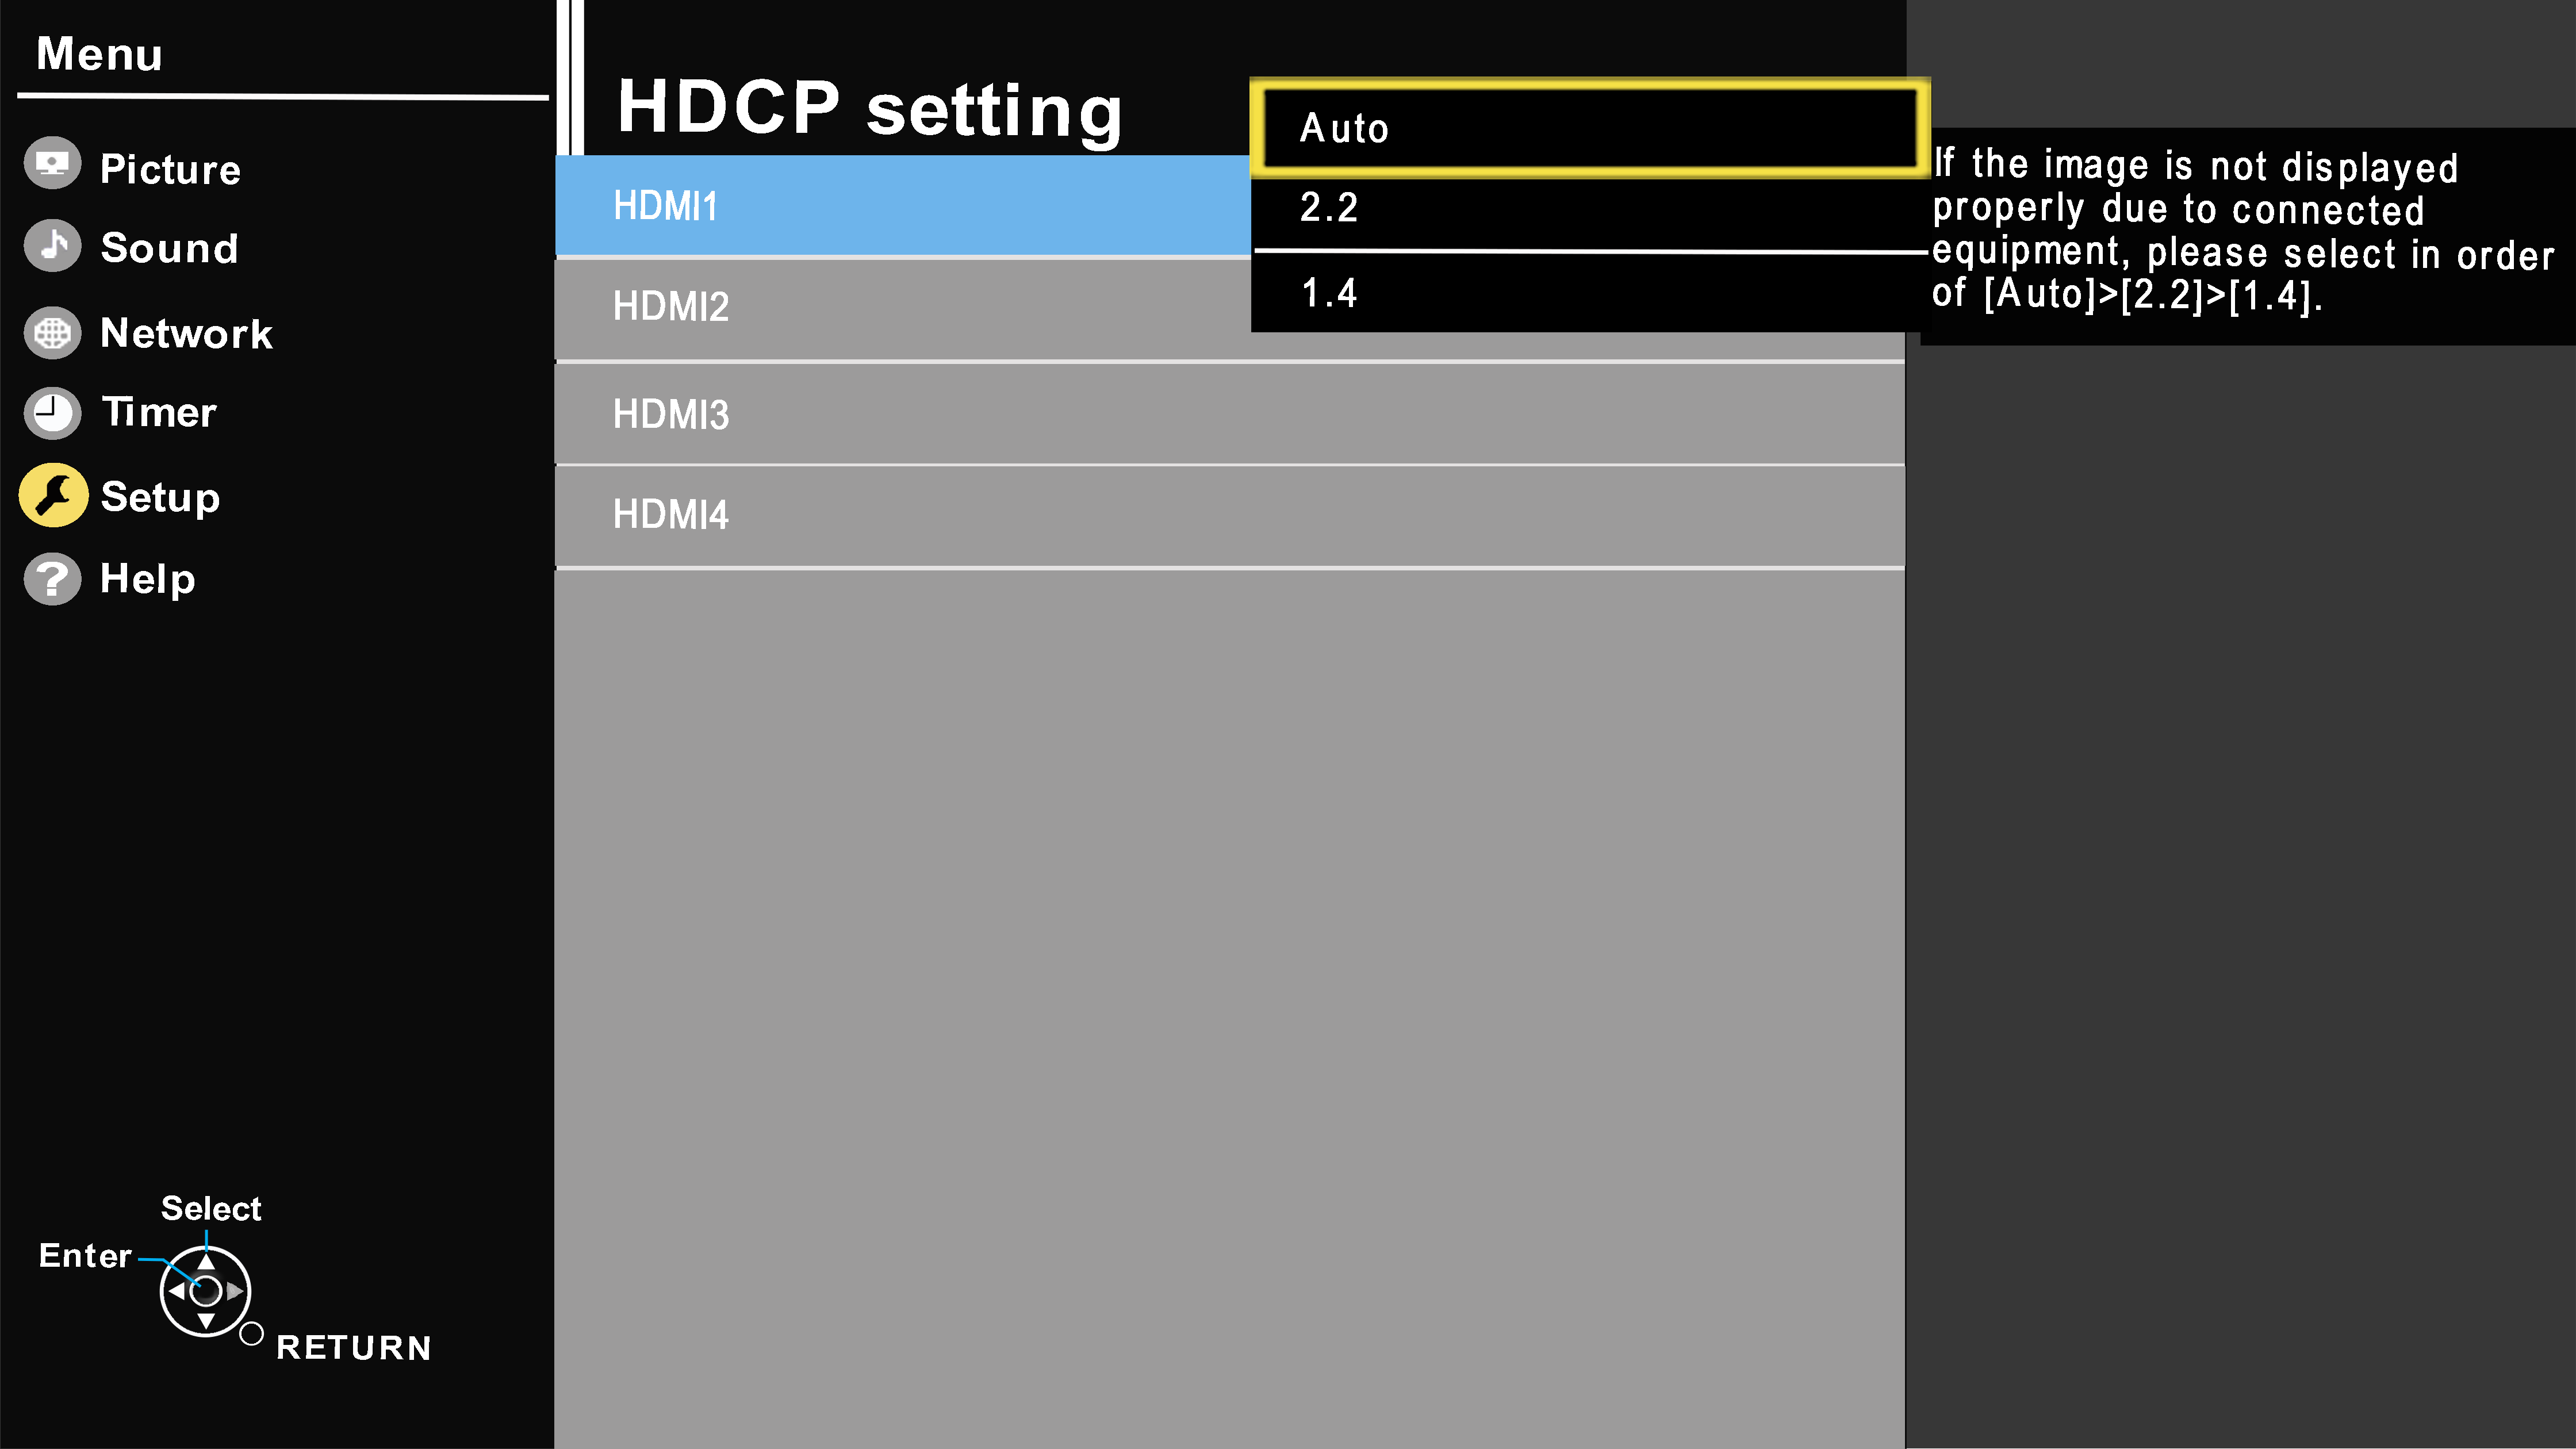 Image vary by model
 - If you still have no audio or video, press [
 ] to retun back to the " Setup " menu. Image vary by model
 - Press [▲▼] to select “ HDMI auto setting ” and press [ OK ].
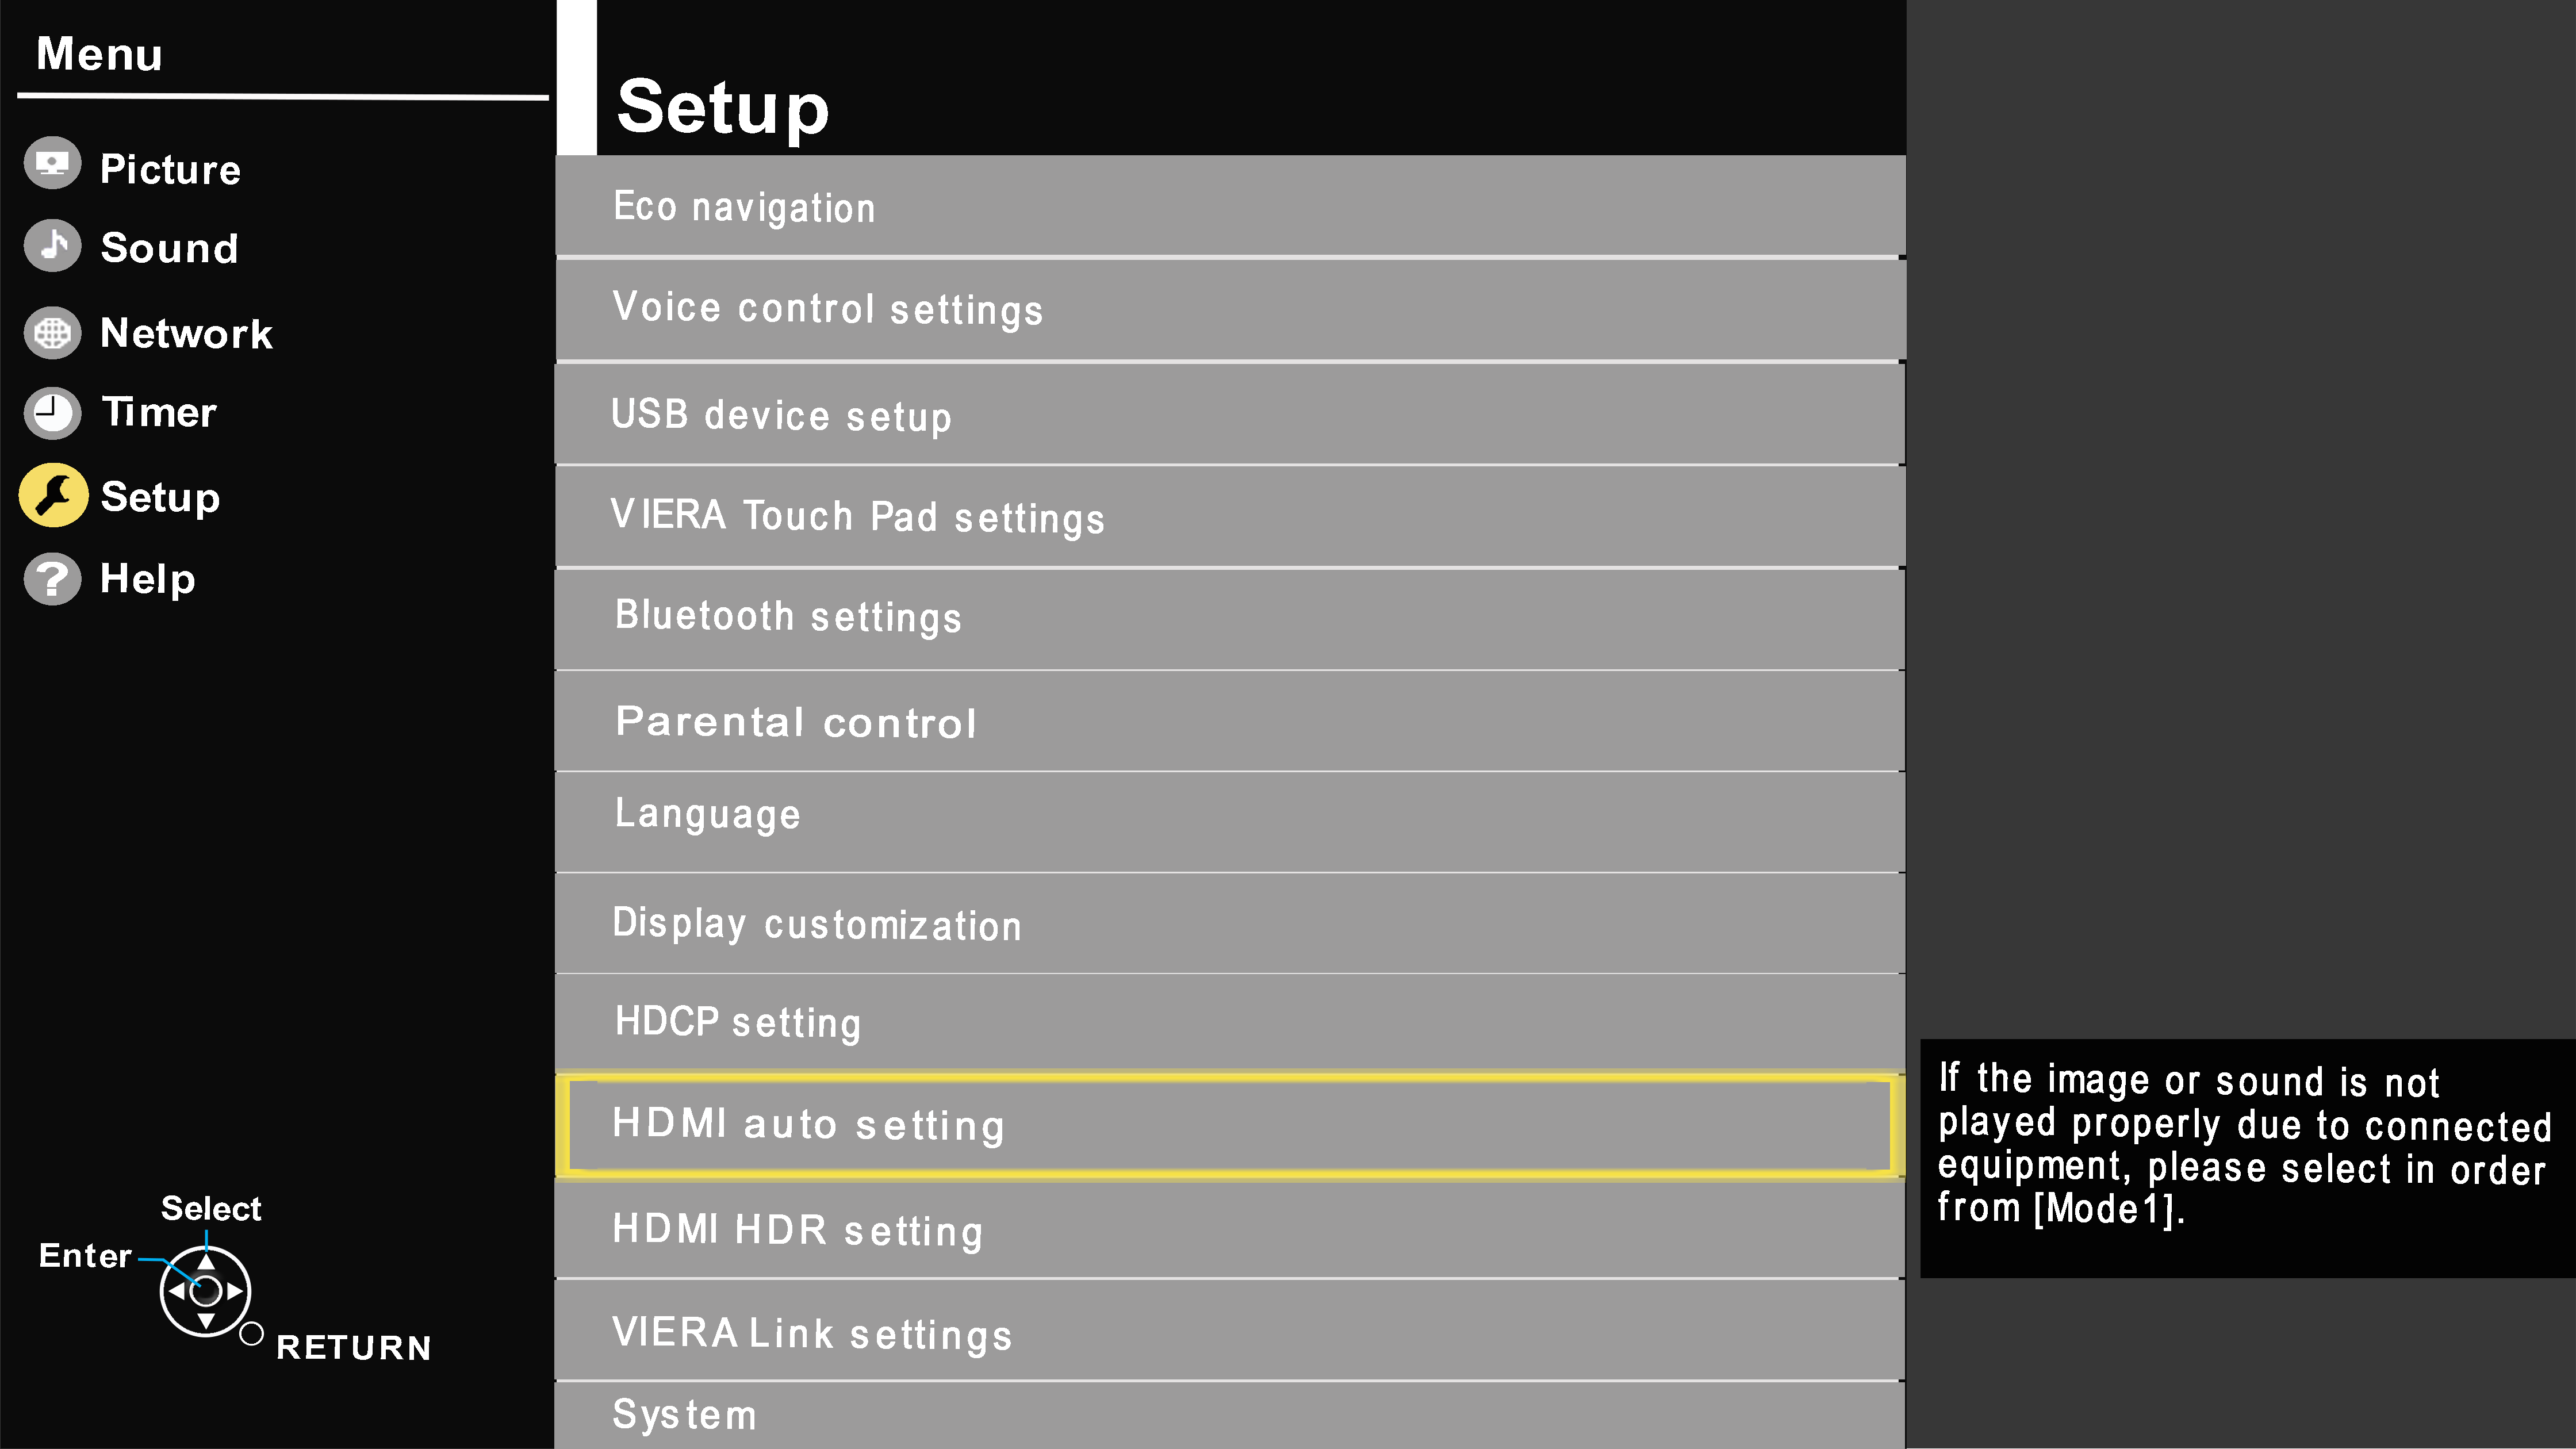 Image vary by model
 - Press [▲▼] to select HDMI input your 4K device is connected to and press [ OK ].
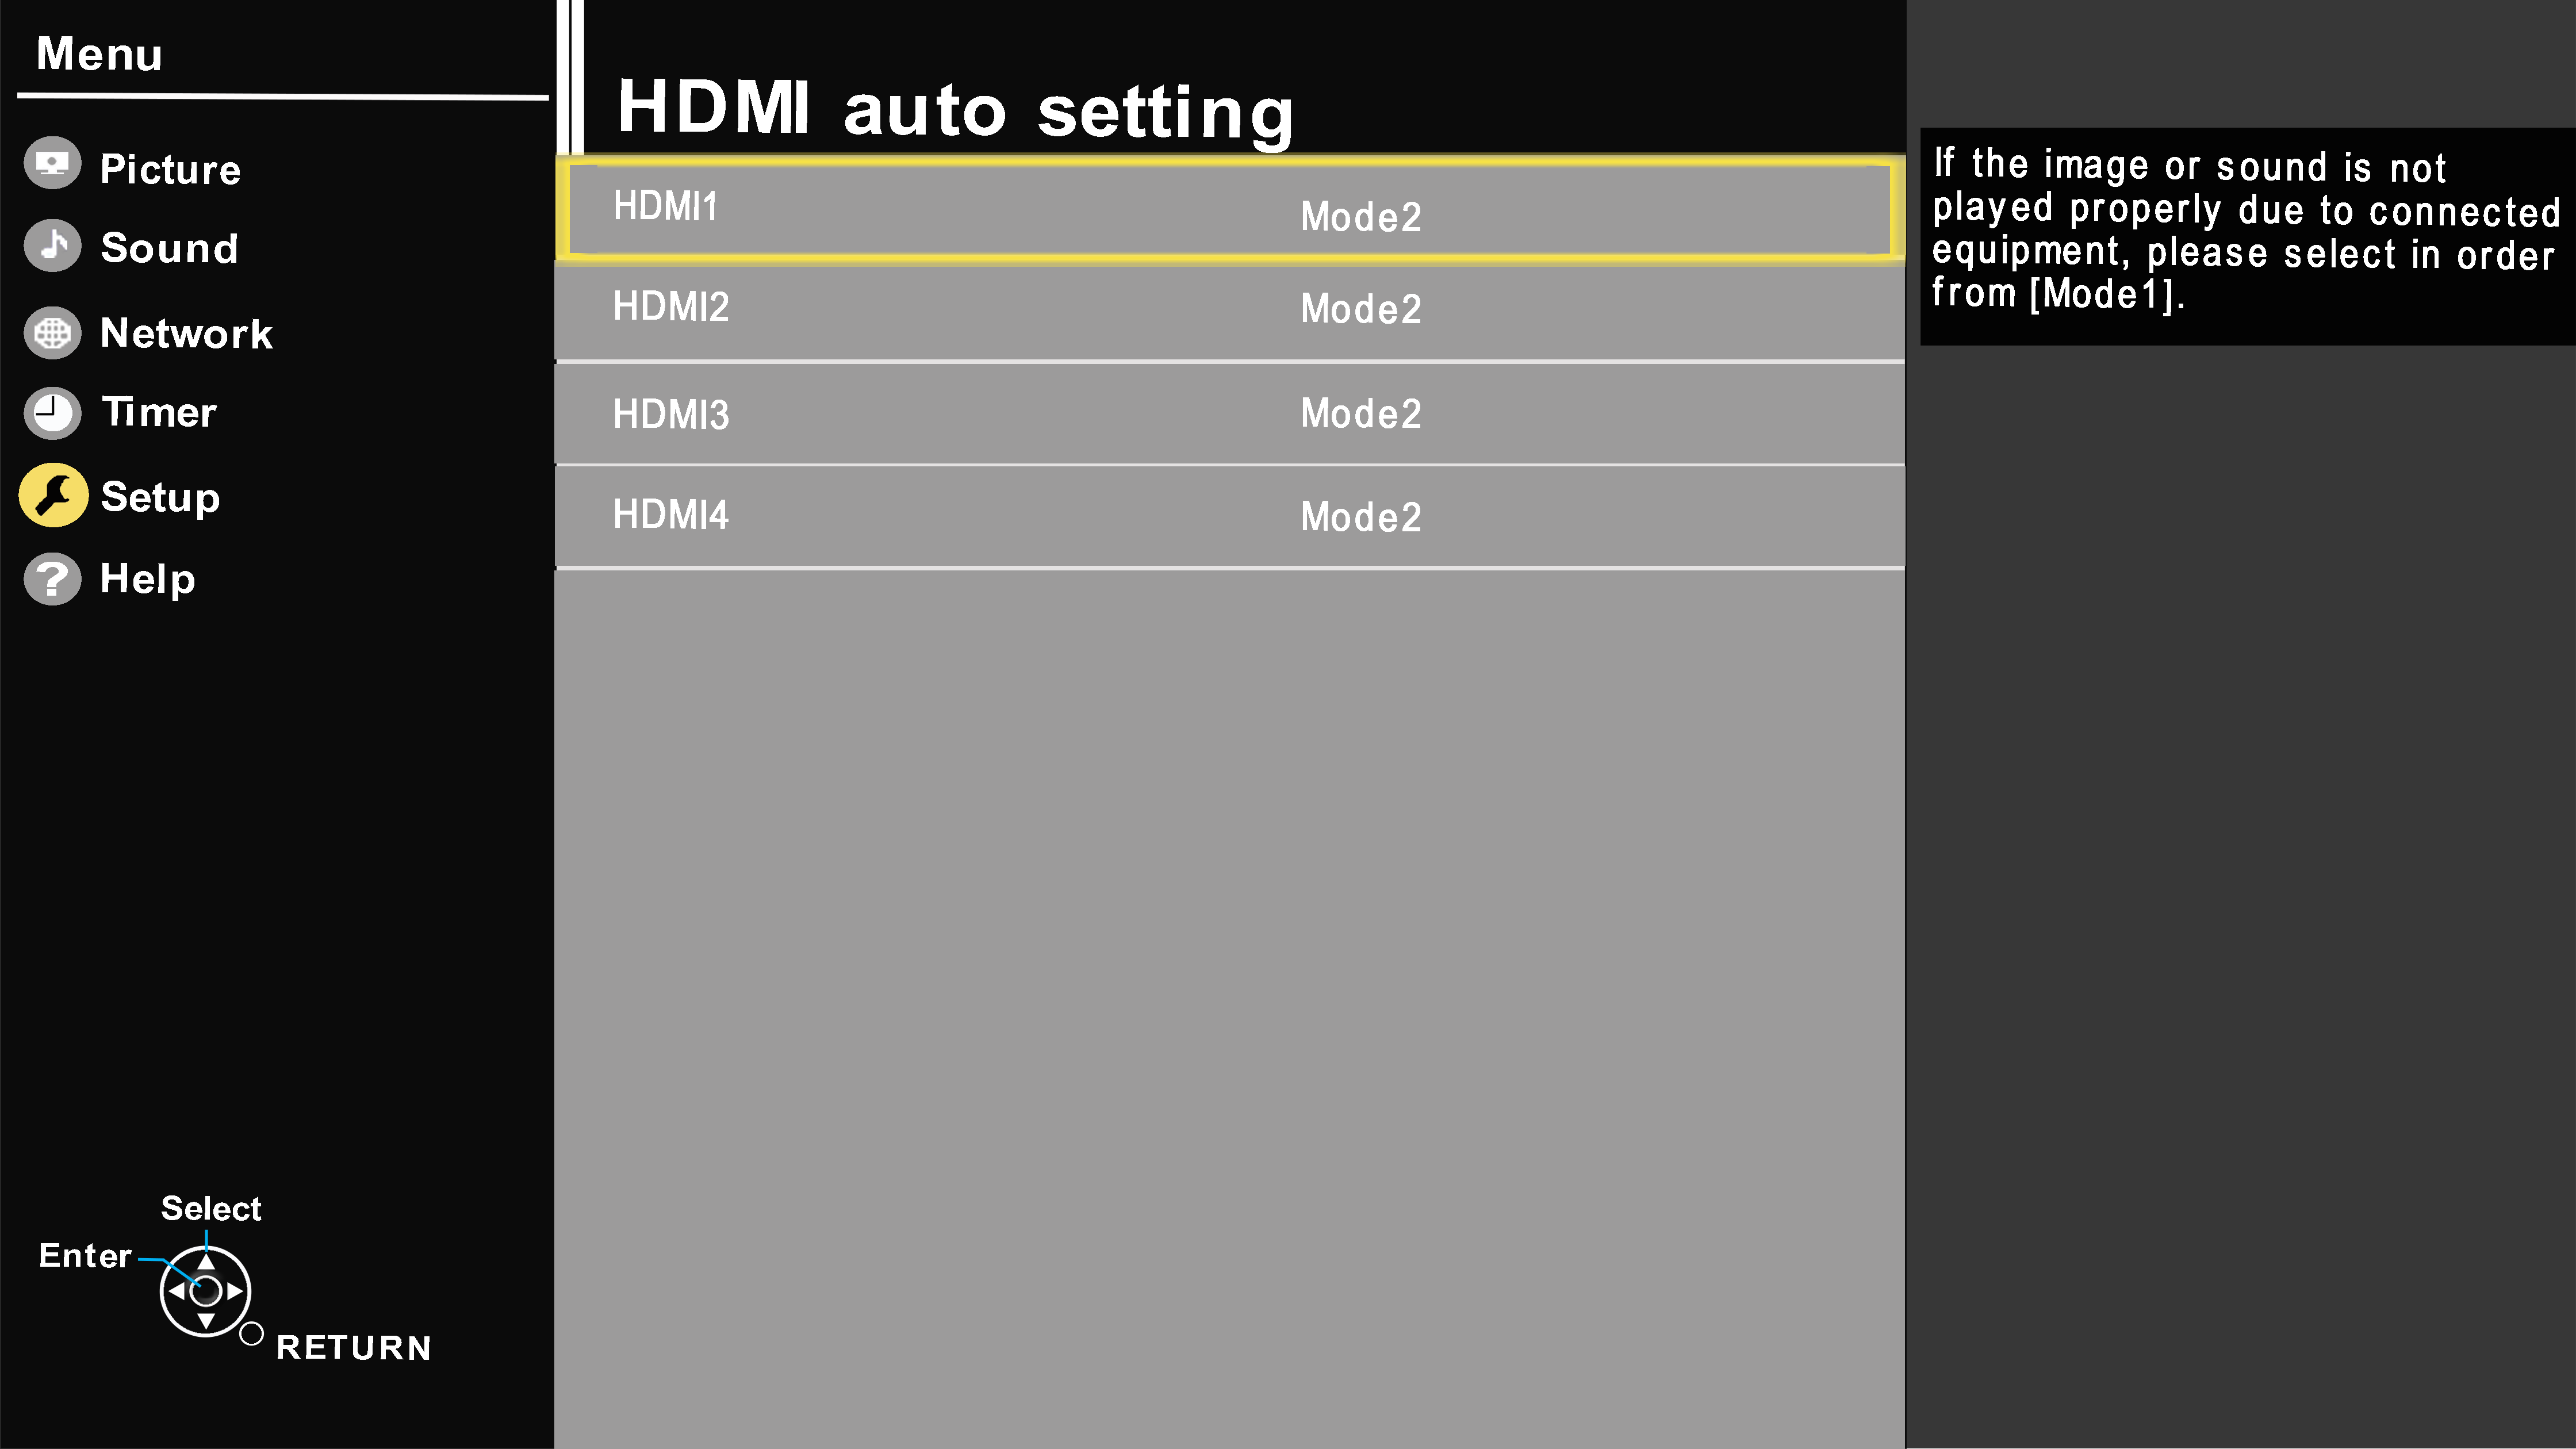 Image vary by model
 - Press [▲▼] to select Mode1 or Mode2 the press [
OK ].
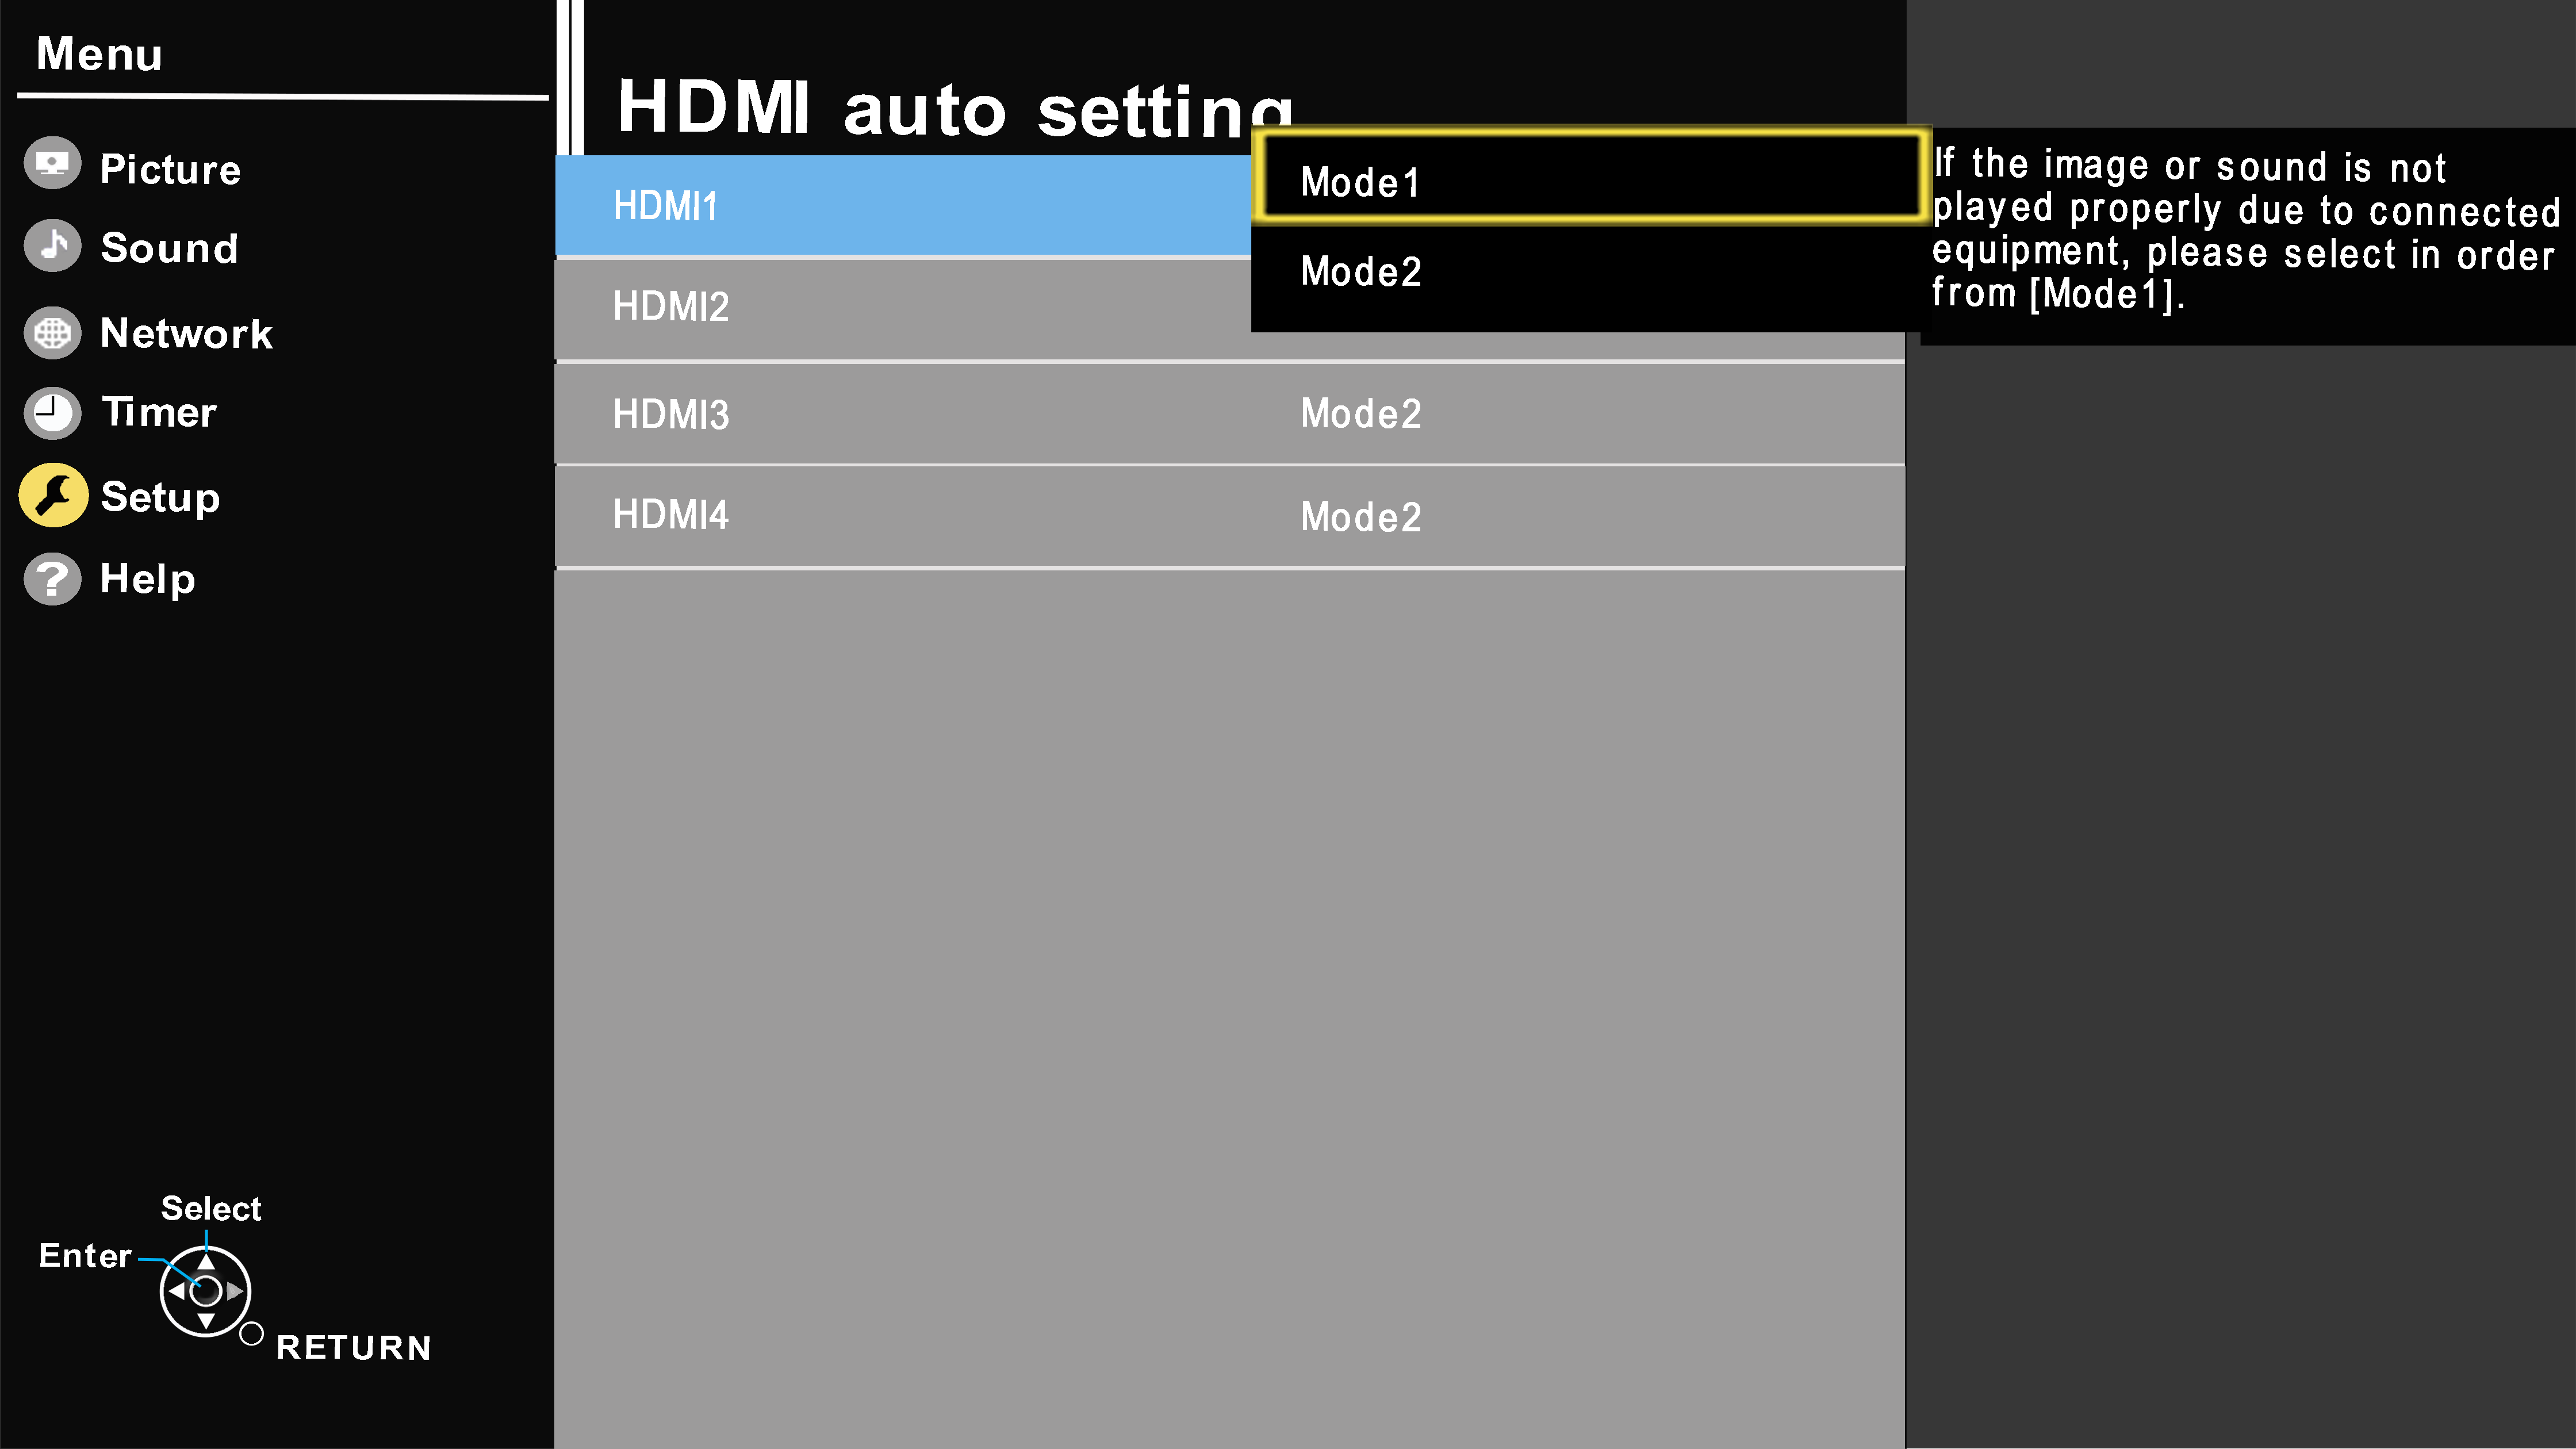 Image vary by model
- Try both HDCP versions in Mode1 or Mode 2.
Note:
For missing audio you may need to change the HDMI audio format in the " Sound " menu: (Auto, Bitstream or PCM).For models with HDMI EDID Setting.
(TC-50CX400, TC-55CX400, TC-65CX400, TC-55CX420, TC-65CX420)- Press [ MENU ] and press [▲▼] to select " SETUP ".
- Press [ OK ]/[►].
- Press[◄]/[►] to select " SYSTEM " and press [ OK ].
- Press [▲▼] to select " Other Settings " and press [ OK ].
- Select " HDMI EDID " and change the HDMI version to match the HDMI version of your external device connected output.